Linocut for Beginners: Easy Step-by-Step Guide to Your First Print
Linocut for Beginners: A Simple Guide to Your First Print
Linocut printing can feel intimidating at first – but with the right steps, it’s surprisingly simple. In this guide, I’ll walk you through how to create your first linocut print, step by step – no complex motifs or previous experience needed.
Before working with multiple colours or layers, it’s worth starting with a single-colour print. This lets you understand the basic process without feeling overwhelmed – and you’ll still end up with a finished print you can be proud of.
In this guide, you’ll create your first linocut print step by step.
Want to get started right away? You can download the template here:
What You Need for Linocut Printing
Keep it simple:
– a piece of lino
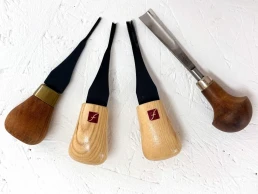
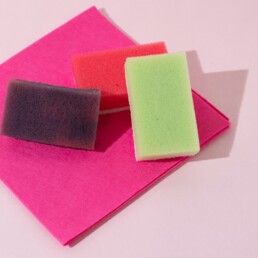
– basic carving tools (I used 4 different blades for this tutorial, but that’s optional)
– a pencil
– paper for printing (130–180 gsm, ideally smooth)
– printing ink (ideally oil-based and water-washable)
– an ink roller (brayer)
– a spoon and a hand burnisher
For extra safety, I also recommend a cutting mat to protect your table and two clamps or a non-slip mat to keep things steady. You can download my linocut tools list here.
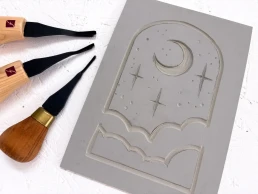
1. Choose a Simple Motif
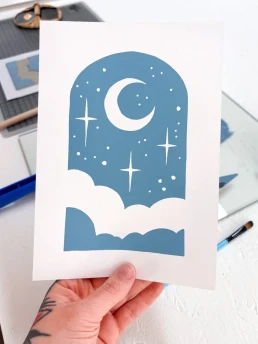
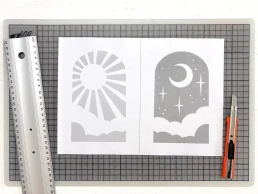
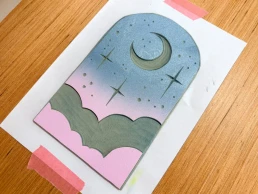
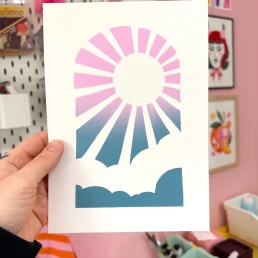
Start small. Choose elements that are forgiving. Floral shapes often work well. For this tutorial, I chose an arched window shape with a few stars, clouds, and a moon – the areas you carve away will print white. The sun version is even simpler to carve. Just choose the one you prefer.
Avoid too many details – linocut thrives on contrast, not complexity.
2. Transfer the Design onto the Lino
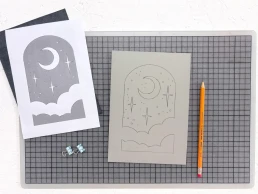
Draw your design on paper in the size you want your final print to be. If you don’t want to draw your own, feel free to use my template. Your image will print in reverse, so either flip it beforehand or accept the mirror image. If you aren’t using text in your design, it usually doesn’t matter. If you want, you can use my template – it’s already mirrored and fits an A5 lino plate.
Transfer the design onto the lino using carbon paper.
Everything you carve away will not be printed.
3. Carve the Lino Block
Start with a fine blade and carefully follow the lines. Repeat the process with a wider blade to protect your design from accidental slips. Use light pressure – the blade should glide through the material, not scratch or drag. The angle of the blade helps control this.
Remove the areas you want to stay white using wider blades. The Pfeil B7/14 or L7/10 are ideal for clearing larger areas.
Always carve away from your hand! Ideally use both hands while carving so you don’t cut yourself – a non-slip mat helps.
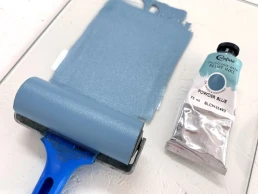
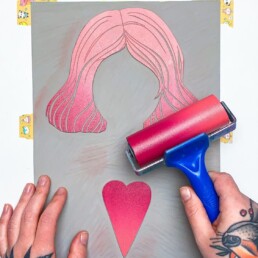
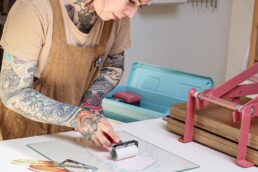
4. Apply the Ink
Roll out a small amount of ink on your inking surface until it forms an even layer. You can use ink straight from the tube or mix your own shade – with five primary colours, you can mix a huge range of tones.
The ink layer should be thin and even. If it looks patchy or too thick, it’s probably too much ink. If your print looks patchy, it’s usually due to too little pressure, too little ink, or unsuitable paper.
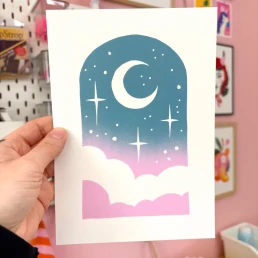
For the moon motif, I chose a ready-mixed colour: “Powder Blue” by Cranfield – an oil-based, water-washable ink.
5. Printing Your Linocut – How It Works
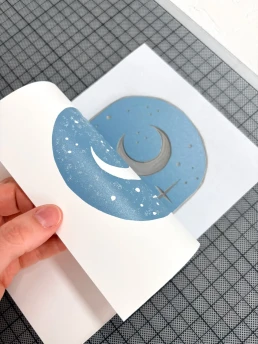
If you want a clean border around your image, place your lino plate in the centre of a template sheet to act as registration. I trimmed away the surrounding areas of my block so only the print surface remains.
Use double-sided tape to fix the trimmed plate in place so it doesn’t slip. Then place your printing paper precisely over it.
Lay your paper gently onto the inked lino plate.
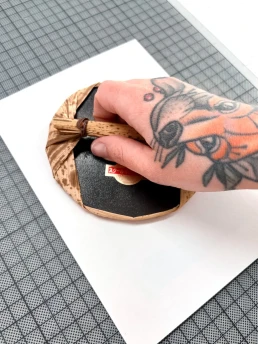
Start with a Japanese baren and move it in small circular motions across the paper. Take care not to shift the sheet.
Check your progress by gently lifting one corner while holding the rest in place to prevent slipping.
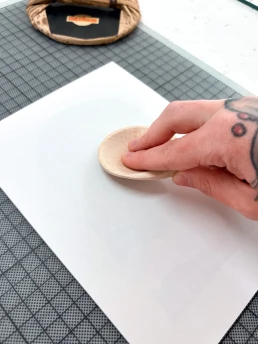
After using the baren, switch to a wooden spoon. Metal spoons heat up through friction, so wood is recommended.
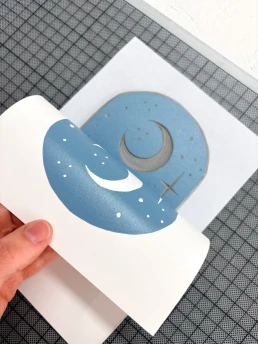
Once the print looks even, it’s time to lift the paper completely.
Your First Linocut Print
Done.
You’ve made your first linocut print.
It may not be perfect on the first try – and that’s completely normal. Linocut is a craft process, and each print brings you one step forward. Your print will still look great, because the interaction between ink and paper has its own kind of magic.

What’s Next
This is the foundation – and the same principles apply to multi-colour printing. Once you feel confident with this process, you can start exploring:
– multiple colours and gradients
– printing in layers
– more complex motifs
This is the starting point for all linocut printing.
If you’d like to build on this and learn how to plan and print clean, multi-layer designs, I guide you through it step by step in my course.
If you’d like to see which tools and materials I personally use for linocut printing, you can download my linocut tool list here.
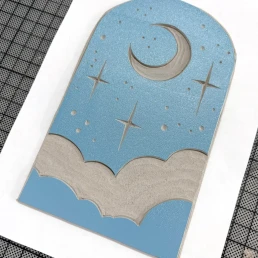
Colour Variations & Gradients
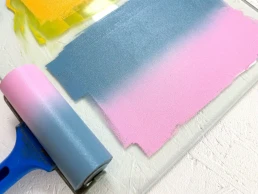
Instead of a single-colour print, you could try a gradient. As the sky at dusk often turns pink and blue, I experimented with this colour combination here.
Try out your own colour combinations. Instead of a gradient, you could also use different colours for the upper and lower sections. Let your creativity guide you.

One Final Tip
Don’t overthink your first print.
Keep it simple, finish it – and then make another.
That’s how you learn fastest and develop a feel for the process. Want to start right away? You can download the template here:
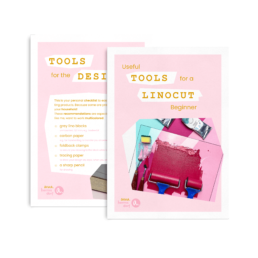
Linocut Tool Guide
Still unsure which tools and products you need for your lino printing starter kit? Just download my guide with product recommendations for linocut beginners – on 6 pages I list all the materials and tools I need to make my colorful prints – and you can do it too!
Anna Hermsdorf is a linocut designer based in Germany. She creates colourful linocut prints and teaches modern linocut techniques online and in workshops.

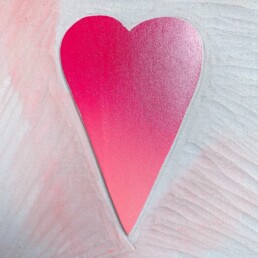
Experimenting with Metallic Linocut Inks
Experimenting with Metallic Linocut Inks: Silver + Magenta
When I started working on my newest girl, Cosmic Starlight, I wanted the colors to feel a little retro-futuristic – something between 80s space aesthetics and dreamy sci-fi illustrations.
For this print I experimented with metallic inks for the first time in a while. Instead of using silver on its own, I mixed a small amount of magenta into the metallic silver ink.
The result surprised me: the color turned into a soft lilac tone with a subtle shimmer that changes depending on the light. It’s not overly glittery, but it gives the print a slightly magical quality that fits the cosmic theme perfectly.
How I created the purple metallic shade
One thing I noticed while printing is that metallic inks behave a little differently than regular colors. They can appear quite strong on the glass slab, but once printed they often look softer and more subtle on paper. It took me a few attempts to get the perfect shade. Testing it on your actual printing paper really helps!
I documented a few moments from the process while working on the print. I mixed traditional relief ink in silver with Caligo Safe Wash relief ink in magenta – both from my favorite ink creators Cranfield. Since they are both oil-based, it doesn’t matter that one ink is water-soluble and the other isn’t. However, the ink is still harder to clean than water-soluble ink.

Traditional Relief Ink Silver pure

Silver mixed with Magenta becomes purple

Silver, Magenta and White becomes dull
The finished print is called Cosmic Starlight. It’s part of my ongoing series “Girls with Whimsical Minds” and reflects themes of retro-futurism and the space age with a subtle 80s vibe. She’s available in my Etsy Shop.


Want to explore linocut printmaking further?
If you’re curious about the tools and materials I personally use for linocut printing, you can download my linocut tool list here.
If you’d like to learn the whole process step by step — from your first sketch to your first finished print – you might also enjoy my online linocut course Cut by Cut.
Linocut Tool Guide
Still unsure which tools and products you need for your lino printing starter kit? Just download my guide with product recommendations for linocut beginners – on 6 pages I list all the materials and tools I need to make my colorful prints – and you can do it too!
Anna Hermsdorf is a linocut designer and printmaker based in Germany. She creates colorful linocut prints and teaches modern linocut techniques online and in workshops.

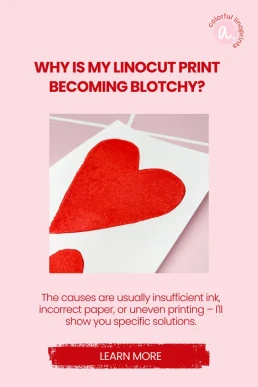
Why Is My Linocut Print Patchy? Causes and Solutions
admin
You carefully peel back the paper – and instead of an even layer of ink, you see light spots, uneven textures, or patchy areas?
A patchy linocut print is one of the most common problems, especially when printing by hand – but it can also happen when using a press. The good news: in most cases, the issue isn’t your design, but your technique or materials.
Here are the most common reasons why a linocut print turns out patchy – and how to fix it.
1. Not Enough Ink on the Block
One of the most common causes of a patchy linocut print is applying too little ink. If you can still see the surface of the lino showing through, there isn’t enough ink on the block. The result:
- light areas across the printed surface
- uneven ink coverage in certain sections
What you can do:
Roll the ink out longer on a smooth surface until it is evenly distributed. The roller should make a slight tacky sound and be coated evenly – thin but opaque. Rolling the surface from multiple angles (not just up and down) also helps!

2. Dust or Crumbs on the Block
Small lino crumbs, dust, jute fibers, or dried ink particles on your carved block can prevent clean ink transfer.
Typical signs after printing:
- small white specks in dark areas
- irregular interruptions
- tiny gaps in solid sections
Solution:
Inspect your block before every print. Blow off loose particles or jute fibers, or gently wipe the surface with a dry cloth or soft brush. Your roller should also be clean.
3. Too Little or Uneven Pressure
Especially when printing without a press, patchy results are often caused by uneven pressure. If you don’t apply consistent pressure across the entire surface, some areas will transfer more ink than others. Even when using a press, this can happen – in that case, a smaller felt blanket can help distribute pressure more precisely.
The result:
- lighter and darker zones
- uneven surfaces
- incomplete ink transfer
What helps:
Work in small circular motions across the entire surface. Pay special attention to edges and corners. Take your time – consistent pressure matters more than speed. You can carefully lift one corner of the paper occasionally to check the result underneath, then place it back gently. This helps you identify where more pressure is needed.
Also, avoid using your block like a stamp – read here what I mean by that.

4. Paper Is Too Thick or Heavily Textured
Not every type of paper is suitable for linocut printing.
Very thick or heavily textured paper (such as watercolor paper) doesn’t absorb ink as easily – especially when printing by hand. The ink may not reach every part of the paper’s surface.
Typical result:
A slightly but evenly patchy print, even though ink application and pressure seem correct.
Solution:
Use smooth, untextured paper with moderate weight. For beginners, a reliable printmaking paper that works well for hand printing makes a big difference. I recommend paper around 160 gsm.
Printing thick paper is easier with a press, but even then there are specific requirements. Read here whether you really need a press for linocut printing.
5. Water-Based Ink Dries Too Quickly
Water-based linocut ink is popular – but I’m not its biggest fan, sorry! It has more than one major drawback: it dries relatively quickly.
If too much time passes between inking the block and printing, the ink may already begin to dry. This can lead to:
- uneven ink transfer
- a grainy surface
- patchy results
What you should keep in mind:
Work efficiently after rolling out the ink. Don’t apply it too thinly, and avoid long pauses between inking and printing. Or even better: switch to oil-based, water-washable inks! You’ll find all my recommendations in my tool list.
Conclusion: A Patchy Linocut Print Is Not Random
If your linocut print turns out patchy, it’s almost always due to one of these factors:
ink amount, cleanliness of the block, pressure distribution, paper choice, or how quickly the ink dries.
The key point is:
It’s a technical issue – not a talent issue.
Once you identify the cause, you can make targeted adjustments and your prints will become much more even. Sometimes several factors interact at once. Paper, pressure, and ink influence each other more than many people realize.
Many beginners understand the theory quickly but feel uncertain when applying it in practice. Details like ink consistency or pressure control become much easier with structured guidance.
With some practice – and the right materials – clean, even results are absolutely achievable. And once the technical foundations are solid, you can focus entirely on developing your own style.
Linocut Tool Guide
Still unsure which tools and products you need for your lino printing starter kit? Just download my guide with product recommendations for linocut beginners – on 6 pages I list all the materials and tools I need to make my colorful prints – and you can do it too!
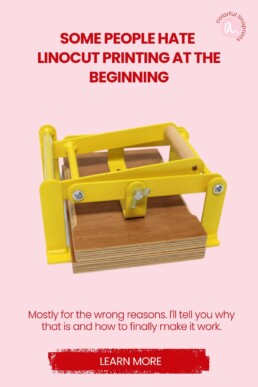
Why Beginners Hate Linocut – And How to Make It Fun
admin
I recently saw a Reel where a beginner said she just didn’t understand why everyone loves linocut – she hated every single second of it. And honestly? I had to smile, because I knew exactly why.
Not because linocut is bad. But because she was making it way harder for herself than it needed to be.
And this happens all the time. When you’re just starting out, you don’t yet know what makes the process easier or more enjoyable – so you wrestle with plates that are too hard, dull knives, and prints that never come out the way you imagined.
I remember my own start. Even though I already had a creative background, I also did pretty much everything “wrong” at first. And still, there was this instant feeling that linocut was my thing. The path to getting there? A bit bumpy.
The Main Reason Linocut Feels Frustrating
Linocut is actually a very meditative craft. You just don’t notice it until you understand a few key things.
Most beginners give up too early because they’re working with materials that are just no fun.
For example, if you grab a cheap, hard plate, you’ve already lost – you end up scraping more than cutting. The knife sticks, the linoleum cracks, your wrist aches, and you think, Why am I doing this to myself?
Same story with dull tools or designs that are way too detailed. Then there’s the ink, which spreads unevenly, and the paper sticking to the plate.
No wonder it feels like a struggle.

Linocut Can Be Easy – Really!
Once you know what really matters, everything changes.
A good, soft plate, sharp knives, a simple design, and a bit of patience – that’s all it takes.
Suddenly, the cutting flows, the inking is even, and the moment you lift your first successful print? Pure magic.
I think linocut is so much about calm, rhythm, and feeling. If you stop fighting the material and work with it, that’s when the flow everyone talks about happens.
So If You’ve Hated Linocut …
… give it another chance. Maybe it wasn’t you – maybe it was just the wrong setup.
Try better tools, simple designs, and take your time.
Linocut doesn’t have to be a fight – it can be exactly the opposite.
And I can help you with two things:
Choosing the right materials – especially as a beginner, it makes all the difference! You can download my free tool list here. Jumping straight in – if you want to get started right away, my online course is perfect for you. In it, I show you everything in video form, step by step, so you’ll know exactly how it works.
Linocut Tool Guide
Still unsure which tools and products you need for your lino printing starter kit? Just download my guide with product recommendations for linocut beginners – on 6 pages I list all the materials and tools I need to make my colorful prints – and you can do it too!
How to Clean Linoleum Blocks Without Ruining Them – Essential Tips for Linocut Artists
admin
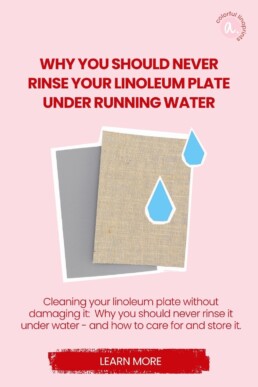
A small mistake during cleaning can have surprisingly big consequences and can be incredibly frustrating. If you rinse your linoleum block under running water, you risk warping it or even making it unusable.
Traditional grey or brown linoleum has a backing layer made of jute fibers.
If this backing becomes fully or heavily saturated with water, the fibers contract as they dry.
The result? The block starts to warp and curve upward – almost as if it dries crooked.
Unfortunately, this is very difficult to reverse. Printing with a warped linoleum block is frustrating and imprecise, and the only real fix would be mounting it onto a rigid surface. But it doesn’t have to come to that.
How to Clean Linoleum Plates Properly
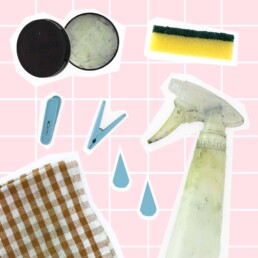
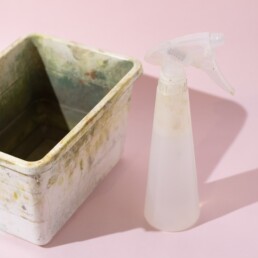
You don’t need running water to remove ink after printing.
A bowl of water, a sponge, and some dish soap are enough – assuming you’re working with water-based inks, of course! My recommendations for beginner-friendly inks are here.
Extra tip: An old towel or dishcloth is perfect for cleaning — but not as you might expect. Place your lino block on top of it to prevent moisture from soaking into the jute fibers!

A box with water and a spray bottle
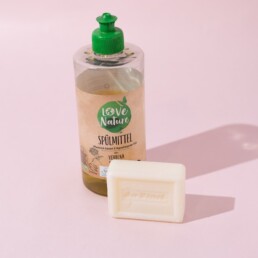
Dish soap or a simple bar of soap
Thin dish sponges and cloths
Proper Storage = Longer-Lasting Plates
Proper storage is just as important. Linoleum blocks should be kept flat and dry.
That way, they won’t bend or collect dust on the surface.
If you print often, it’s worth setting up a dedicated drawer or folder to store your blocks — neat, accessible, and protected. I store them in plastic boxes called “SAMLA” from IKEA.
More Tips in My Online Course
In my online linocut course, there’s an entire module dedicated to cleaning and storing your printing tools.
In three video lessons, you’ll learn:
✔ How to set up a practical, space-saving cleaning station
✔ Simple rules to keep your tools in perfect shape
✔ The best way to store your materials for long-lasting quality
I’d love to welcome you to my course and guide you on your creative journey into the colorful world of linocut!
Linocut Tool Guide
Still unsure which tools and products you need for your lino printing starter kit? Just download my guide with product recommendations for linocut beginners – on 6 pages I list all the materials and tools I need to make my colorful prints – and you can do it too!
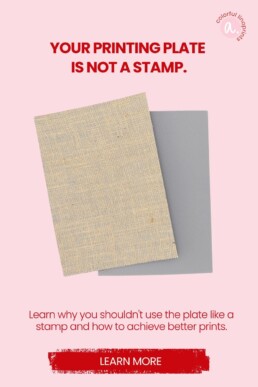
Stop Pressing Your Linocut Like a Stamp – Do This Instead!
admin
Let’s talk about another common mistake — this time it happens during the printing stage of linocut! This one mainly affects those who print with traditional linoleum — the gray or brown sheets with jute fabric on the back.
You press your linoleum block down onto the paper like a stamp. The order is wrong — the right way is to place the paper on top of the block. So: block on the bottom, paper on top! The difference is that you have much more control over your printing result. Linoleum plates are quite stiff compared to rubber stamps, so they don’t press down evenly. As a result, your print will likely have missing areas where the ink didn’t transfer properly — simply because you can’t see where more pressure is needed.
My way to handle it
If you place your linoleum block flat on the table and lay the paper over it, you can carefully lift the paper in certain spots during printing to check how it’s going. Missing color? Then you probably need more pressure — or a little more ink! With a bit of practice, you can easily roll on extra ink. I show you exactly how to do this step by step in my online course. Perfect, even, and consistent prints are the goal — and we can achieve that together!
Especially if you print by hand
When you print without a press, every print takes time, effort, and energy. So it’s even more frustrating when one turns out badly. I’ll show you how to save your prints and avoid this mistake next time.
Interested? I’d love to have you join my course and print along with me!
Linocut Tool Guide
Still unsure which tools and products you need for your lino printing starter kit? Just download my guide with product recommendations for linocut beginners – on 6 pages I list all the materials and tools I need to make my colorful prints – and you can do it too!
How to Get the Right Ink Amount in Linocut Printing – Avoid Common Mistakes
admin
Getting the right amount of ink is one of the trickiest parts of linocut printing. Too much or too little ink — both can mess up your print. The good news: once you know what to look (and listen!) for, it’s easy to fix.
Too much ink – why it becomes a problem
Using too much ink isn’t the end of the world, but it often leads to messy results. You’ll notice ink spreading beyond the carved areas or fine lines filling in and disappearing.
Another issue: oil-based inks take much longer to dry when applied too thickly. A normal, thin layer may dry in a few days, but if it’s too heavy, your print can stay tacky for weeks.
How to tell you’re using too much ink
You can see it and hear it! If there’s too much ink on your roller, it will sound like you’re walking through mud — a wet, sticky noise while rolling.
The right amount of ink sounds smooth, quiet, and almost dry. In my online course, I even show you a short video lesson where you can hear and see the difference — and learn exactly how to find that sweet spot.
Too little ink? No big deal!
Having too little ink is far less of a problem. You can simply add a bit more or increase the pressure while printing.
The secret to beautiful linocut prints lies in the balance between ink, paper, and pressure. Once you get a feel for it, your prints will come out clean and vibrant.
If a print doesn’t turn out perfectly, don’t get discouraged. Often, small adjustments are all it takes to improve your results.
In my online course, I’ll guide you step by step through finding the perfect ink amount, achieving strong and even coverage — and rediscovering the joy of printing.
Linocut Tool Guide
Still unsure which tools and products you need for your lino printing starter kit? Just download my guide with product recommendations for linocut beginners – on 6 pages I list all the materials and tools I need to make my colorful prints – and you can do it too!

Dangerous Carving Mistake — How to Avoid Getting Hurt
admin
Dangerous Carving Mistake — How to Avoid Getting Hurt
This mistake is particularly serious because it can quickly lead to real injuries. Carving demands full attention. Even if you’re careful, it has probably happened to almost everyone: the carving knife slips and suddenly a finger is cut. It’s awful — and very often preventable.
Why this happens so often
Cheap carving knife sets dull quickly. When a blade no longer cuts cleanly, the knife is more likely to slip. Many beginners also put their hands in the wrong place — that raises the risk even more. Combine dull blades with poor hand placement and you’ve got a recipe for accidents.

Why dull blades are more dangerous than you think
Dull blades force you to apply extra pressure. That reduces control and can cause sudden, jerky movements when the blade finally gives way — sometimes toward your hand. A sharp blade cuts with less effort and glides through the material. Sharpening isn’t optional — it’s safety work.
Practical safety rules for carving
- Keep blades sharp: Sharpen regularly or replace disposable blades.
- Correct hand placement: Keep the non-cutting hand out of the blade’s path.
- Cut away from the body: Prefer cuts that move away from you, not toward you.
- Stable work surface: Use a steady table and a non-slip mat.
- Invest in quality tools: Better blades hold an edge longer and are safer.
- Take breaks: If you’re tired, put the knife down. Concentration protects.
- First aid ready: Have a small first-aid kit on hand and know where to get help.
More safety tips in my course
This doesn’t have to happen. In my course I show you how to sharpen blades safely, how to position your hands, which knives are worth having and ergonomic techniques to reduce strain. Carving can be incredibly calming and meditative — when done safely. If you want, I’ll guide you step by step.
Linocut Tool Guide
Still unsure which tools and products you need for your lino printing starter kit? Just download my guide with product recommendations for linocut beginners – on 6 pages I list all the materials and tools I need to make my colorful prints – and you can do it too!
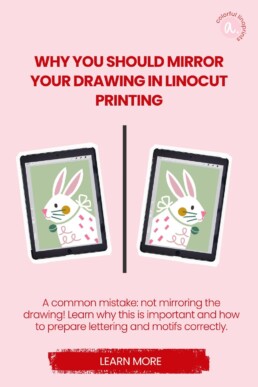
Common Linocut Beginner Mistake: Forgetting to Mirror Your Drawing
admin
One of the most common linocut beginner mistakes happens before you even start carving: you forget to mirror your drawing. That happens quickly — especially if you draw directly onto the linoleum block (and yes, I’ve done it too 😄).
This mistake becomes critical if your design includes text or lettering. Once printed, all letters appear backwards — and your print might be ruined before you notice.
How to avoid this mistake
Mistakes are great for learning — but some are better avoided right away.
In my online linocut course for beginners, I guide you step by step through how to plan and mirror your designs correctly.
You can work traditionally on paper or digitally on the iPad Pro — whichever helps you visualize your layout more clearly.
Drawing directly on the linoleum can work, but if you want to print multiple color layers, planning your design first is essential.
Planning is everything
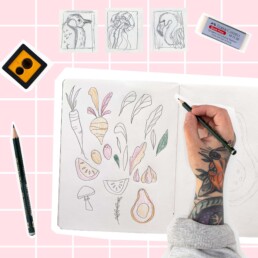
What works best for me is starting with a small sketch in my sketchbook. It helps define the composition and gives a clear idea of how the final print will look. I often find inspiration on Pinterest — but I’ve learned that spontaneous doodling rarely results in a harmonious, well-balanced print.
If you’d like some guidance to jump-start your linocut journey, my course walks you through the entire process — from the first sketch to your finished print.
Linocut Tool Guide
Still unsure which tools and products you need for your lino printing starter kit? Just download my guide with product recommendations for linocut beginners – on 6 pages I list all the materials and tools I need to make my colorful prints – and you can do it too!
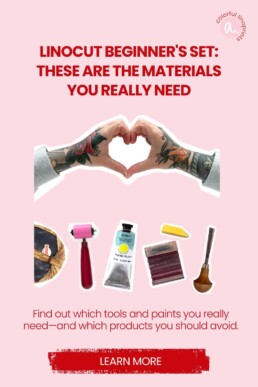
Linocut beginner's set: These are the materials to get started
admin
Once your interest in linocut is sparked, you probably want to stock up on all the necessary linocut materials, right? But where do you start? A quick Google search will show you countless beginner linocut kits – and at first, that looks super convenient.
However, many of these starter kits are filled with cheap, beginner-unfriendly products. Dull blades, old hard linoleum blocks, or ink that dries too quickly can quickly lead to frustration.
In the worst case, you grab one of these kits and lose interest before you even properly start printing.
Why Cheap Linocut Kits Often Lead to Frustration
I don’t want to generalize about every product—but most affordable beginner linocut kits on the market are unfortunately low-quality.
If you’re serious about this hobby, it’s worth putting together your own linocut starter kit with high-quality linocut materials that will support you as you start.
And if you’re not sure whether you’ll really enjoy linocut: good materials can always be resold later. But if you buy a bad kit and don’t enjoy it, that money is truly lost.
Linocut for Beginners: What Do You Actually Need?
Start simple: draw your design on paper or directly on the linoleum block.
Tracing paper is perfect for transferring multi-layered designs or saving leftover ink.
Keep your design simple at first, and work in A5 format. Tip: buy your linoleum blocks online—you’re more likely to get fresh, soft linoleum. I’ve been using Essdee UK blocks for years.
To transfer your design onto the block, use carbon paper or charcoal paper. Just place it between your drawing and the linoleum, trace the lines, and voilà—your design is on the block.

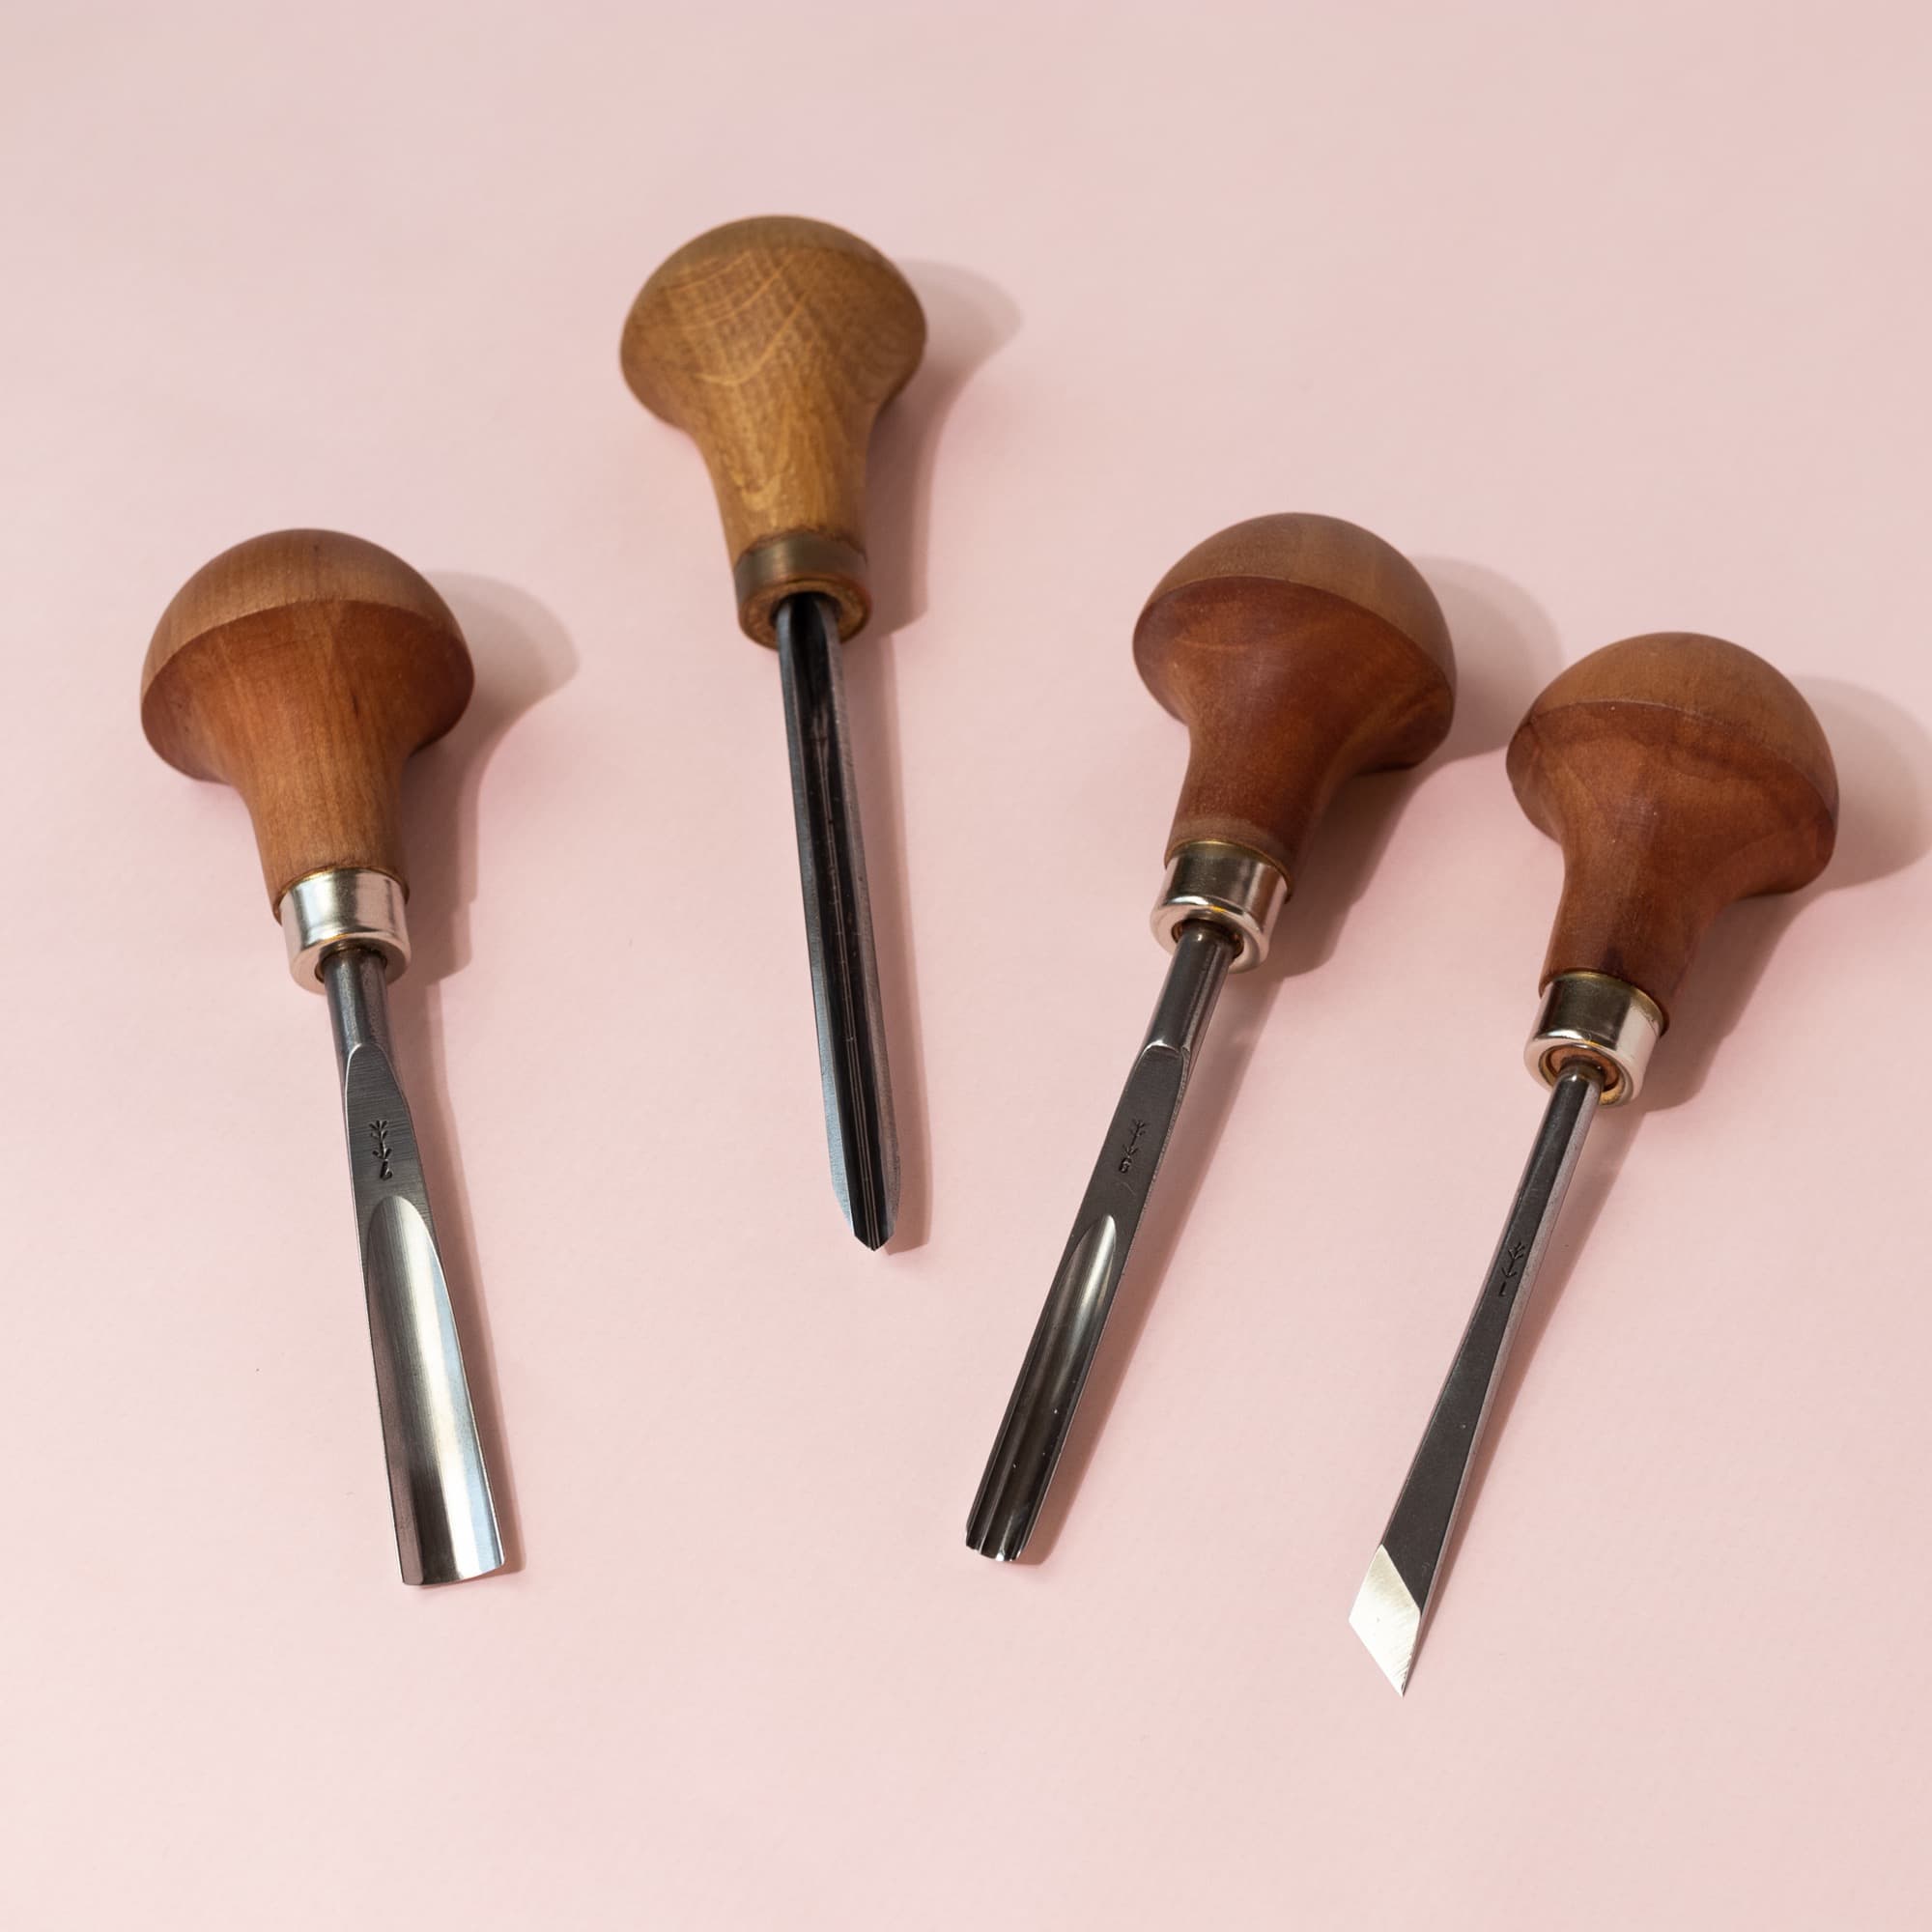
Carving: The Heart of Your Linocut Starter Kit
To protect your workspace, a cutting mat or cardboard is enough.
The carving tools are essential for both fun and success: I recommend Pfeil tools—they cost around €16 each, but you really only need 3–4 sizes.
Using dull tools makes carving tedious and unsafe because it’s easy to slip.
My favorites:
-
Pfeil L 12/4 or L 11/0.5 for fine lines
-
L 9/5 for broader areas
-
L 7/10 or B7/14 for backgrounds
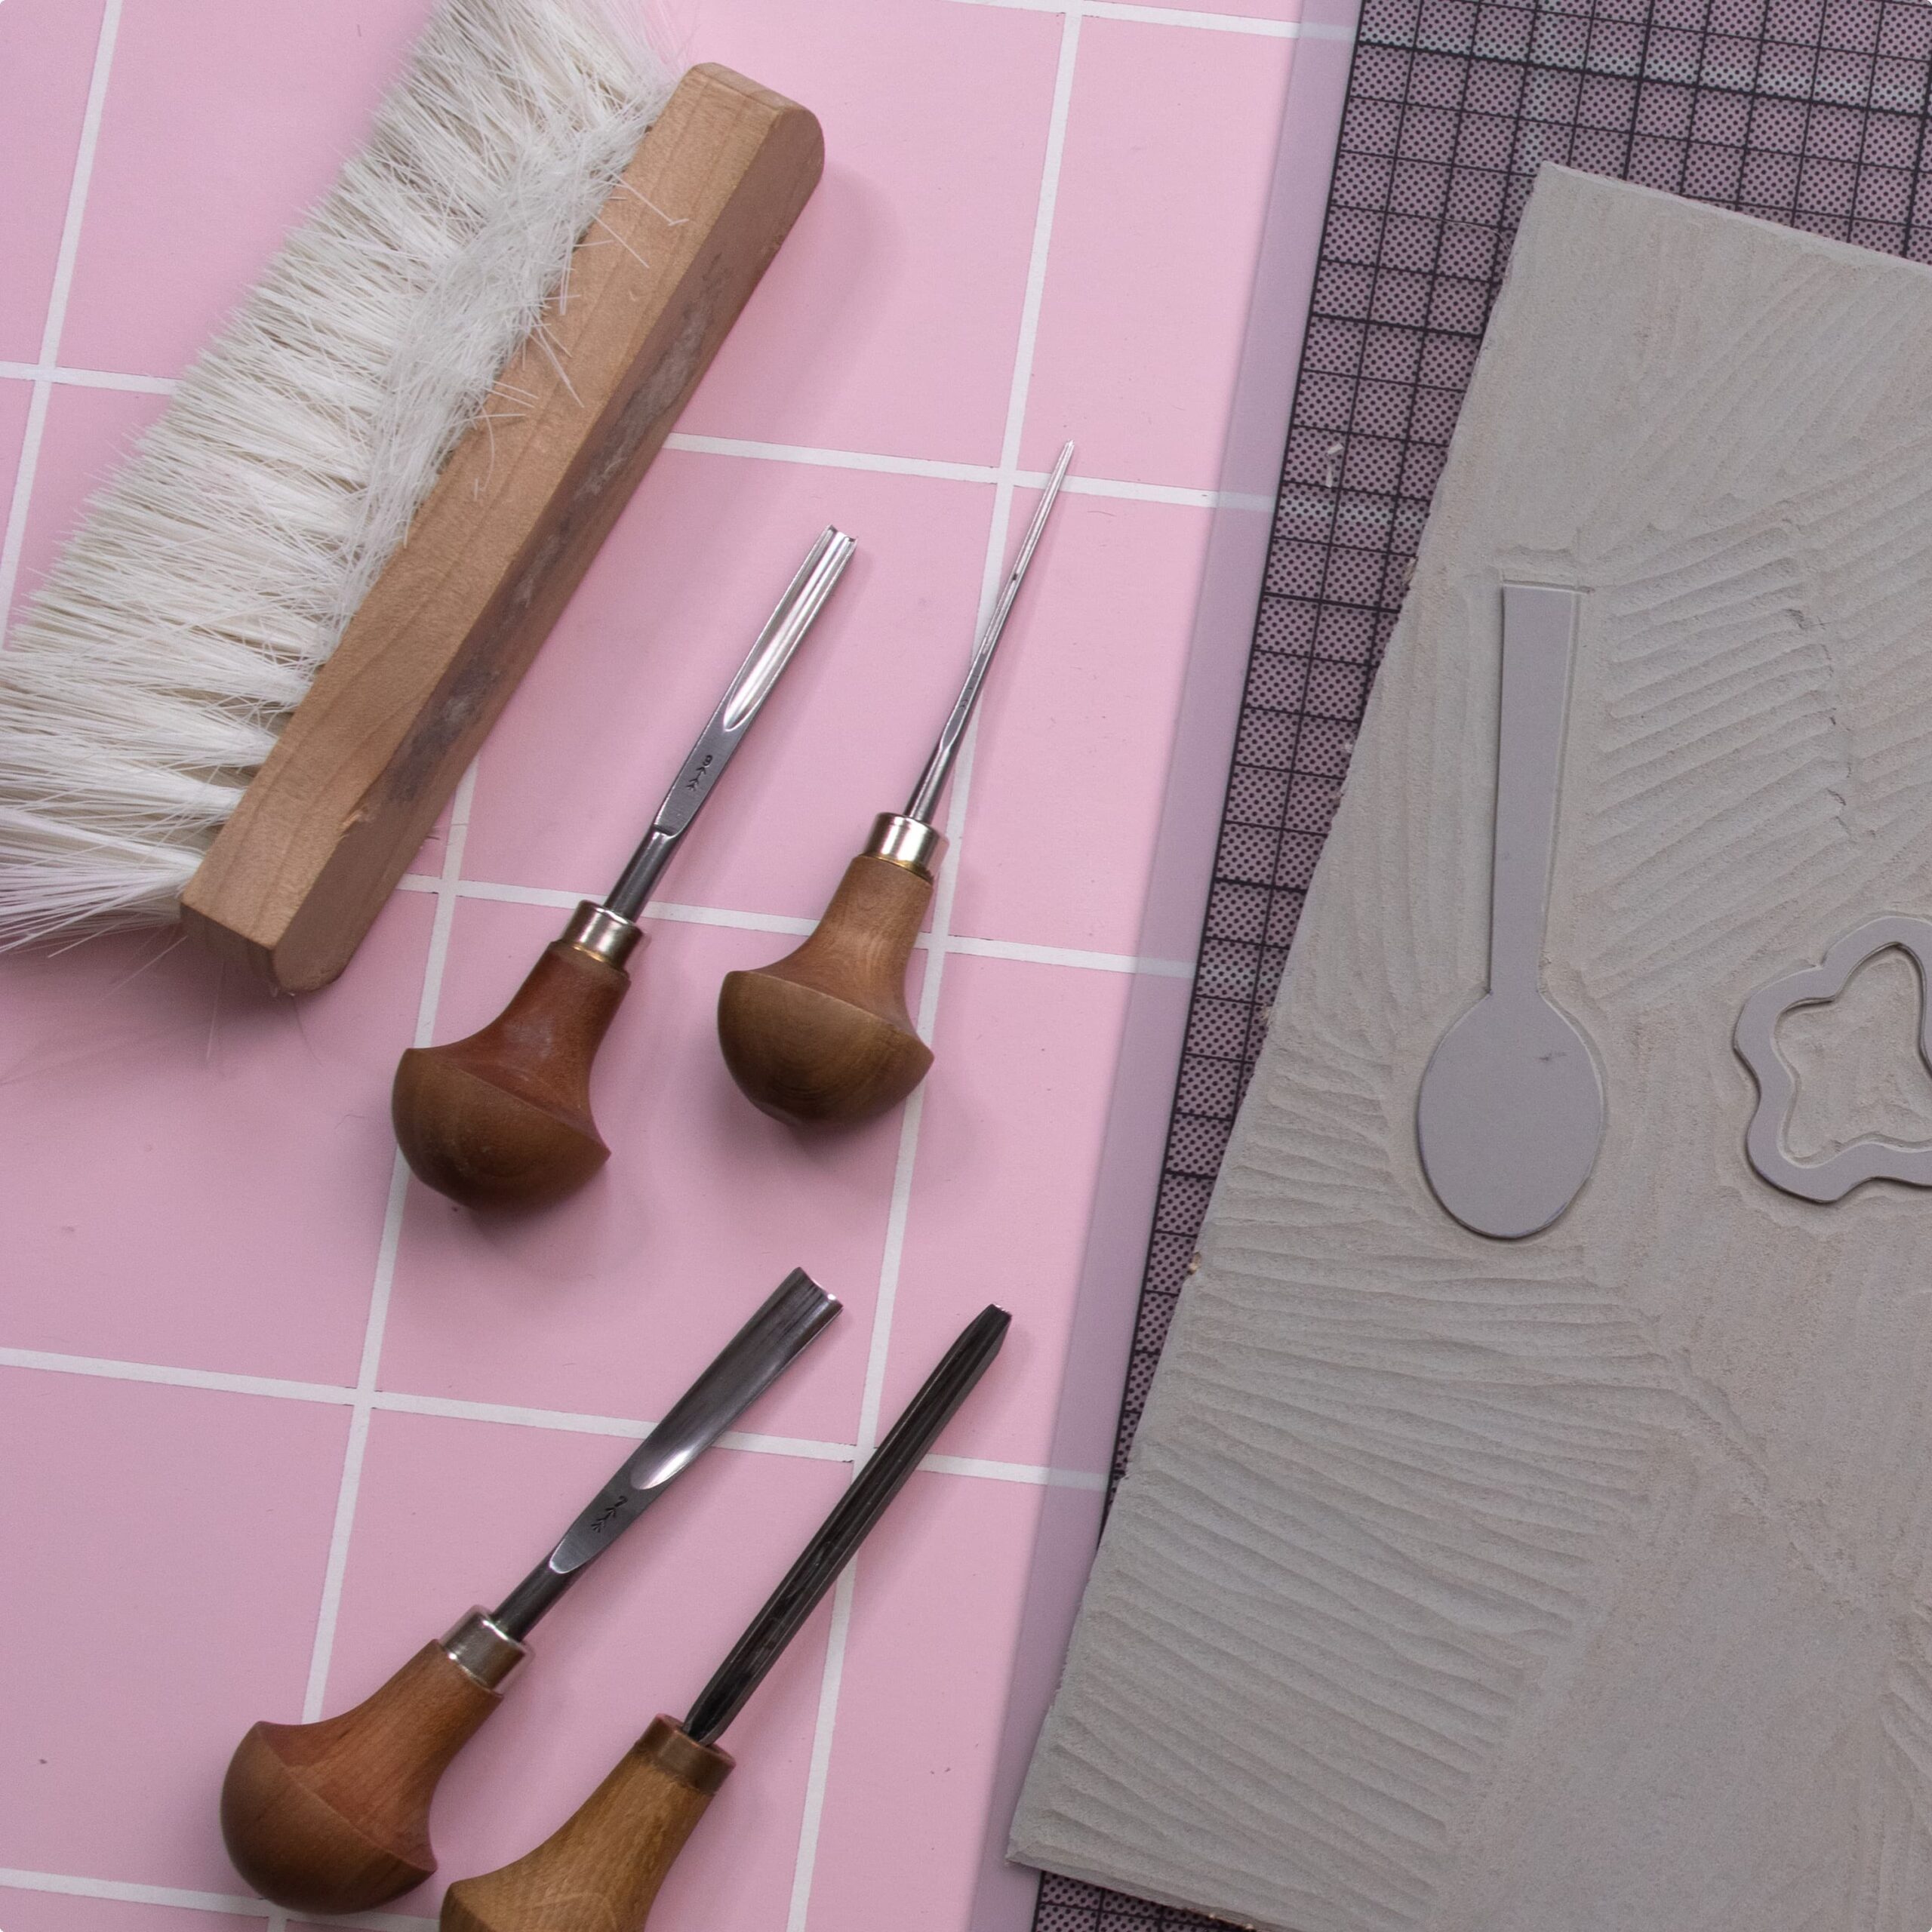
Additionally, get a sharpening set (e.g., from Flexcut) and a hand brush or wide brush to remove shavings. Bench clamps help secure your block to the table, making carving safer.
Printing Without a Press: It’s Easier Than You Think
You’ll need:
-
Paper (120–180 g, smooth, e.g., Design Offset White)
-
Two rollers (narrow + medium, Speedball Soft Rubber works best)
-
A palette or mixing surface (glass or plastic)
-
A palette knife for mixing
-
And of course, ink
💡 Tip: You don’t need a printing press! A Japanese baren and a wooden spoon are more than enough to achieve excellent prints.
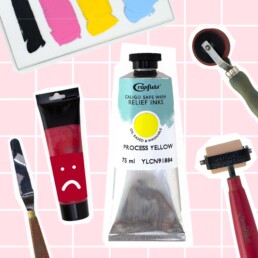
The best results come from oil-based or water-soluble inks—I recommend Cranfield Caligo Safe Wash Relief Ink (green label). It dries slowly but cleans easily with water and soap.
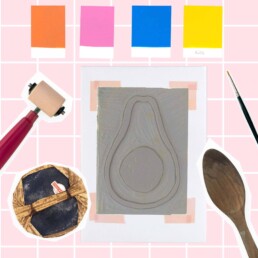
For beginners, five colors are enough: white, black, magenta, yellow, and Prussian blue or Cyan.
For drying, hang your prints with clips on a drying rack. Oil-based inks take at least a day to dry.
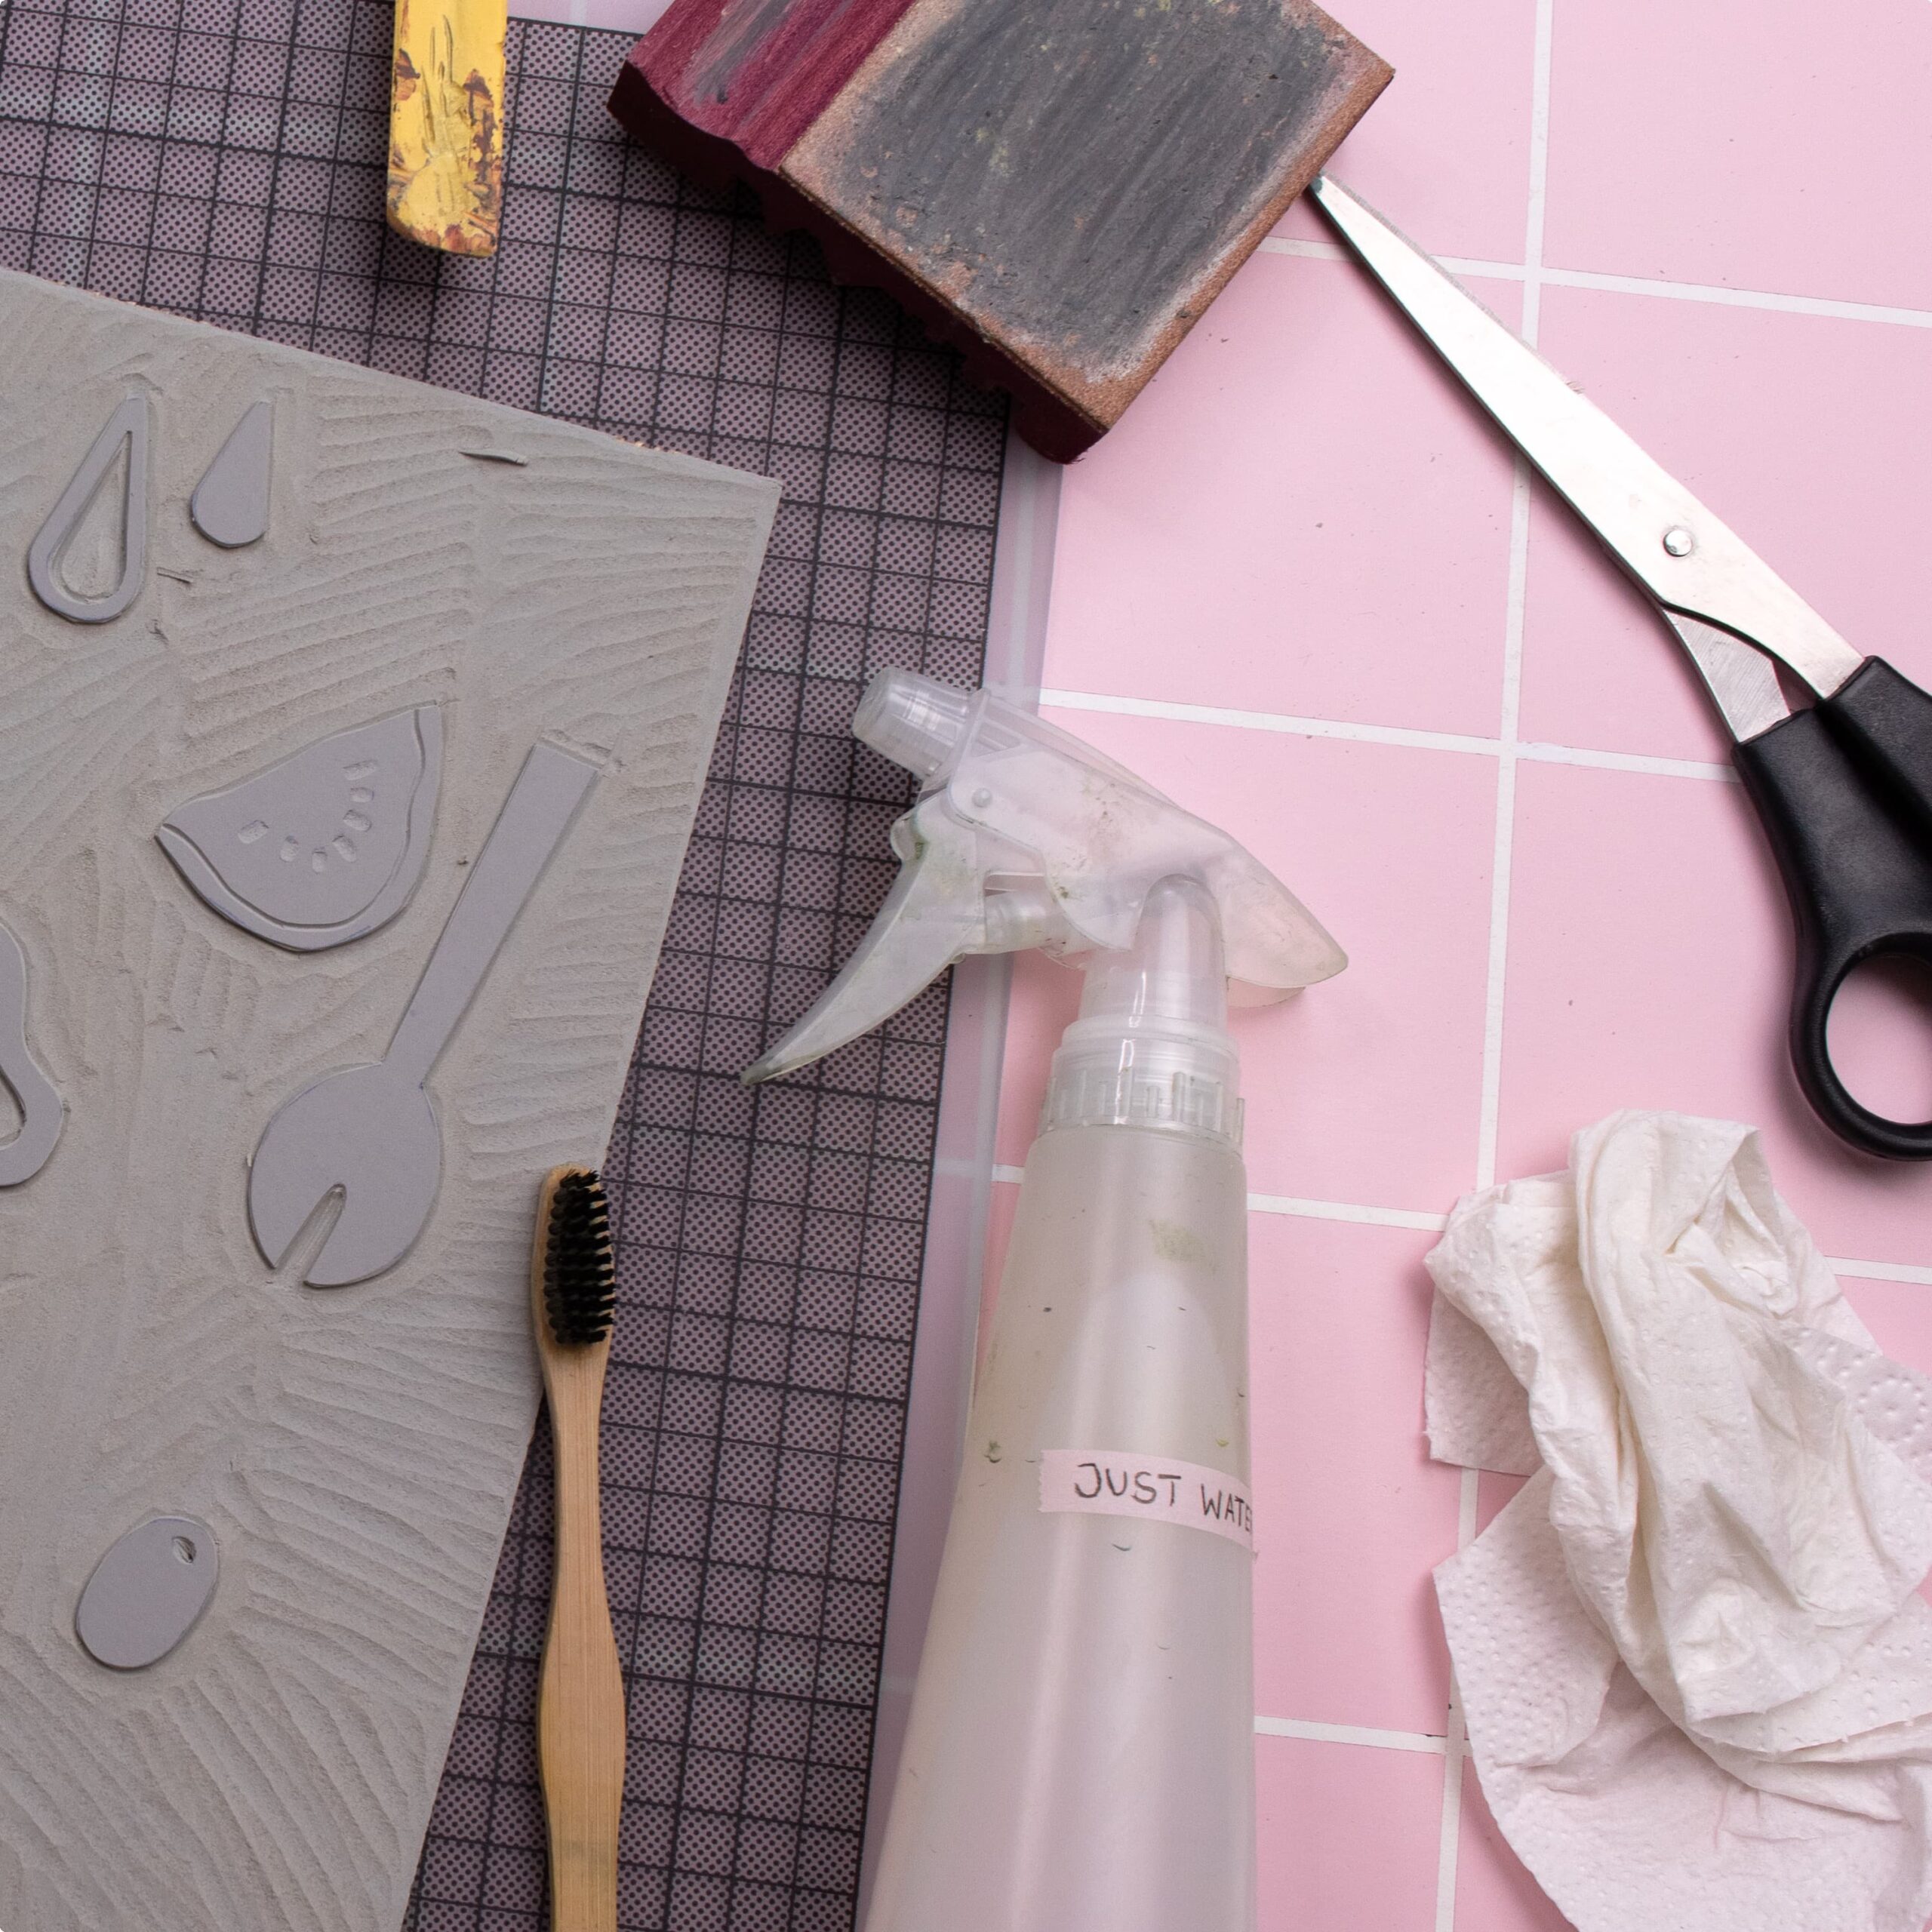
Cleaning Linocut Materials and Storing Ink
For cleaning, you need:
-
A small box of water
-
Sponge, soap, gloves, and old cloths
Never rinse your linoleum block under running water! This can distort the jute fibers and ruin your block.
You can store leftover ink on small pieces of tracing paper: cut a 10×10 cm square, scrape the ink onto it, fold, and seal with tape—your mini ink packet is ready!
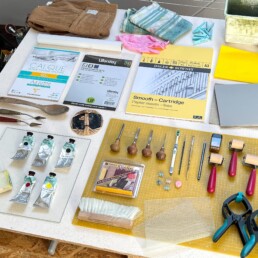
Your Linocut Starter Kit at a Glance
That’s really all you need to get started!
With just a few high-quality linocut materials, you can assemble a beginner kit that motivates you rather than frustrates you.
👉 Download my free PDF with all the recommended products as a convenient shopping list.
👉 Or read here about why linocut can feel challenging at the beginning.
Linocut Tool Guide
Still unsure which tools and products you need for your lino printing starter kit? Just download my guide with product recommendations for linocut beginners – on 6 pages I list all the materials and tools I need to make my colorful prints – and you can do it too!