Instructions for your lino printing starter set
Once your interest in linocut print is sparked, you want to stock up on the necessary tools and products asap, right?
But where do you start? A quick search on Google will spit out beginner sets for you, and that seems all too convenient! But – these sets often consist of inexpensive products that are not very beginner-friendly. Dull blades, hard old linoleum blocks, ink that starts drying during the process. In the worst case, you’ll be frustrated quickly.
I don’t want to criticize all products on the market, but unfortunately this is true for most of the sets you will find during your research.
If you are serious about your hobby and want to have fun with it, you should put together your own starter set from high-quality products that can “compensate” for your (still) missing skill.
If you don’t have time to read, just download my lino tool guide as a PDF and you have a list of useful products for all stages: Design and Transfer, Carving, Printing, Cleaning.
If you’re not sure if you’ll enjoy printing yet, you can sell the products later. In all likelihood, however, you will probably NOT enjoy it if you buy the cheap sets – then the money is definitely wasted.
My recommendations therefore refer to products and tools that I have been working with for years out of conviction – which I present to you now.
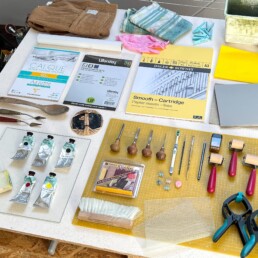
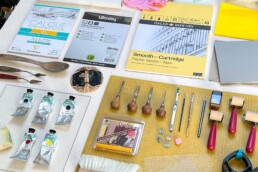
Linocut print - What do you need?
For your design you can start on paper, in a sketchbook or on copy paper. If you are brave, you can also draw directly on the linoleum block!
Tracing paper is a great choice for creating designs with multiple layers of color! You can also use tracing paper to store excess ink, more on that later.

Choose your design rather simple and in A5 format. Accordingly, I advise you to buy your linoleum blocks in A5 (or divide an A4 block in the middle). Traditional gray linoleum is less crumbly and softer than brown linoleum. The blocks from Essdee UK are great, I’ve been using them for years.
Note: Lino from your local creative supply store CAN be rock hard. I buy these online only, there’s a higher chance of getting a relatively fresh (and softer) block!
You can transfer your design to the linoleum block using carbon paper or charcoal paper. You place this between the linoleum block and your printout/ drawing and trace all the lines of your design. These are then transferred to the block by the pressure of the pen.
Carving
A mat to protect your workspace is useful – whether you use grayboard, a tablecloth, or a cutting mat is up to you!
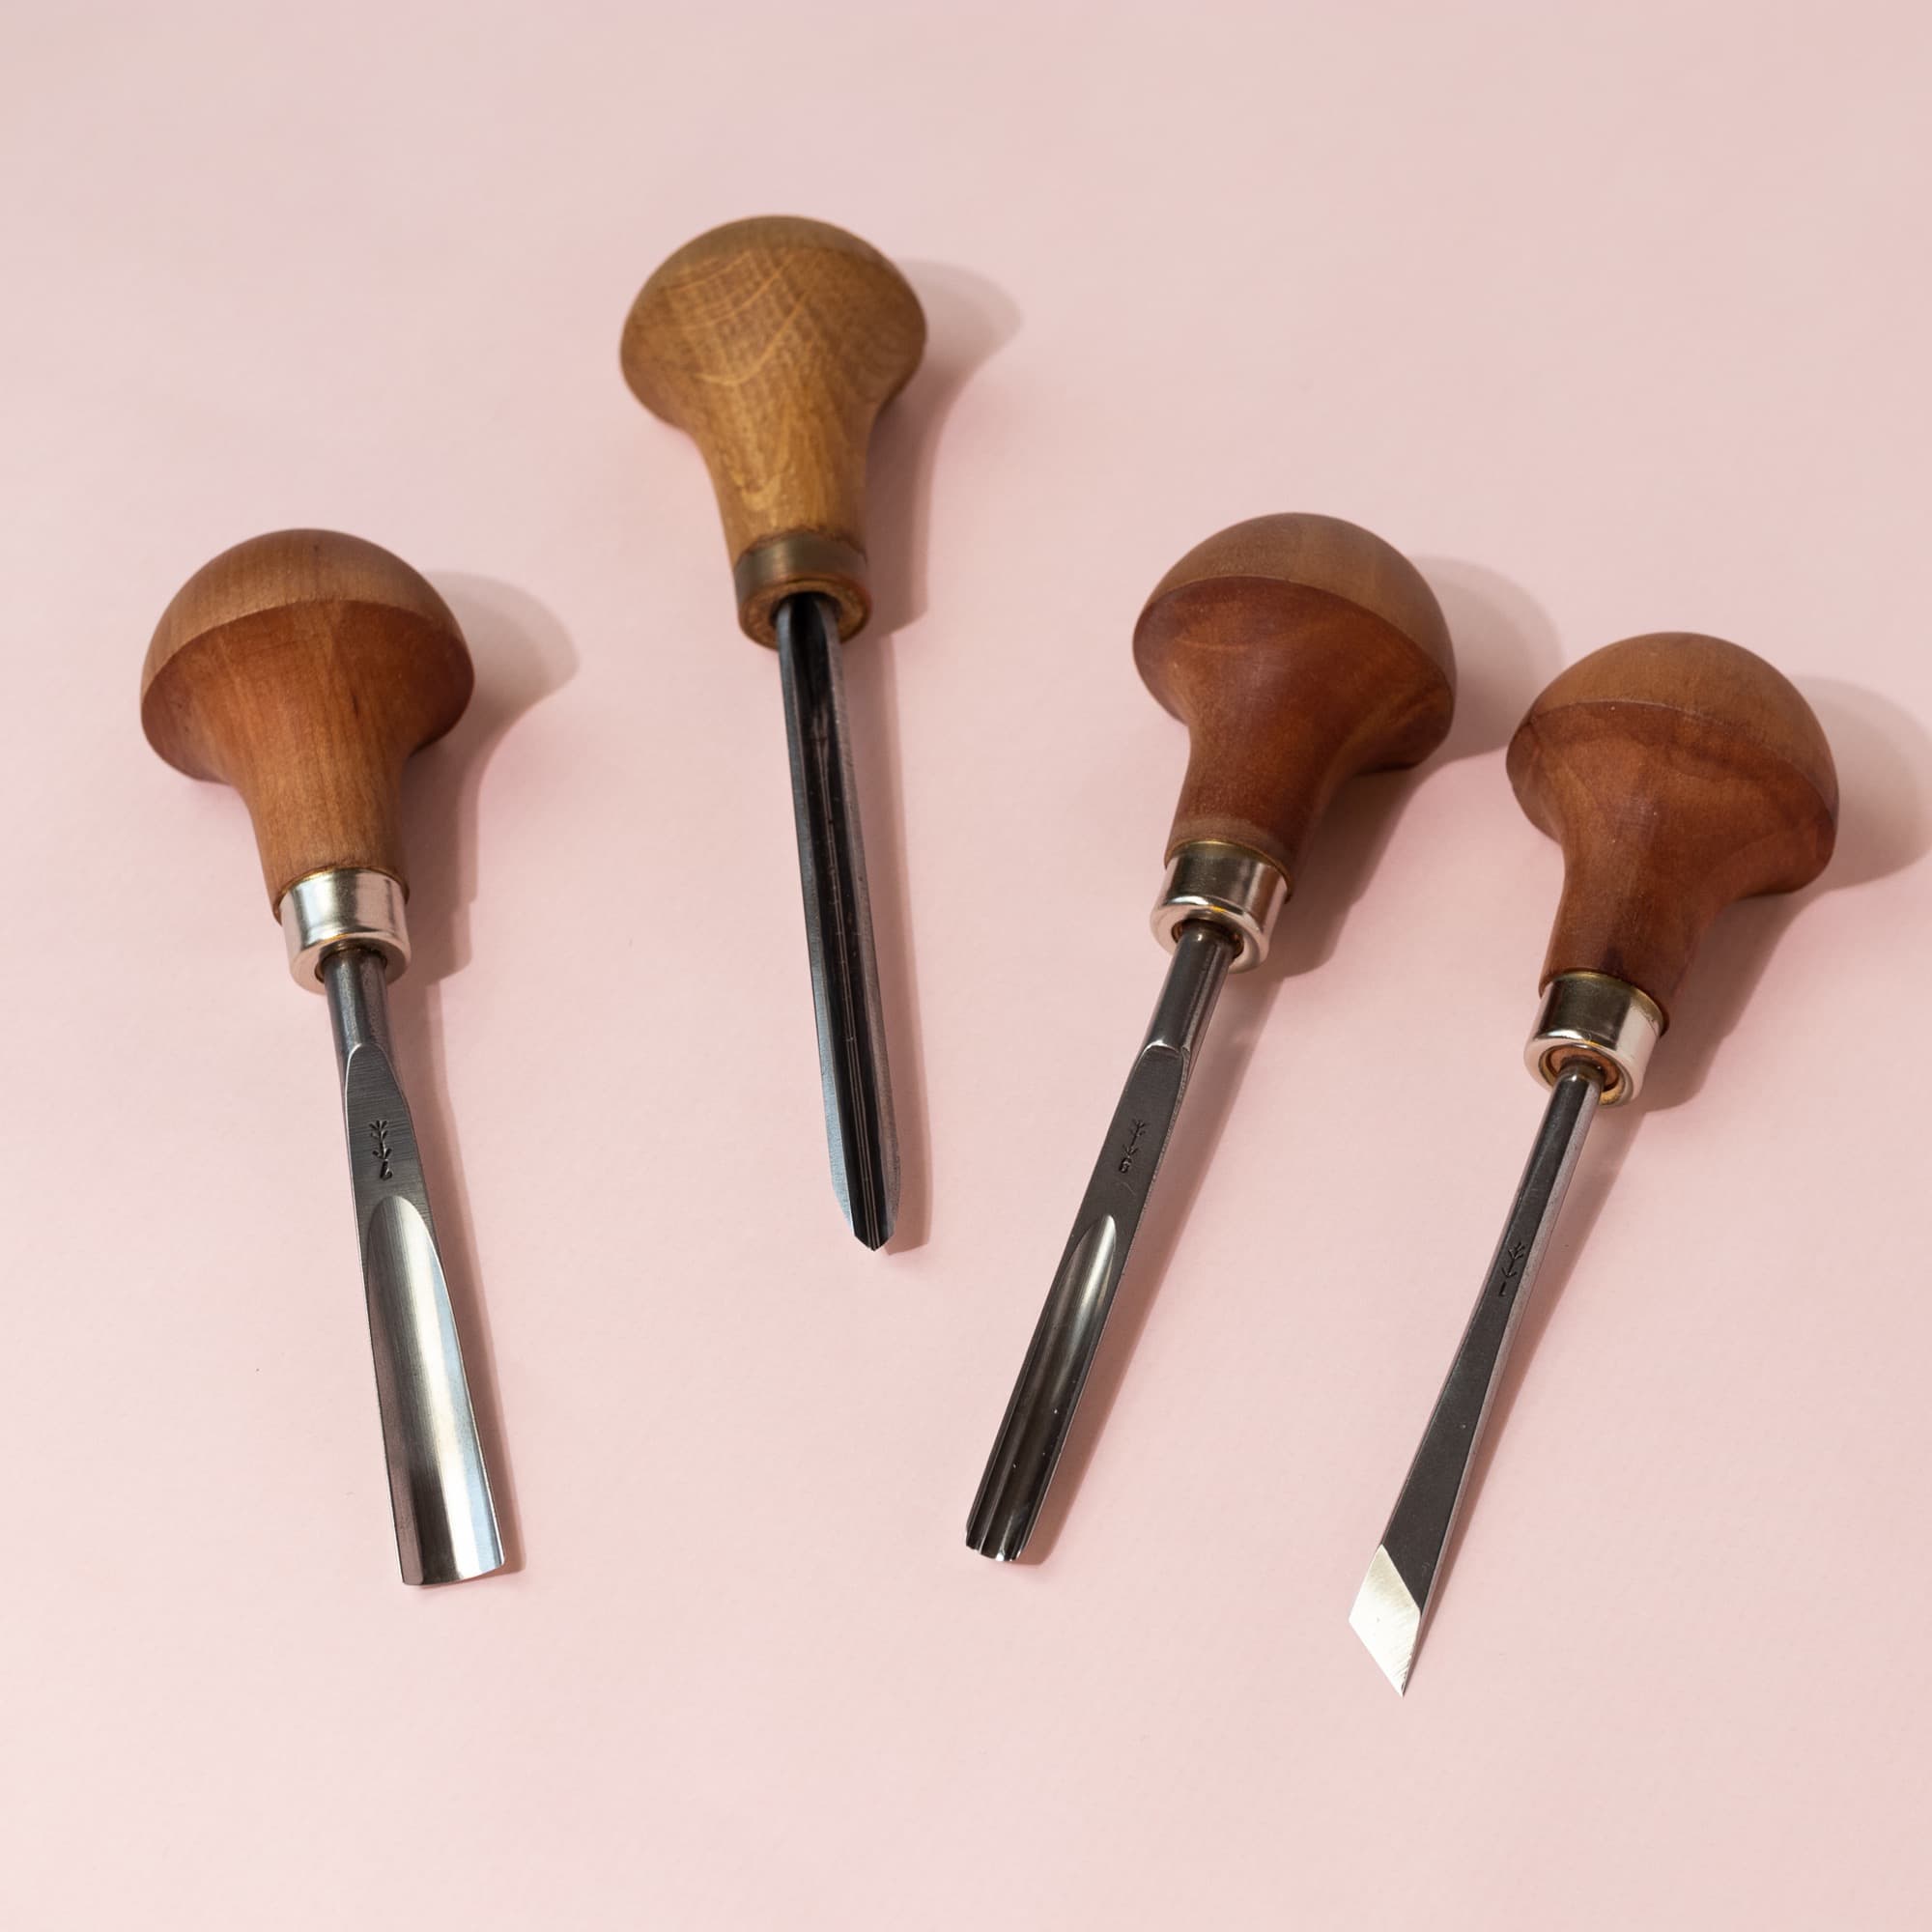
The heart of the process is the carving tools. I highly recommend the ones from the Swiss brand Pfeil. Yes, they cost about 16 Euros each (in Germany) – but you won’t need more than 3-4 different sizes. They are a long-term investment in your hobby and an essential factor that decides whether you will find fun in linocut or not. Cheap tools almost always have the disadvantage of not being sharp enough. This makes carving an incredible feat of strength, and what’s more, it can be really dangerous. With blunt tools you slip much faster than with sharp tools!
Which sizes you should get depends on how you want to work. For many fine details you need other sizes than for a reduced style like I have. So my favorites are: Pfeil L 12/4 or L 11/0.5 for line work, L9/5 for coarser work, and L 7/10 or B 7/14 for large-scale background removal.
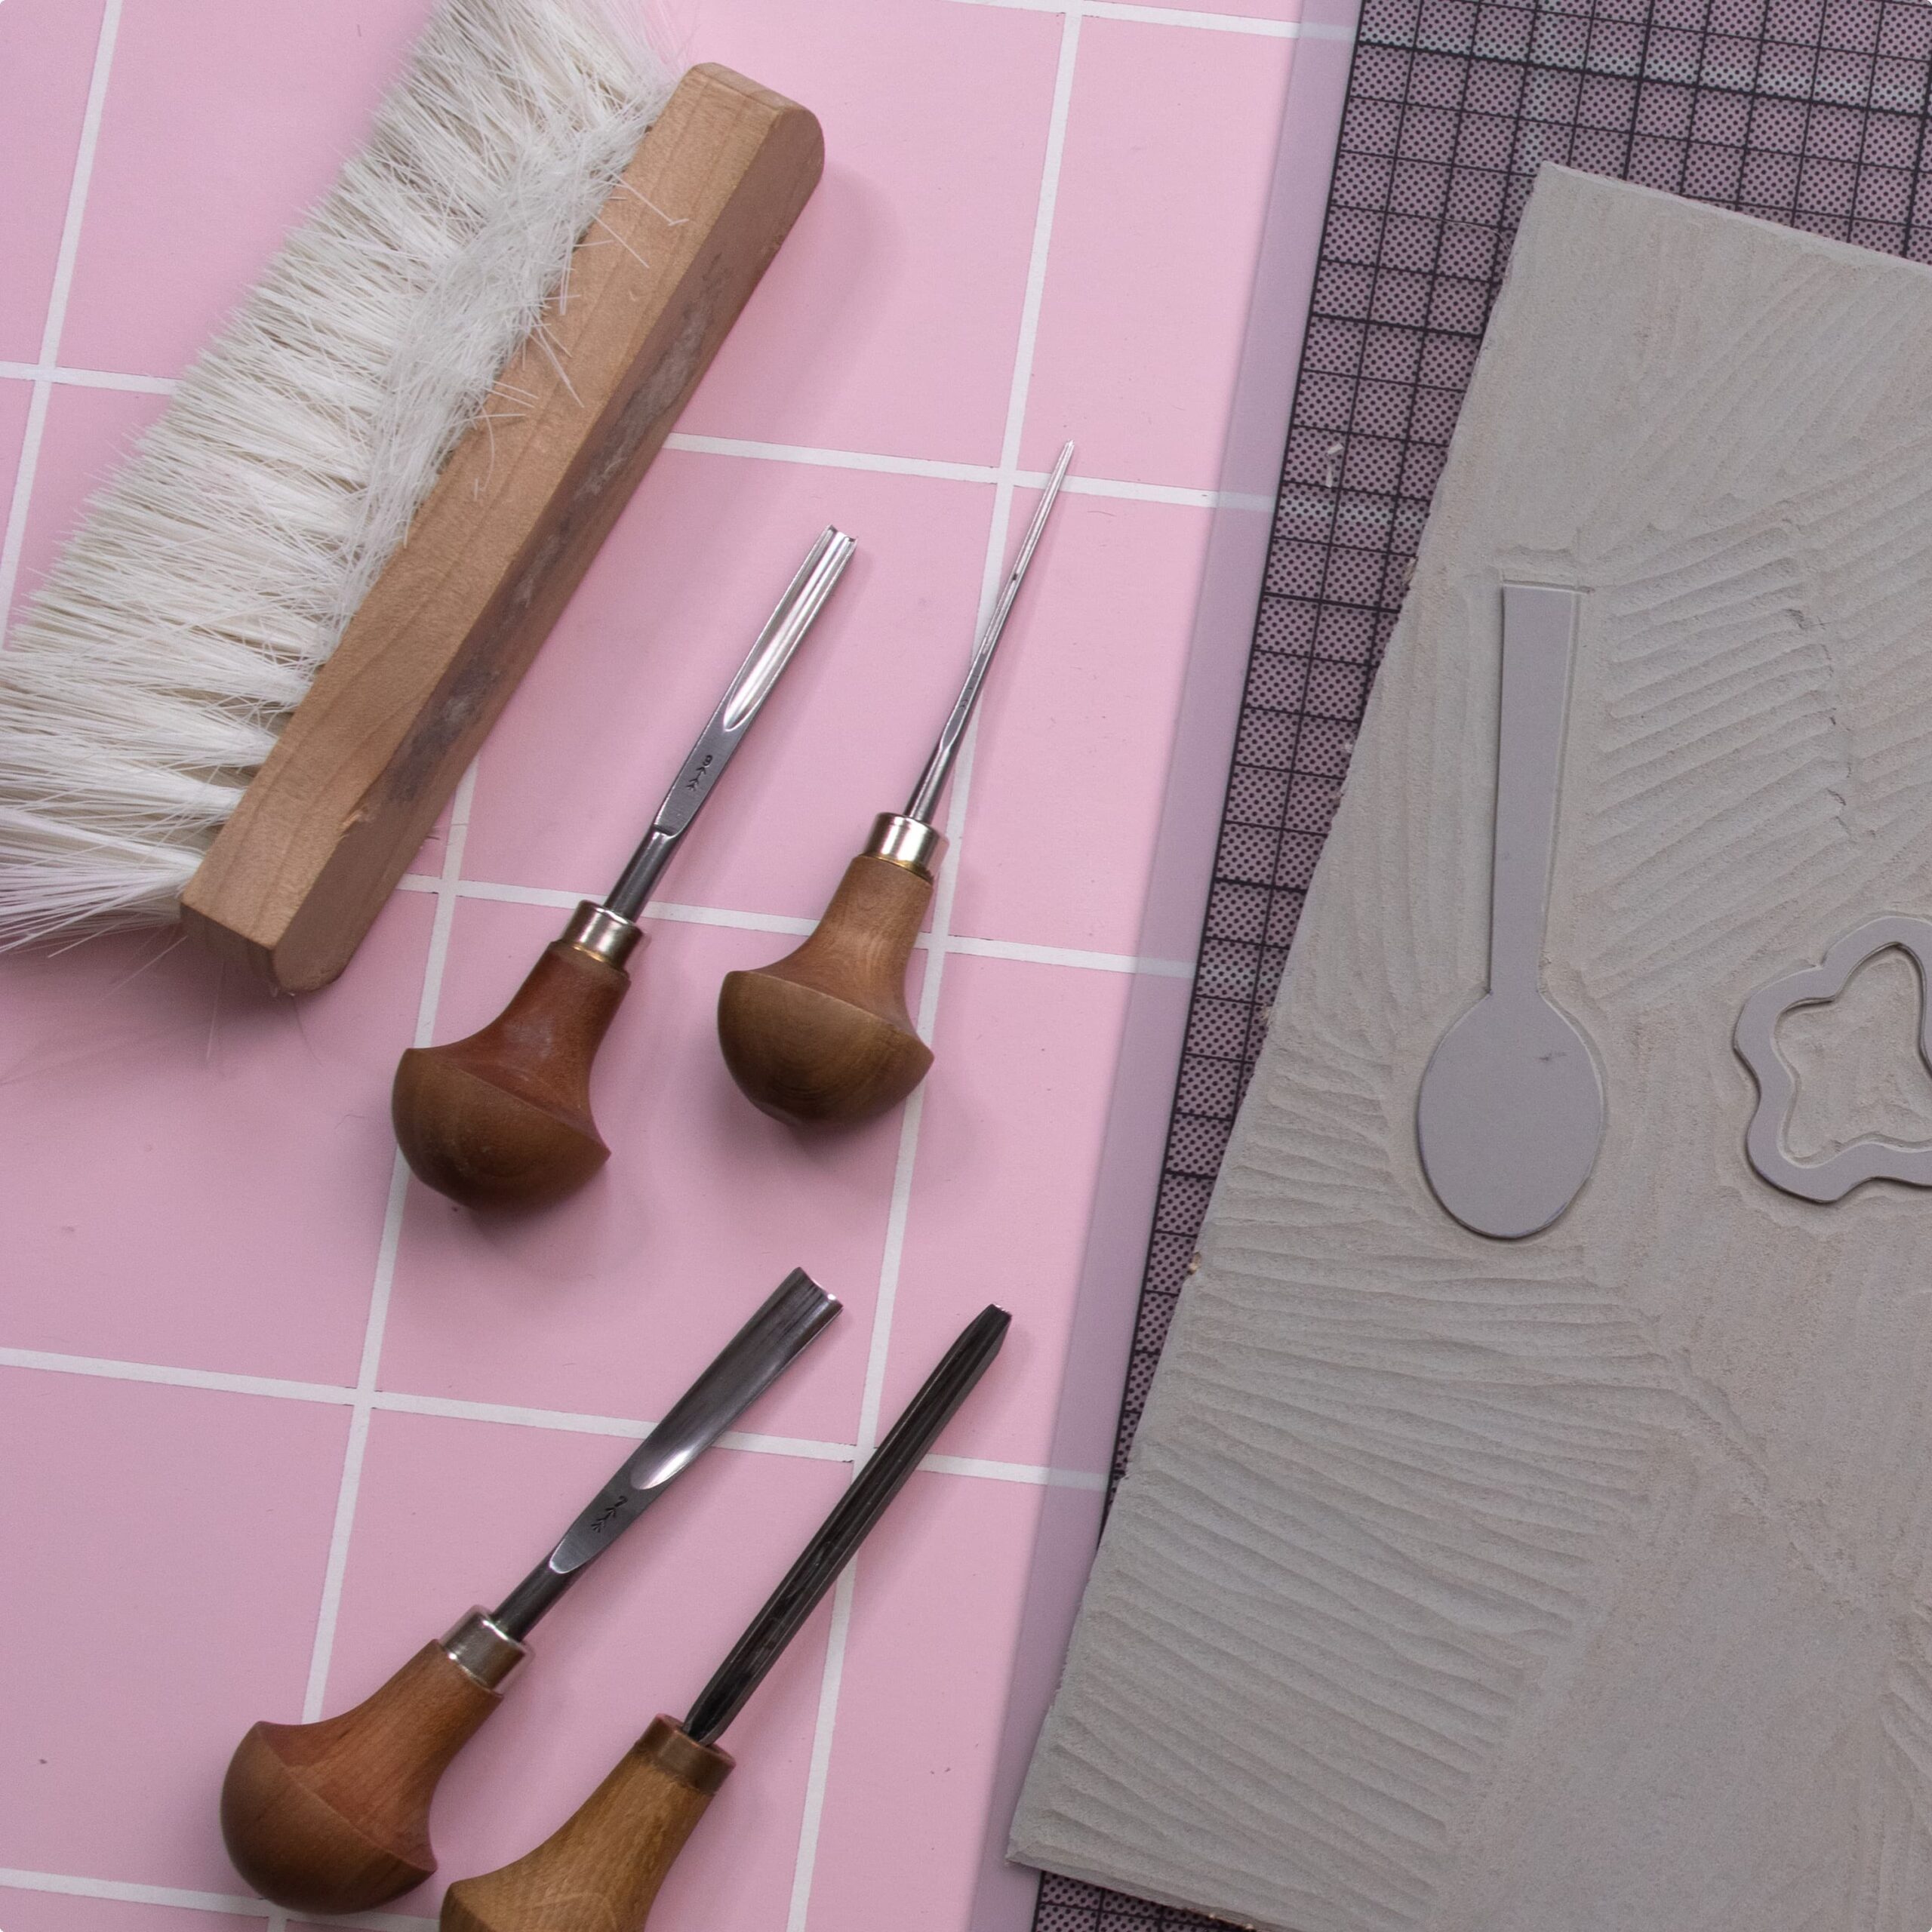
Useful: a sharpening kit to keep the blades of your tools sharp. This set from Flexcut comes with a sharpening paste and an abrasive and is very easy to use.
Also useful: a hand sweeper to remove linoleum scraps (alternatively: a wide bristled painter’s brush) and large spring clamps to fix the linoleum block to the table. This way you have your hands free while carving.
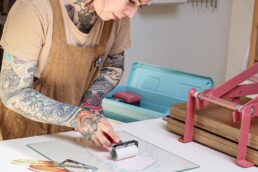
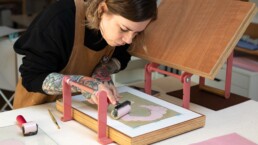
Printing without a press
Must haves are paper, brayers, a mixing pad, an object to apply pressure, painting knives and inks.
- Paper: I use basic paper from a print shop. 160 gsm from the brand "Design Offset White". Generally, smooth drawing paper in a 120-180 gram range is very suitable and easier to print on than heavy or even textured paper!
- Ink roller: Two different sizes will do for now, like a narrow and a medium size. My favorites are the Speedball Soft Rubber. I do not recommend to go for the rollers with thin steel wire frame and hard rubber. In the beginning, you don't have a feeling for pressure and ink application or application quantity, so the inexpensive rollers are often rather frustrating to use.
- Color mixing pad: For mixing and rolling out the ink you can take a glass plate (IKEA glass shelf), a big tile or a similar smooth surface such as plastic. About A4 size is sufficient.
- Painting knives: To mix ink so-called painting knives are suitable. Two pieces are enough. They are available in sets made of plastic or metal. Here you can reach for cheap products first!
- Pressure: First of all - you do not need a printing press! In the long run, you will certainly want to buy one, but you absolutely do not have to in order to achieve excellent printing results!
A good alternative is the combination of a wooden spoon and a Japanese baren. The baren provides the initial pressure, the wooden spoon (cooking spoon or from salad cutlery for example) is used specifically to rub over the paper and bring the ink from the linoleum block to the paper. - Inks: oil based AND water soluble inks are the best you can buy. Oil based gives great color results and you are not under time pressure when working. Cause water-based inks often dry during the printing process! Then the print becomes very blotchy or in the worst case you have to tear the paper off the linoleum block. If you want to make use of the whole color palette, you only need 5 inks! White, black, blue (Prussian blue), magenta, yellow. The inks from Cranfield are the very best, I have been swearing by them for over 4 years! The exact name is Caligo Safe Wash Relief Ink (green label). Easy to clean with soap and water!
- Drying: Also useful is a clothes rack with pegs to hang the damp prints until they are dry. This takes at least 1 day or longer for oil-based inks. Protect your clothes, the stains from the ink won't wash out. An apron or an old large t-shirt will do the trick.
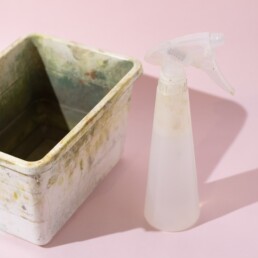
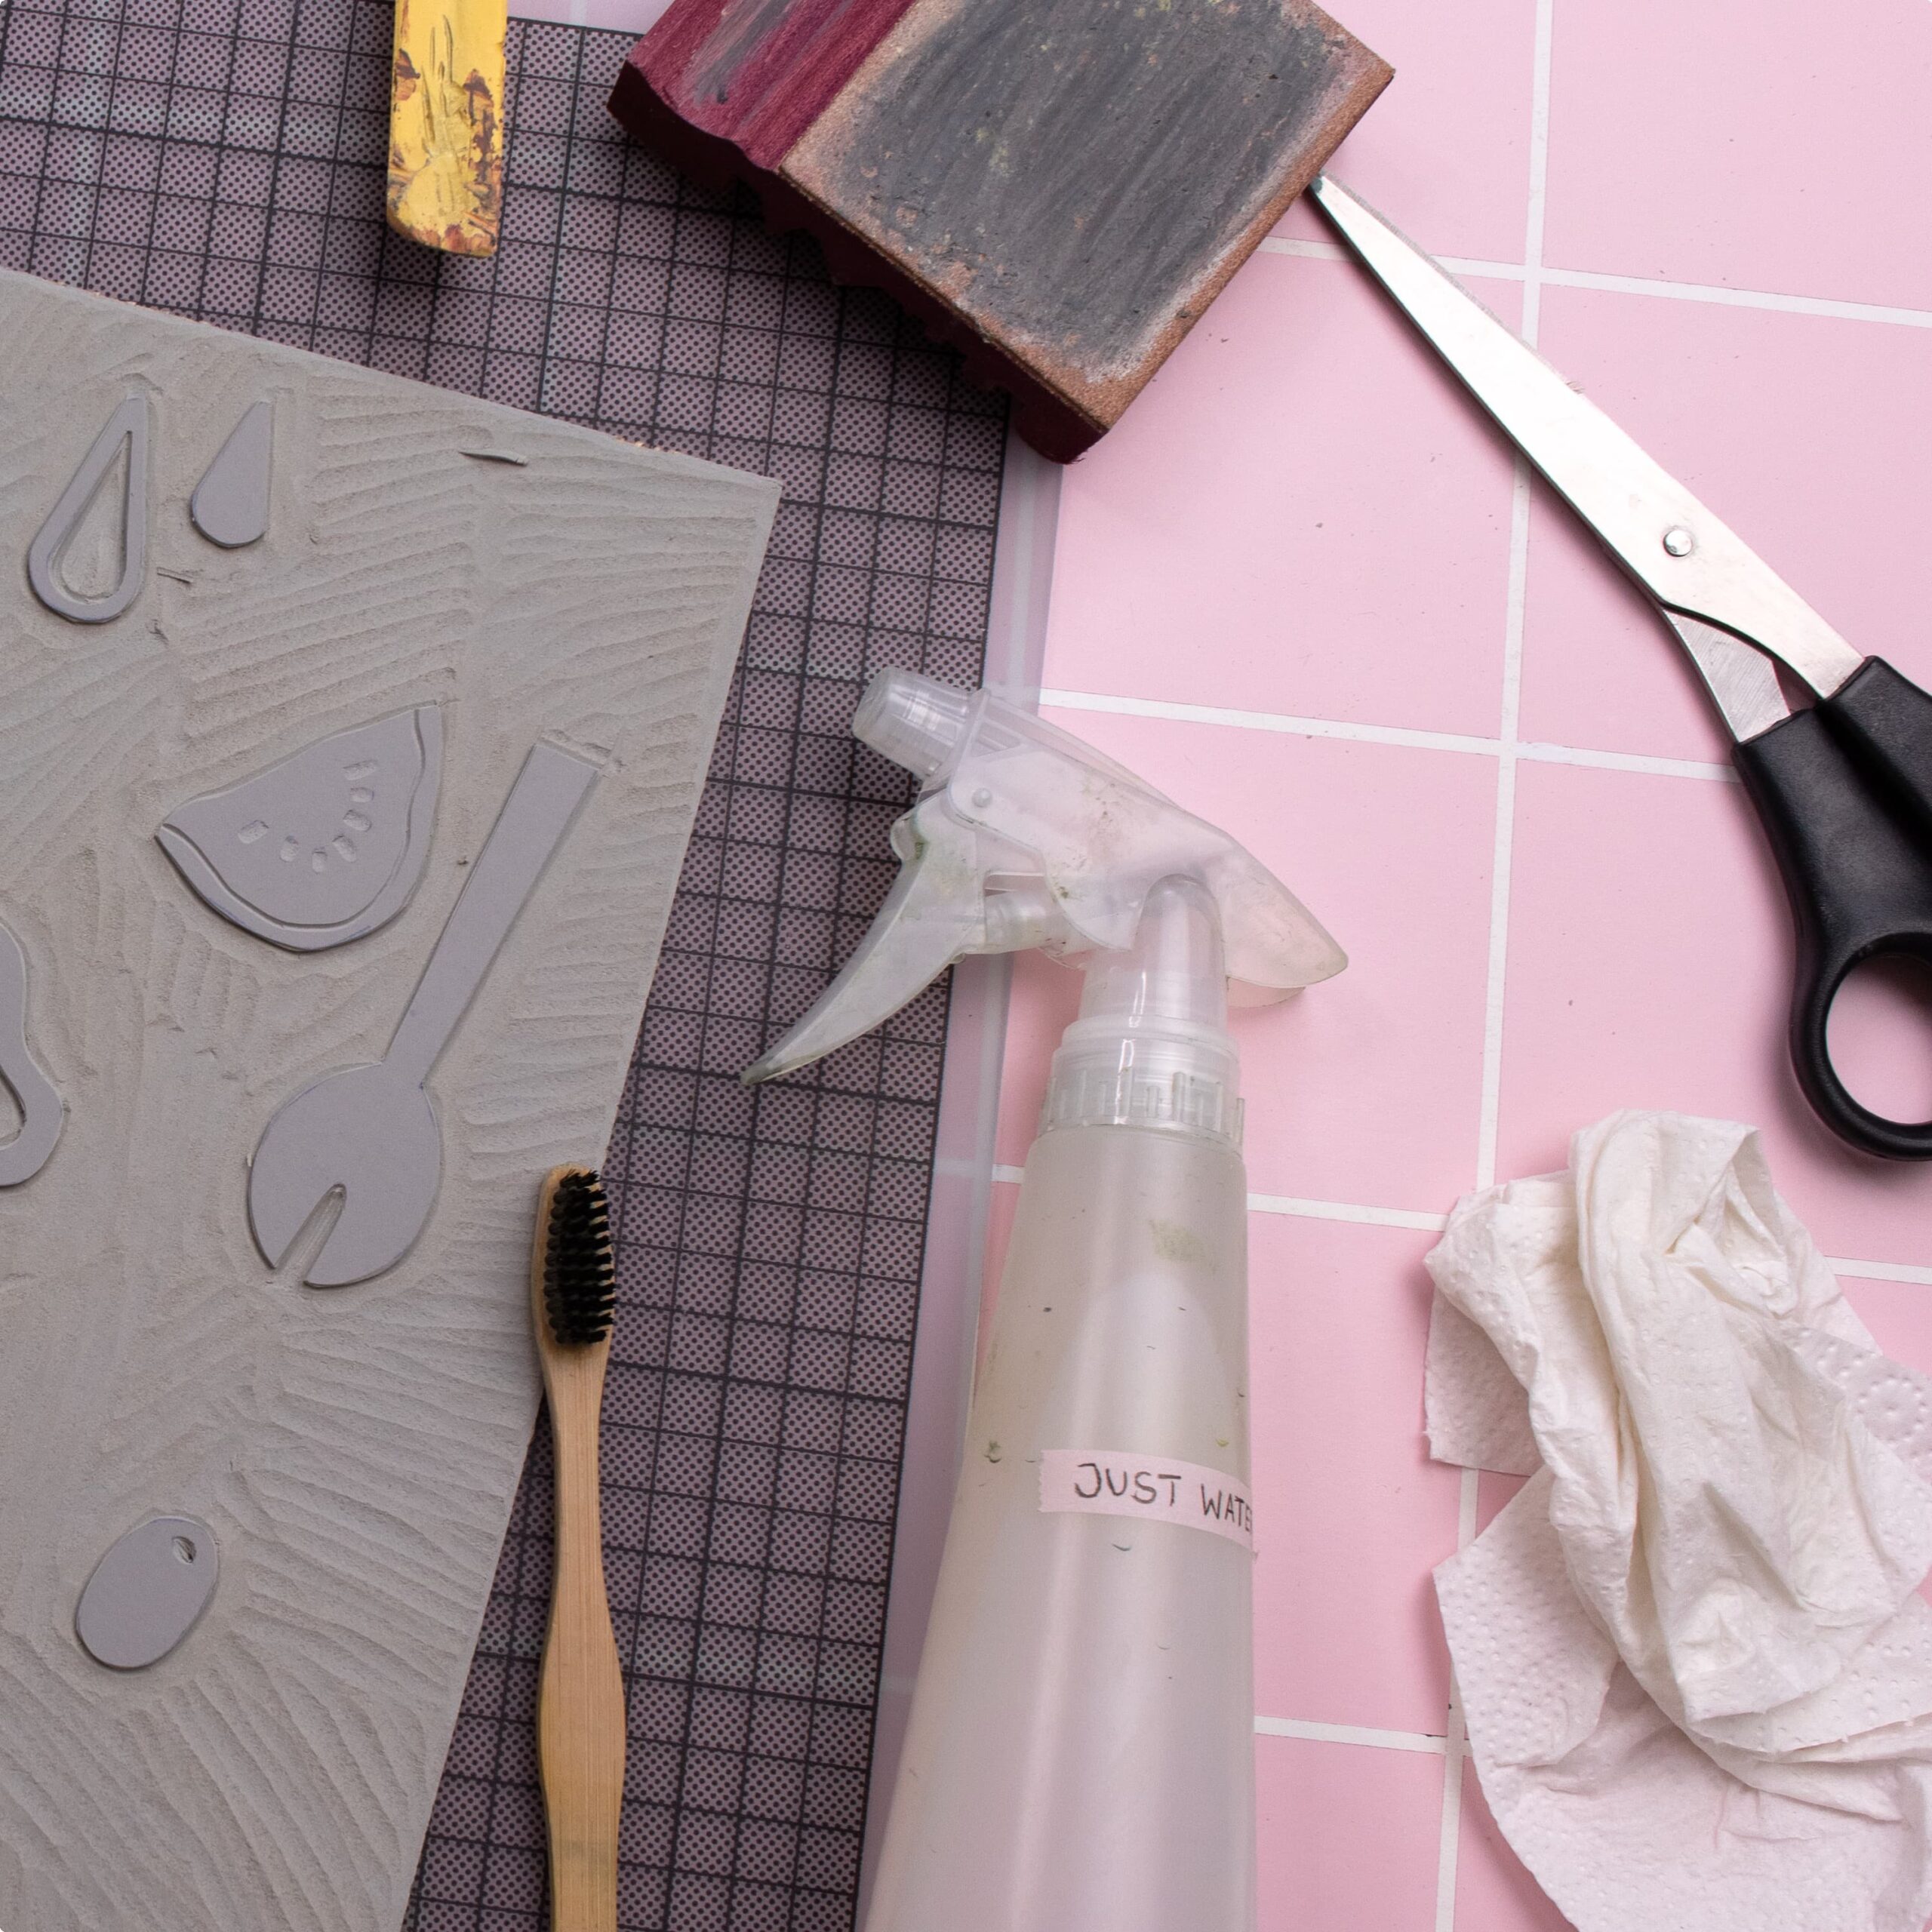
Cleaning
If you use the ink I recommend, you don’t need much for cleaning. A plastic box with cold water, a few old dish towels, a sponge, gloves and soap.
Please never hold the linoleum block under running water! As soon as the jute fibers on the back get wet, the block will warp and be ruined. Therefore, a small plastic box that you fill 1/3 full with water will do. I have linked the cleaning process in this article!
The tracing paper helps you to save excess ink. Cut out a small rectangle (10×10 cm). Use the paint knife to scrape the ink together and wipe it off on the paper. Fold the paper several times and you will get a small package of ink that you can close with a strip of tape. You can get a good insight in this reel on Instagram.
Conclusion
And that’s it for the start! I do not own much more beyond that. Okay, I have accumulated more than five inks and three carving tools over time, but this list gives a very good insight into what you might need in the beginning. Just download my PDF for a quick overview. It contains all the products as a handy list, if you want to put together your own starter kit. I’ll tell you where to get all the products in this blog article.
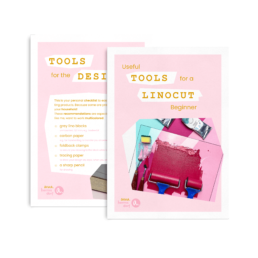
Linocut Tool Guide
Still unsure which tools and products you need for your lino printing starter kit? Just download my guide with product recommendations for linocut beginners – on 6 pages I list all the materials and tools I need to make my colorful prints – and you can do it too!