How to Clean Linoleum Blocks Without Ruining Them – Essential Tips for Linocut Artists
Month: June 2023
A small mistake during cleaning can have surprisingly big consequences and can be incredibly frustrating. If you rinse your linoleum block under running water, you risk warping it or even making it unusable.
Traditional grey or brown linoleum has a backing layer made of jute fibers.
If this backing becomes fully or heavily saturated with water, the fibers contract as they dry.
The result? The block starts to warp and curve upward – almost as if it dries crooked.
Unfortunately, this is very difficult to reverse. Printing with a warped linoleum block is frustrating and imprecise, and the only real fix would be mounting it onto a rigid surface. But it doesn’t have to come to that.

How to Clean Linoleum Plates Properly
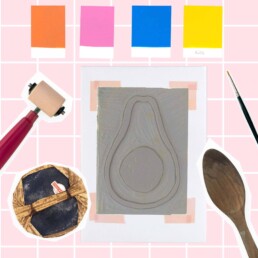
You don’t need running water to remove ink after printing.
A bowl of water, a sponge, and some dish soap are enough – assuming you’re working with water-based inks, of course! My recommendations for beginner-friendly inks are here.
Extra tip: An old towel or dishcloth is perfect for cleaning — but not as you might expect. Place your lino block on top of it to prevent moisture from soaking into the jute fibers!
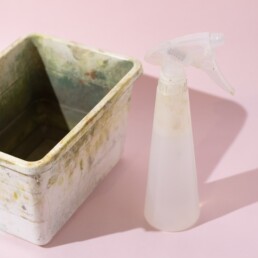
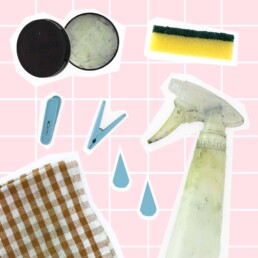
A box with water and a spray bottle
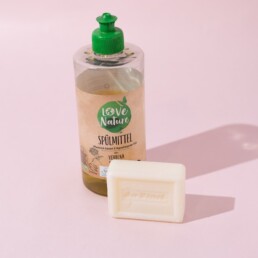
Dish soap or a simple bar of soap
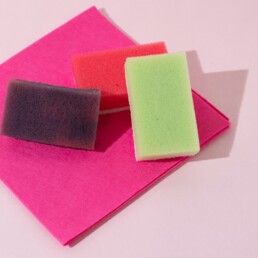
Thin dish sponges and cloths
Proper Storage = Longer-Lasting Plates
Proper storage is just as important. Linoleum blocks should be kept flat and dry.
That way, they won’t bend or collect dust on the surface.
If you print often, it’s worth setting up a dedicated drawer or folder to store your blocks — neat, accessible, and protected. I store them in plastic boxes called “SAMLA” from IKEA.
More Tips in My Online Course
In my online linocut course, there’s an entire module dedicated to cleaning and storing your printing tools.
In three video lessons, you’ll learn:
✔ How to set up a practical, space-saving cleaning station
✔ Simple rules to keep your tools in perfect shape
✔ The best way to store your materials for long-lasting quality
I’d love to welcome you to my course and guide you on your creative journey into the colorful world of linocut!
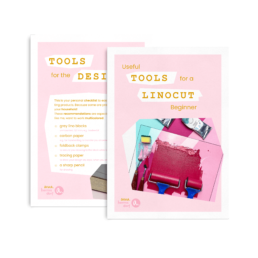
Linocut Tool Guide
Still unsure which tools and products you need for your lino printing starter kit? Just download my guide with product recommendations for linocut beginners – on 6 pages I list all the materials and tools I need to make my colorful prints – and you can do it too!
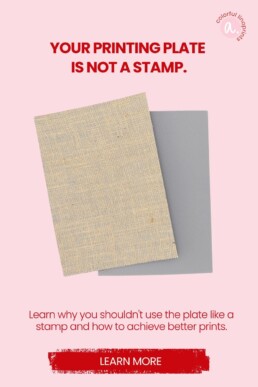
Stop Pressing Your Linocut Like a Stamp – Do This Instead!
Month: June 2023
Let’s talk about another common mistake — this time it happens during the printing stage of linocut! This one mainly affects those who print with traditional linoleum — the gray or brown sheets with jute fabric on the back.
You press your linoleum block down onto the paper like a stamp. The order is wrong — the right way is to place the paper on top of the block. So: block on the bottom, paper on top! The difference is that you have much more control over your printing result. Linoleum plates are quite stiff compared to rubber stamps, so they don’t press down evenly. As a result, your print will likely have missing areas where the ink didn’t transfer properly — simply because you can’t see where more pressure is needed.
My way to handle it
If you place your linoleum block flat on the table and lay the paper over it, you can carefully lift the paper in certain spots during printing to check how it’s going. Missing color? Then you probably need more pressure — or a little more ink! With a bit of practice, you can easily roll on extra ink. I show you exactly how to do this step by step in my online course. Perfect, even, and consistent prints are the goal — and we can achieve that together!
Especially if you print by hand
When you print without a press, every print takes time, effort, and energy. So it’s even more frustrating when one turns out badly. I’ll show you how to save your prints and avoid this mistake next time.
Interested? I’d love to have you join my course and print along with me!
Linocut Tool Guide
Still unsure which tools and products you need for your lino printing starter kit? Just download my guide with product recommendations for linocut beginners – on 6 pages I list all the materials and tools I need to make my colorful prints – and you can do it too!
How to Get the Right Ink Amount in Linocut Printing – Avoid Common Mistakes
Month: June 2023
Getting the right amount of ink is one of the trickiest parts of linocut printing. Too much or too little ink — both can mess up your print. The good news: once you know what to look (and listen!) for, it’s easy to fix.
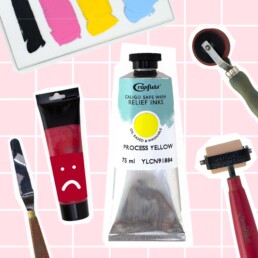
Too much ink – why it becomes a problem
Using too much ink isn’t the end of the world, but it often leads to messy results. You’ll notice ink spreading beyond the carved areas or fine lines filling in and disappearing.
Another issue: oil-based inks take much longer to dry when applied too thickly. A normal, thin layer may dry in a few days, but if it’s too heavy, your print can stay tacky for weeks.
How to tell you’re using too much ink
You can see it and hear it! If there’s too much ink on your roller, it will sound like you’re walking through mud — a wet, sticky noise while rolling.
The right amount of ink sounds smooth, quiet, and almost dry. In my online course, I even show you a short video lesson where you can hear and see the difference — and learn exactly how to find that sweet spot.
Too little ink? No big deal!
Having too little ink is far less of a problem. You can simply add a bit more or increase the pressure while printing.
The secret to beautiful linocut prints lies in the balance between ink, paper, and pressure. Once you get a feel for it, your prints will come out clean and vibrant.
If a print doesn’t turn out perfectly, don’t get discouraged. Often, small adjustments are all it takes to improve your results.
In my online course, I’ll guide you step by step through finding the perfect ink amount, achieving strong and even coverage — and rediscovering the joy of printing.
Linocut Tool Guide
Still unsure which tools and products you need for your lino printing starter kit? Just download my guide with product recommendations for linocut beginners – on 6 pages I list all the materials and tools I need to make my colorful prints – and you can do it too!

Dangerous Carving Mistake — How to Avoid Getting Hurt
Month: June 2023
Dangerous Carving Mistake — How to Avoid Getting Hurt
This mistake is particularly serious because it can quickly lead to real injuries. Carving demands full attention. Even if you’re careful, it has probably happened to almost everyone: the carving knife slips and suddenly a finger is cut. It’s awful — and very often preventable.
Why this happens so often
Cheap carving knife sets dull quickly. When a blade no longer cuts cleanly, the knife is more likely to slip. Many beginners also put their hands in the wrong place — that raises the risk even more. Combine dull blades with poor hand placement and you’ve got a recipe for accidents.

Why dull blades are more dangerous than you think
Dull blades force you to apply extra pressure. That reduces control and can cause sudden, jerky movements when the blade finally gives way — sometimes toward your hand. A sharp blade cuts with less effort and glides through the material. Sharpening isn’t optional — it’s safety work.
Practical safety rules for carving
- Keep blades sharp: Sharpen regularly or replace disposable blades.
- Correct hand placement: Keep the non-cutting hand out of the blade’s path.
- Cut away from the body: Prefer cuts that move away from you, not toward you.
- Stable work surface: Use a steady table and a non-slip mat.
- Invest in quality tools: Better blades hold an edge longer and are safer.
- Take breaks: If you’re tired, put the knife down. Concentration protects.
- First aid ready: Have a small first-aid kit on hand and know where to get help.
More safety tips in my course
This doesn’t have to happen. In my course I show you how to sharpen blades safely, how to position your hands, which knives are worth having and ergonomic techniques to reduce strain. Carving can be incredibly calming and meditative — when done safely. If you want, I’ll guide you step by step.
Linocut Tool Guide
Still unsure which tools and products you need for your lino printing starter kit? Just download my guide with product recommendations for linocut beginners – on 6 pages I list all the materials and tools I need to make my colorful prints – and you can do it too!