Do You Need a Printing Press for Linocut? Tips & Alternatives
To keep it short: it depends. As always. I spent the first 1.5 years without a linocut press, and it worked perfectly fine. But once you’ve experienced using a press, you probably won’t want to go back.
One thing is certain: you don’t need a press to get good prints from your linocut block! It just requires more effort – mainly physical strength.
Do you need a linocut press?
Learn to love linocut first before investing in a press. Once you’re ready and can afford it, you won’t regret the purchase.
For beginners, hand burnishers and a wooden spoon are enough to get beautiful prints.
Want to know more about essential tools for beginners? Check out my article: Linocut Tools for Beginners.
Alternatives to a Press
Before we talk about presses, let me show you the best alternatives.
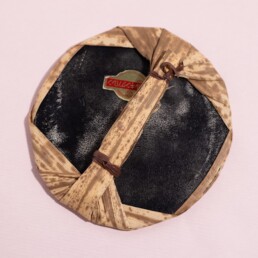
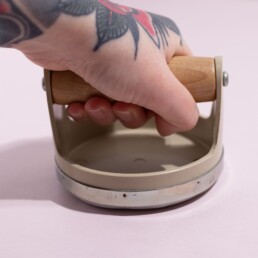
Hand burnishers are very useful. In English, they’re called “baren.” There are many variations:
-
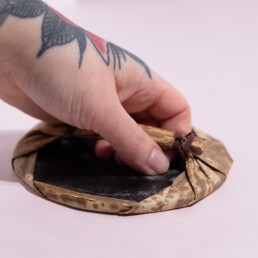
Classic bamboo baren: Traditional tool in Japanese woodblock printing, works very well for linocuts too. You hold it by the handle and rub the paper in circular motions. I mainly use it to lightly fix the paper for the first press.
-
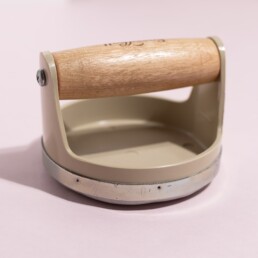
Speedball baren: Has a firm padded surface that glides smoothly over the paper without damaging it.

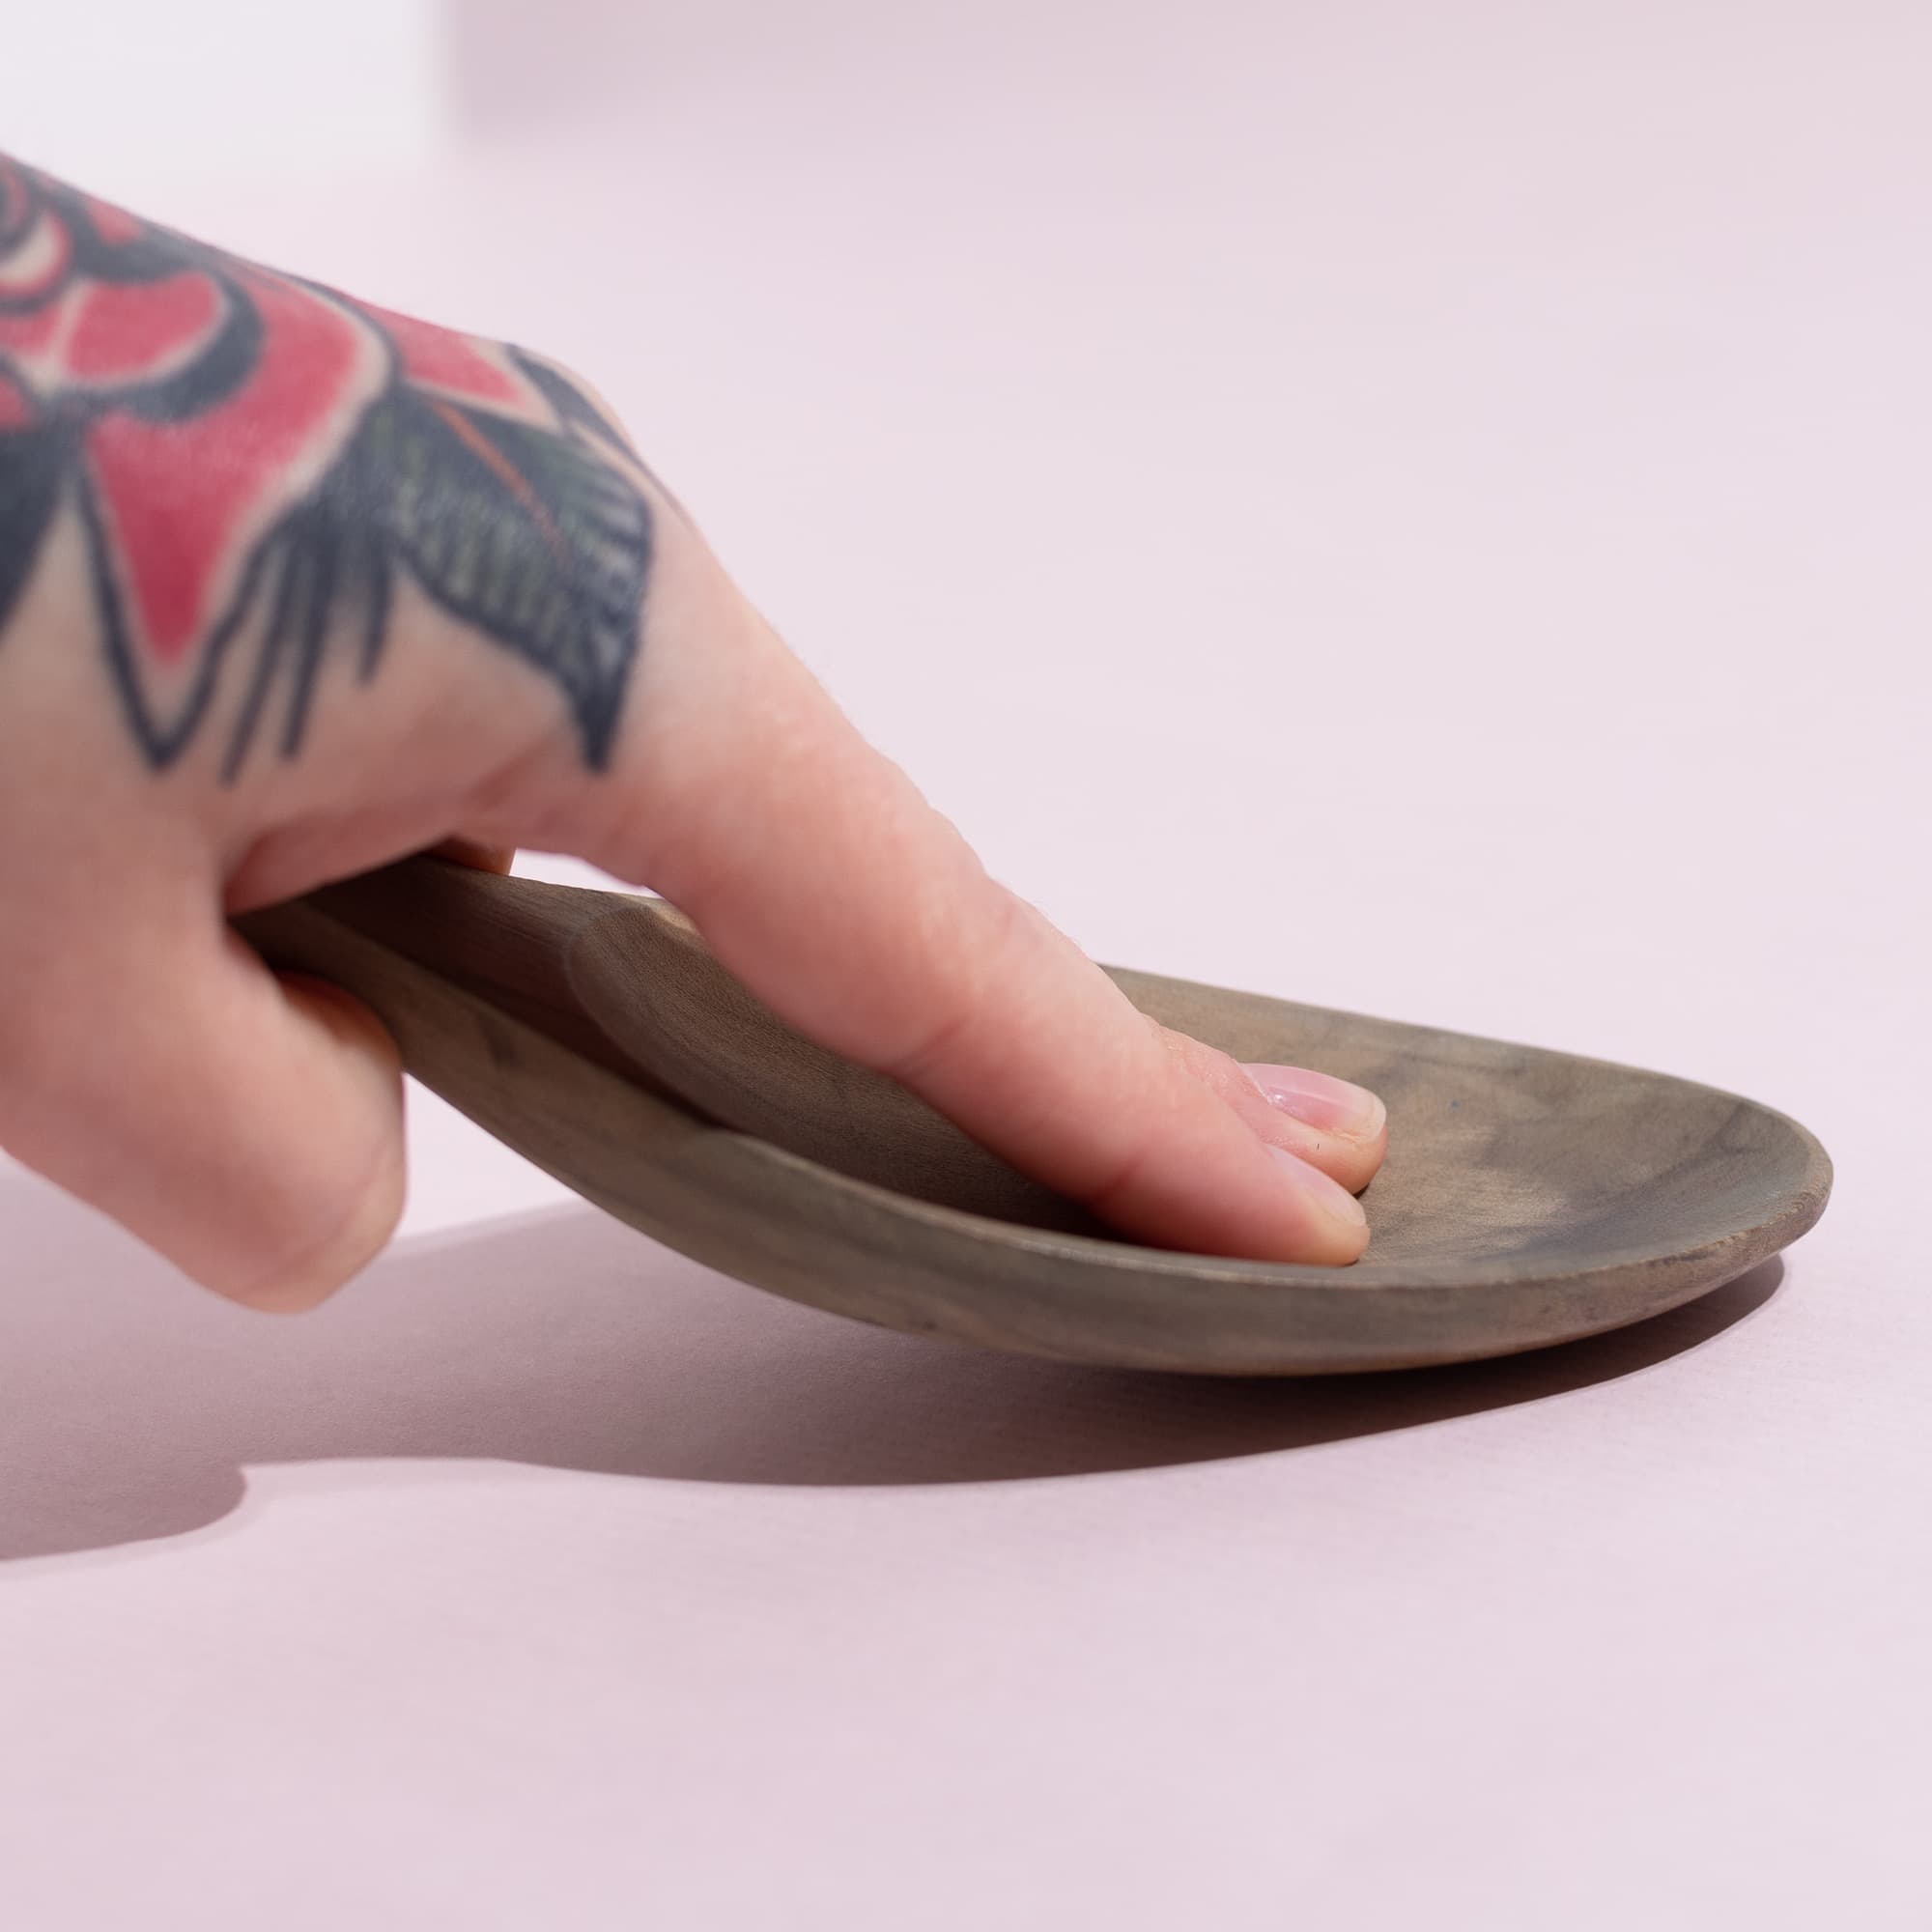
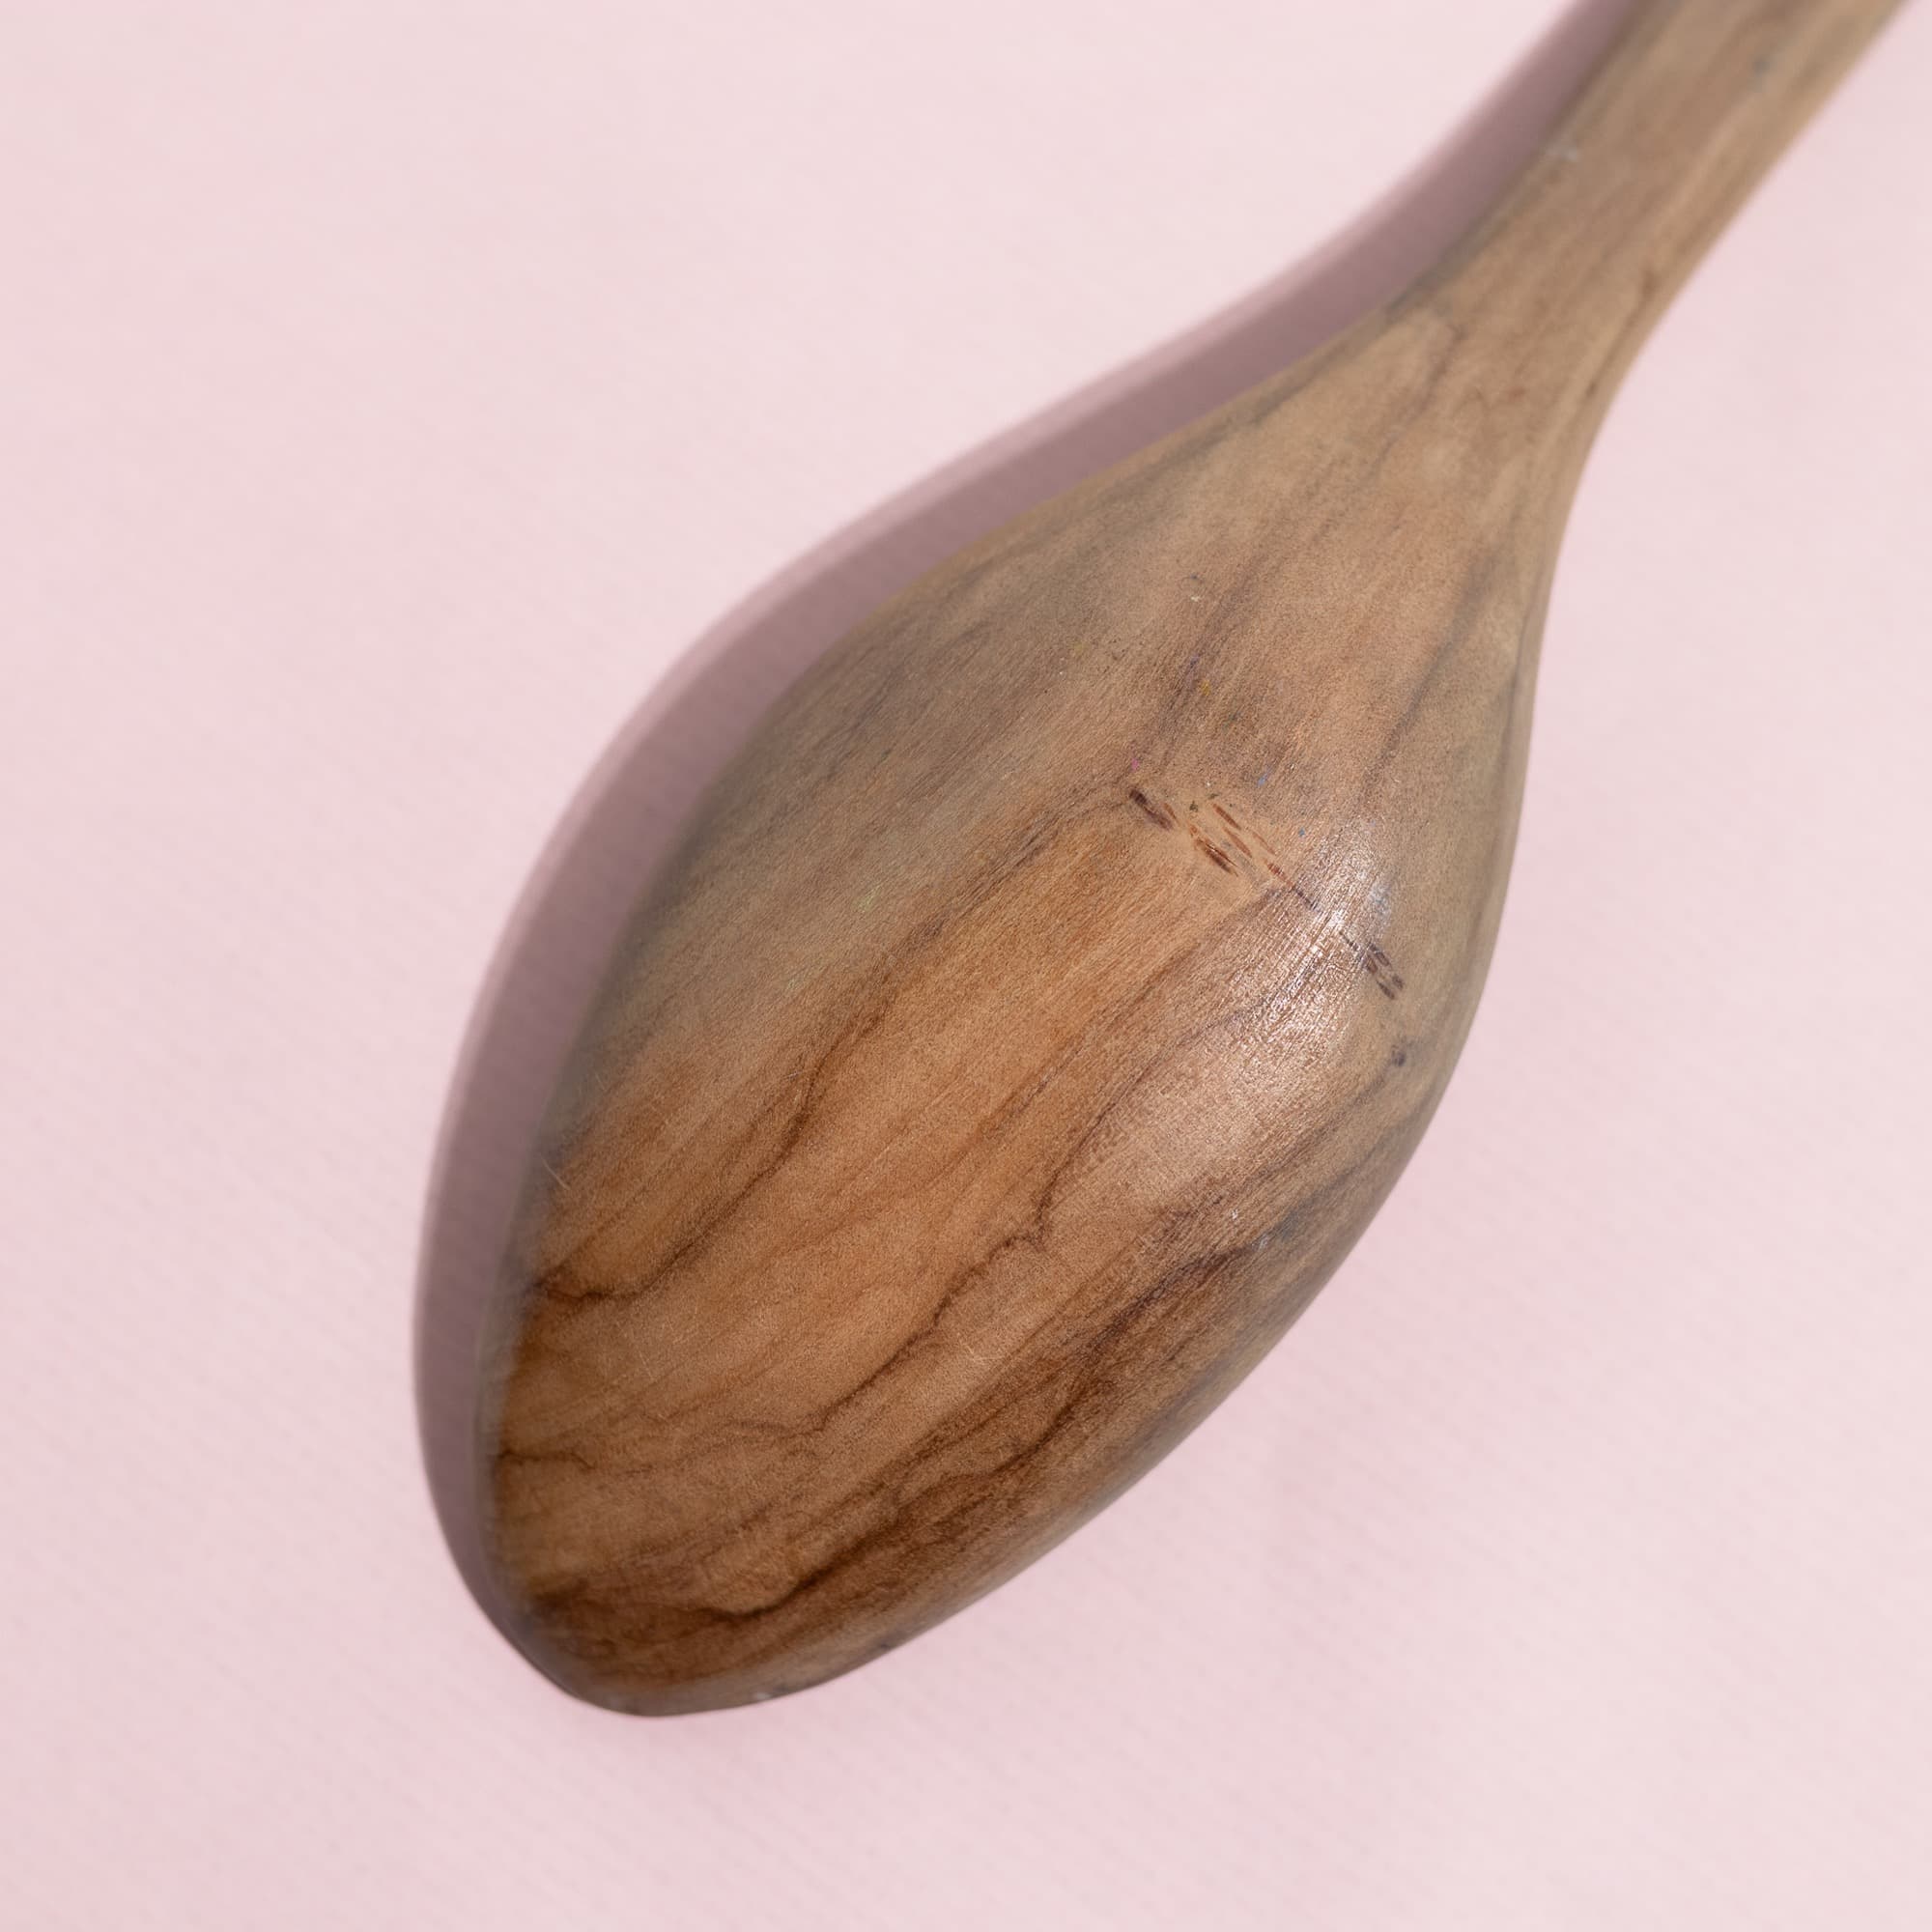
The Wooden Spoon
A wooden spoon is essential. You could use metal, but it can get quite hot after prolonged rubbing. My wooden spoon was once part of a salad set – a regular cooking spoon works too. Make sure it has a smooth surface to protect the paper.
Use the spoon to rub your design in small circular movements. Important: place the paper on the block, not the other way around.
Another alternative are brayers. Look similar to ink rollers and can apply ink. My recommendation: they don’t replace the wooden spoon and are less convenient.
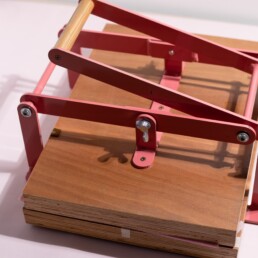
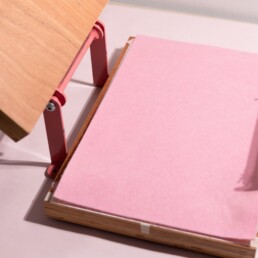
The Hand Printing Press
If you print a lot, you might want to consider a hand press. I bought a hand press from Jan (Woodzilla) in 2020:
-
Price: around €300 plus shipping
-
Size: A3 – you can print A3 paper and smaller formats
-
Delivery: includes a felt mat for even pressure
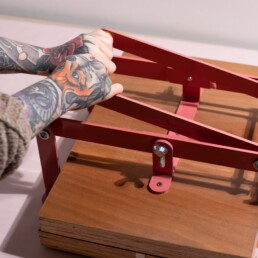
My first print with it was a revelation! The results were so even and easy to achieve that I could hardly believe it.
Still, printing by hand works too, but it requires patience and strength. You’ll spend several minutes in a slightly bent position to get as close as possible to the block. A high worktable can help, but not everyone has one at home.
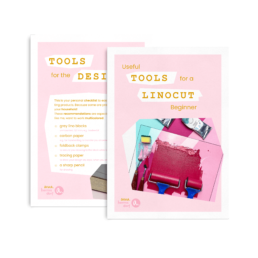
Linocut Tool Guide
Still unsure which tools and products you need for your lino printing starter kit? Just download my guide with product recommendations for linocut beginners – on 6 pages I list all the materials and tools I need to make my colorful prints – and you can do it too!