Finding your own linocut style – how my artistic process evolved
admin
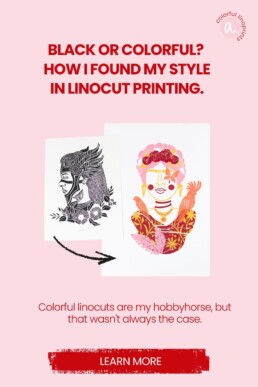
From black-and-white beginnings to vibrant portraits: Discover how my linocut style evolved over time and learn what can help you develop your own unique artistic voice.
I will help you understand linocut printing step by step, try it out for yourself, and create your own prints.
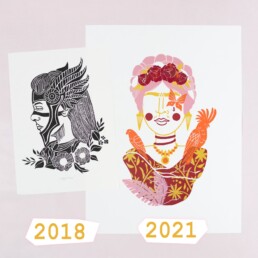
I’ve always been creative. As a child, I loved drawing, and later I went on to study design, where I discovered my passion for illustration. So when I started with linocut printing in 2018, I already had plenty of creative background and motivation — but honestly, I had no idea what my style should be.
And to be fair: if I hadn’t found a linocut style that felt natural to me early on — one that suits this technique, that I can constantly reinvent — I might have lost interest. Finding your own style gives you confidence, direction, and the feeling that you’ve truly arrived.
The Beginning: Black and White and Searching for Expression
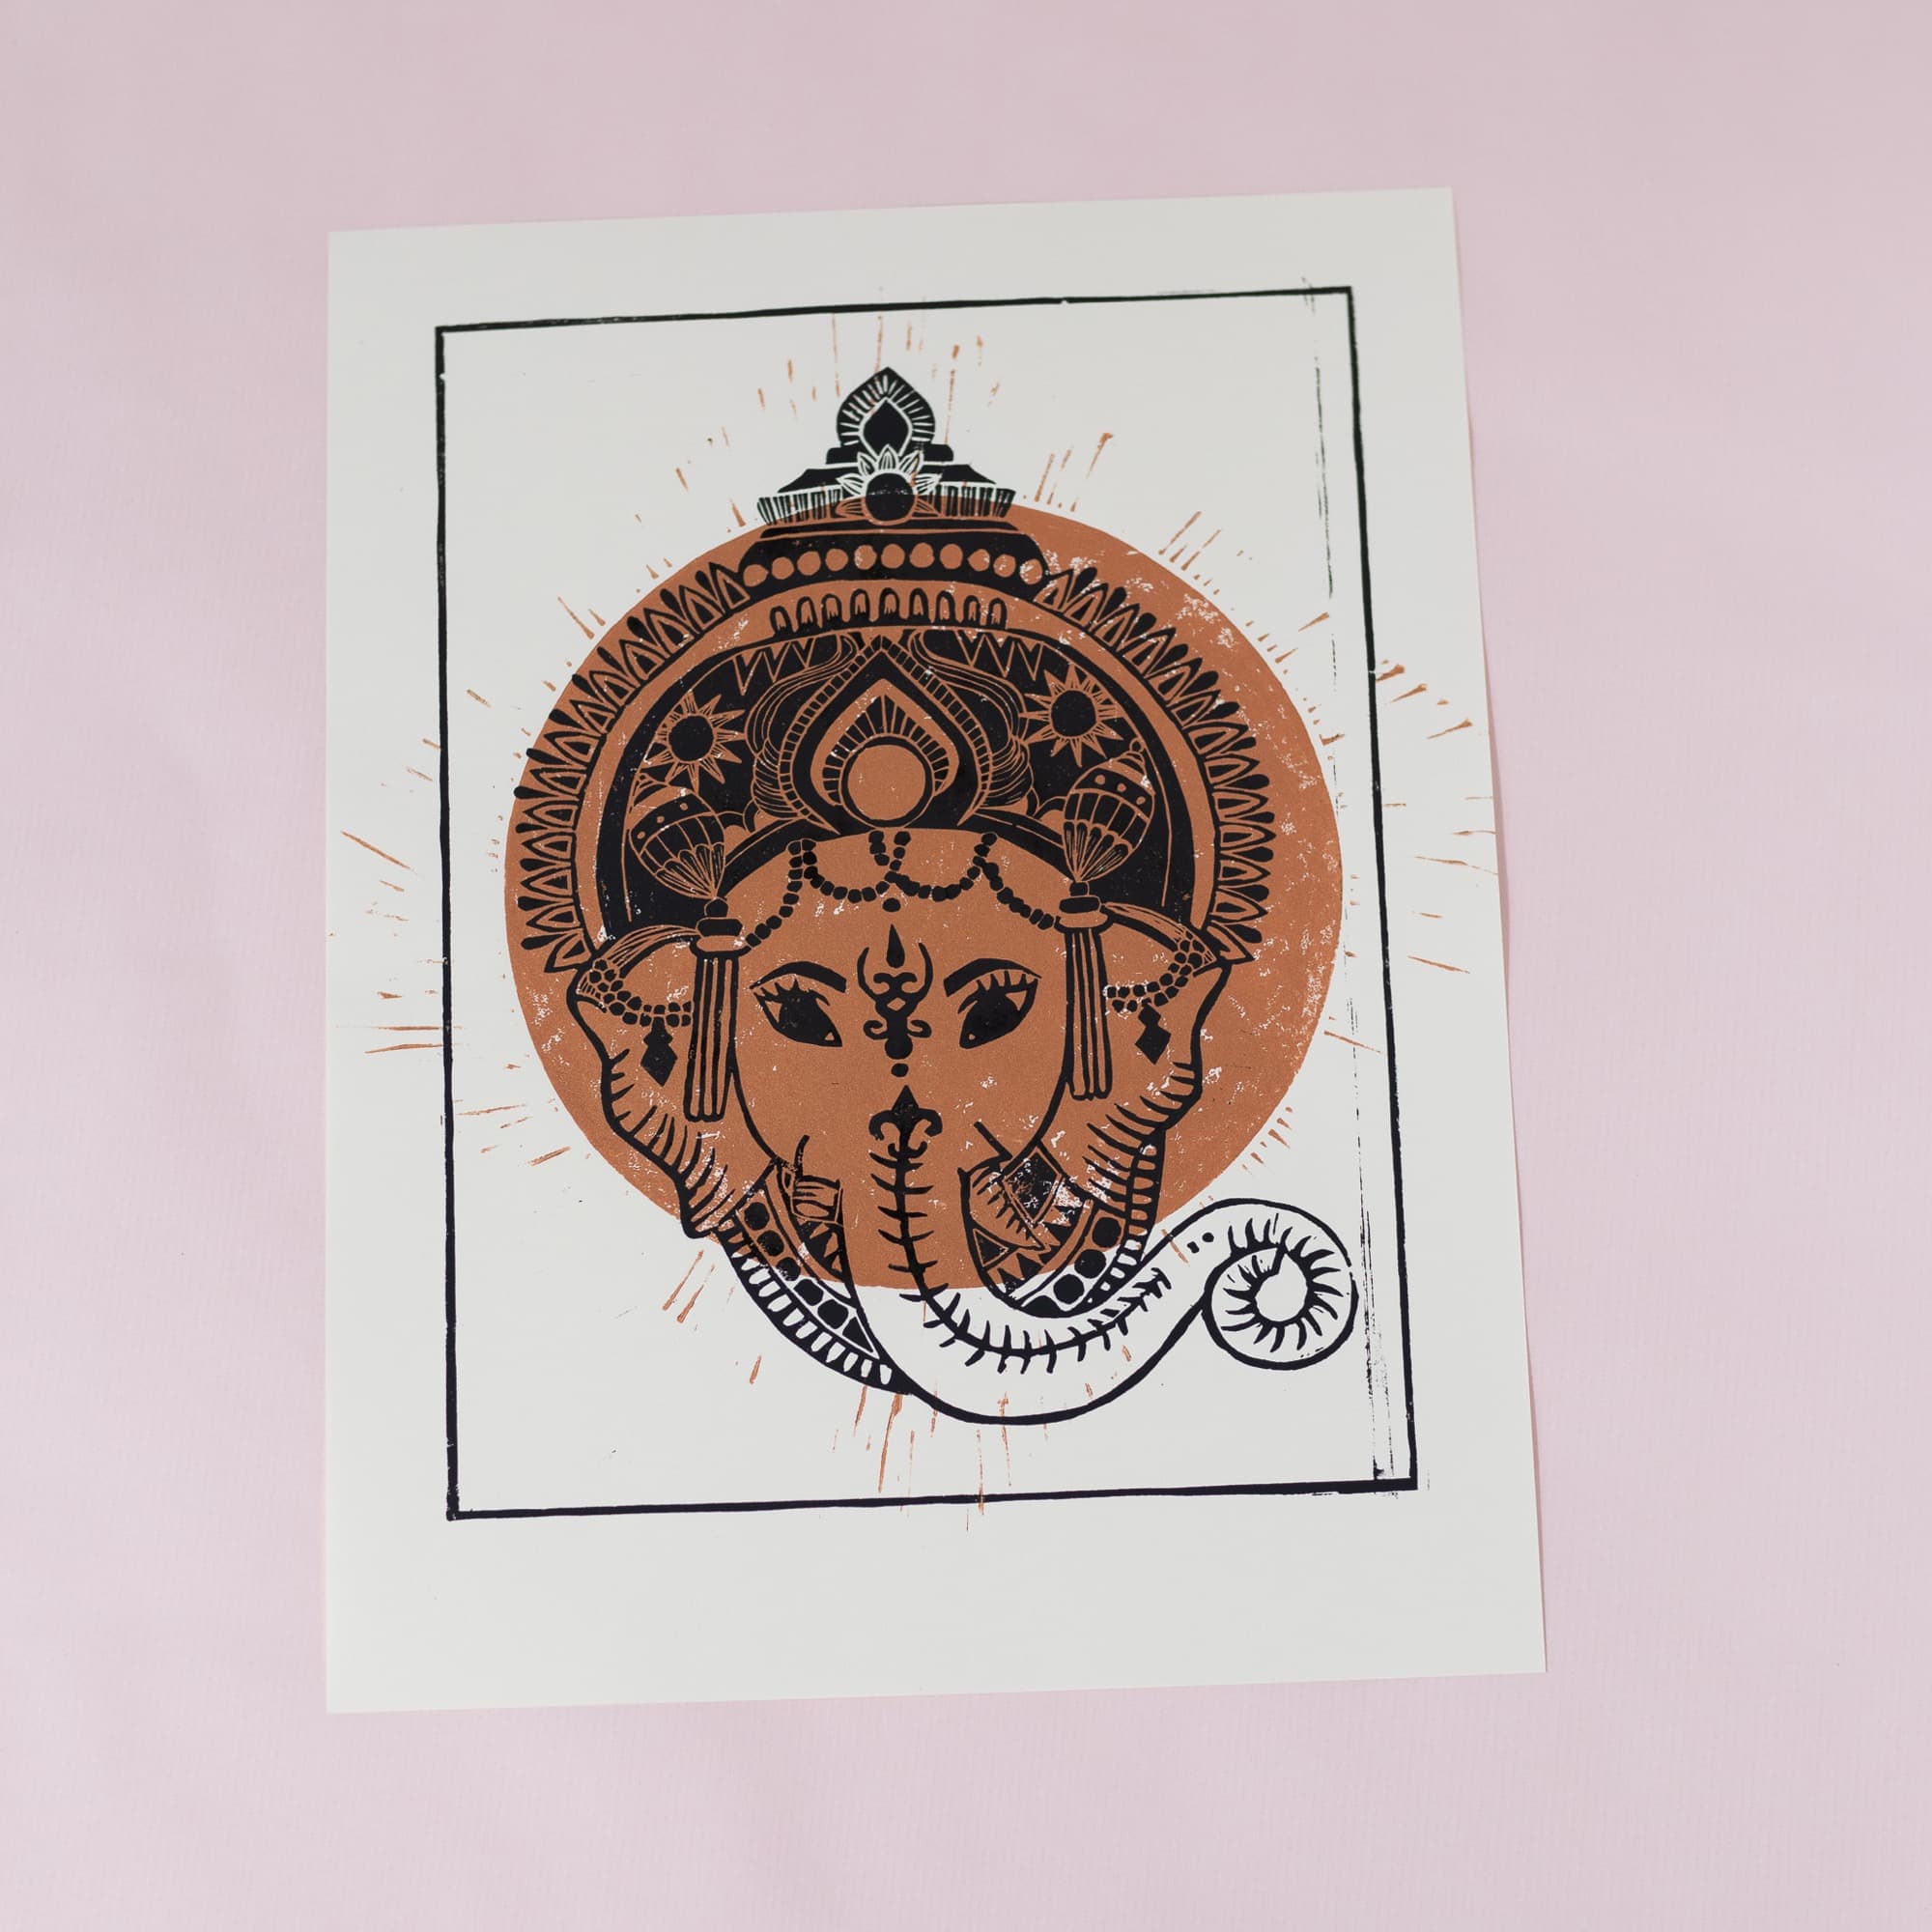
My very first linocut print was a portrait of a Viking woman — my “Lagertha.” Looking back, it’s funny that her eyes are closed. I was afraid that a fixed gaze would look lifeless. That little insecurity eventually became my trademark: women with their eyes closed.
Back then, my prints looked very “typical linocut” — black and white, bold contrasts, hand-carved. I liked that, but something was missing. I wanted more depth, more emotion — something that felt more me.


First Experiments with Color and Themes
The next big step was an experiment: a print of a snake and skull — inspired by the “Dark Mark” from Harry Potter. It was the first time I played with color layering and overlapping shapes. It wasn’t quite there yet, but it felt like I was getting closer.
Then came a piece with cicadas and peonies — and that’s when I realized how important color is to me. Color changes everything. It shapes the mood, the atmosphere, the emotion. From that moment on, I knew that color would become a defining part of my linocut style.
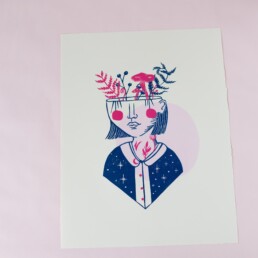
The Breakthrough: My First “Girl” Portrait
In autumn 2018, I created the first girl that would define my current body of work — and everything clicked. This was exactly what I wanted to do! I was so excited about the result that I immediately started sketching the next one… and the next, and the next.
Over time, I added more and more symbolism to the motifs, playing with meaning and visual storytelling. That’s how my series concept was born — portraits of girls, each with their own symbolic theme and color palette.
This serial approach gave me structure and freedom at the same time: because the composition stayed the same, I could focus on creativity — the symbolism, the color choices, the emotion.
What I Learned: Finding a Linocut Style Takes Time
You can’t force a personal style — it develops naturally through practice and experimentation. Every print teaches you something. Even when you think you’re “off track,” you’re actually moving closer to what feels authentic.
And even once you’ve found your linocut style, it won’t stay fixed forever. As you grow more confident, you’ll start exploring new directions and influences. That’s part of the creative journey.
Don’t rush it. Explore what inspires you, notice what keeps showing up in your work, and pay attention to what feels easy and joyful. Those are often the clues to your personal linocut style. I recently saw a great video by Brooke Glaser on YouTube. Maybe this will help you. It’s more about illustration, but the two disciplines are still closely related.
Finding your own linocut style takes time, patience, and curiosity. Experiment with color, shapes, and themes — and one day, you’ll realize you’re not searching anymore. You’re simply creating. And that’s where your style truly begins.
I’m curious to see how my own work will evolve in the next few years — maybe it’ll look completely different. And that’s the beauty of it: style is always evolving.
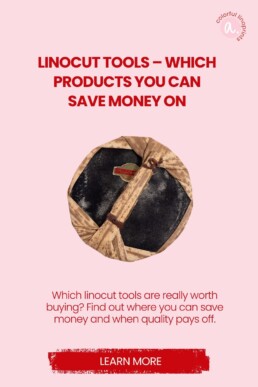
Linocut Tools for Beginners – Save Money on Your Starter Kit
admin
Discover which linocut tools are worth investing in and where you can save money as a beginner. Build your starter kit without overspending.
I will help you understand linocut printing step by step, try it out for yourself, and create your own prints.
Which tools does a linocut beginner actually need? When you’re just starting out, you probably don’t want to spend a fortune — and definitely don’t want to buy the wrong materials. Still: don’t skimp in the wrong places!
Cheap tools can quickly become frustrating because they’re harder to handle and give worse results.
From many of my own attempts I know: dull knives, hard lino blocks, or unsuitable inks lead to messy prints — and sometimes even to injuries. The best solution is a mix of beginner and pro tools.
In this article you’ll learn where you can save money and when an investment is worth it.
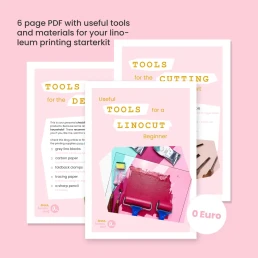
If you’d rather get started right away: 👉 Download my free tool checklist for your linocut starter kit here!
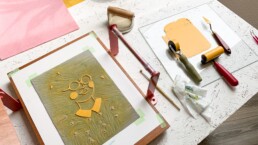
Linocut Carving Tools
A good carving knife is the heart of your linocut kit. Dull or cheap knives make carving dangerous and imprecise.
These three blades are totally enough to start with:
-
Medium V-gouge: For fine lines and deep grooves
-
Wide U-gouge: For clearing larger areas
-
Flat gouge: Versatile and forgiving
Save or invest?
💡 Invest! Cheap sets dull quickly and usually can’t be sharpened. Good knives stay sharp for years and make carving safer and more precise. My favorite are Pfeil tools

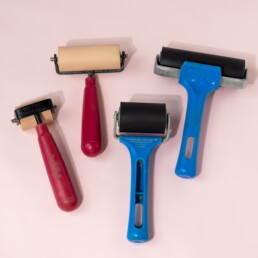
Ink rollers
When it comes to ink rollers, I recommend striking a balance. I use soft rubber rollers because they distribute the ink evenly and are easy to use.
Tip: Two or three rollers are enough to start with—one narrow and one medium width. If you mainly work in A4 format, you don’t need a larger one.
Save or invest?
💡 Better to invest. I wouldn’t recommend the rollers with the round steel frame from ABIG, for example. Instead, the Speedball deluxe soft paint rollers are fantastic, and the even cheaper soft rubber rollers from Essdee UK are also great to work with.
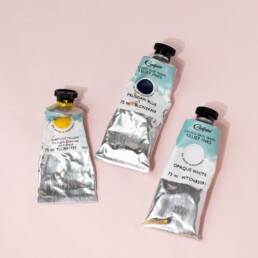
Relief Ink
My most important tip: use oil-based, washable linocut inks.
Water-based inks dry extremely fast — especially in warm conditions — and make printing multiple impressions difficult.
My favorite: Caligo Safe Wash Relief Ink (Cranfield Colours)
-
Cleans easily with water & soap
-
Excellent printing properties
-
Silky-matte finish
Save or invest?
💡 Invest! Good ink is key to clean prints. For years, I have been working exclusively with Cranfield’s Caligo Safe Wash Relief Ink.

Paper
Expensive paper isn’t necessary. For starting out, smooth, easy-to-print paper is enough. I use, for example, 160 g/m² Design Offset White, which is also used for flyers and magazines. However, I buy that from a local print shop.
Tip: The heavier or more textured the paper, the harder it is to print — especially without a press. Smooth paper is ideal for beginners.
Save or invest?
💡 Saving is fine! Start with affordable paper and move to handmade or specialty paper once you have more experience.
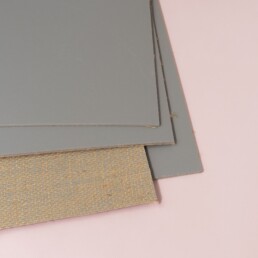
Linoleum Blocks – Classic Remains Favorite
My favorite is classic grey lino, often called Battleship Grey. It smells nice, cuts well and gives the typical linocut feel. Other variants like brown lino or softcut/vinyl behave differently when cutting and feel different.
Save or invest?
💡 Invest moderately! Classic linoleum from Essdee UK is my favorite. But you definitely need sharp carving tools for this!
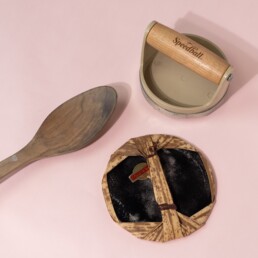
Barens & Wooden Spoon – Printing Without a Press
If you don’t own a press, you can still get lovely impressions using a wooden spoon or a Japanese baren. It takes a bit longer, but it works wonderfully — especially for small formats.
Save or invest?
💡 Saving is fine! A wooden spoon is often completely sufficient. A baren is a nice addition!
Conclusion – Where to Save and Where to Invest
Don’t save on carving tools and ink – these make the difference between fun and frustration.
You can save on rollers, paper, and barens.
As for lino: traditional grey combined with sharp tools is the perfect match for great results.
With the right tools, linocut printing becomes pure joy, and you’ll achieve good results quickly. That way, you’ll stay motivated and avoid unnecessary frustration.
I can help you in two ways:
👉 Download my free tool checklist to find a selection of products that are perfect for beginners.
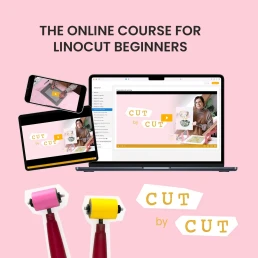
👉 Or jump right in with my online linocut course, where I show you every step in easy-to-follow video lessons.