Why Beginners Hate Linocut – And How to Make It Fun
admin
Some people hate linocut printing when they first try it—usually for the wrong reasons. I’ll tell you why that is and how to finally make it work.
I will help you understand linocut printing step by step, try it out for yourself, and create your own prints.
I recently saw a Reel where a beginner said she just didn’t understand why everyone loves linocut – she hated every single second of it. And honestly? I had to smile, because I knew exactly why.
Not because linocut is bad. But because she was making it way harder for herself than it needed to be.
And this happens all the time. When you’re just starting out, you don’t yet know what makes the process easier or more enjoyable – so you wrestle with plates that are too hard, dull knives, and prints that never come out the way you imagined.
I remember my own start. Even though I already had a creative background, I also did pretty much everything “wrong” at first. And still, there was this instant feeling that linocut was my thing. The path to getting there? A bit bumpy.
The Main Reason Linocut Feels Frustrating
Linocut is actually a very meditative craft. You just don’t notice it until you understand a few key things.
Most beginners give up too early because they’re working with materials that are just no fun.
For example, if you grab a cheap, hard plate, you’ve already lost – you end up scraping more than cutting. The knife sticks, the linoleum cracks, your wrist aches, and you think, Why am I doing this to myself?
Same story with dull tools or designs that are way too detailed. Then there’s the ink, which spreads unevenly, and the paper sticking to the plate.
No wonder it feels like a struggle.


Linocut Can Be Easy – Really!
Once you know what really matters, everything changes.
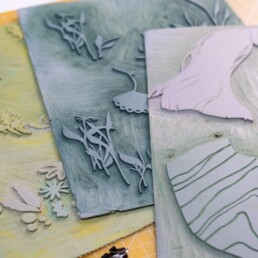
A good, soft plate, sharp knives, a simple design, and a bit of patience – that’s all it takes.
Suddenly, the cutting flows, the inking is even, and the moment you lift your first successful print? Pure magic.
I think linocut is so much about calm, rhythm, and feeling. If you stop fighting the material and work with it, that’s when the flow everyone talks about happens.
So If You’ve Hated Linocut …
… give it another chance. Maybe it wasn’t you – maybe it was just the wrong setup.
Try better tools, simple designs, and take your time.
Linocut doesn’t have to be a fight – it can be exactly the opposite.
And I can help you with two things:
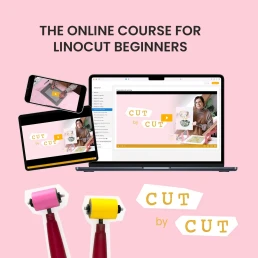
Choosing the right materials – especially as a beginner, it makes all the difference! You can download my free tool list here. Jumping straight in – if you want to get started right away, my online course is perfect for you. In it, I show you everything in video form, step by step, so you’ll know exactly how it works.
How to Clean Linoleum Blocks Without Ruining Them – Essential Tips for Linocut Artists
admin
Cleaning your printmaking tools is of course part of the process – but there’s a critical trap that can ruin your linoleum plate if you’re not careful: rinsing it under running water.
I will help you understand linocut printing step by step, try it out for yourself, and create your own prints.
What Happens When Linoleum Gets Too Wet
Traditional grey or brown linoleum has a backing made of jute fibers. If that backing gets soaked, it contracts as it dries. The result? Your block becomes warped, bending upward in a convex shape – like it “dries crooked.”
Unfortunately, once this happens, it’s almost impossible to fix. Printing with a warped block is frustrating and inaccurate. The only possible solution would be gluing it onto a rigid surface — but luckily, you can avoid that altogether!
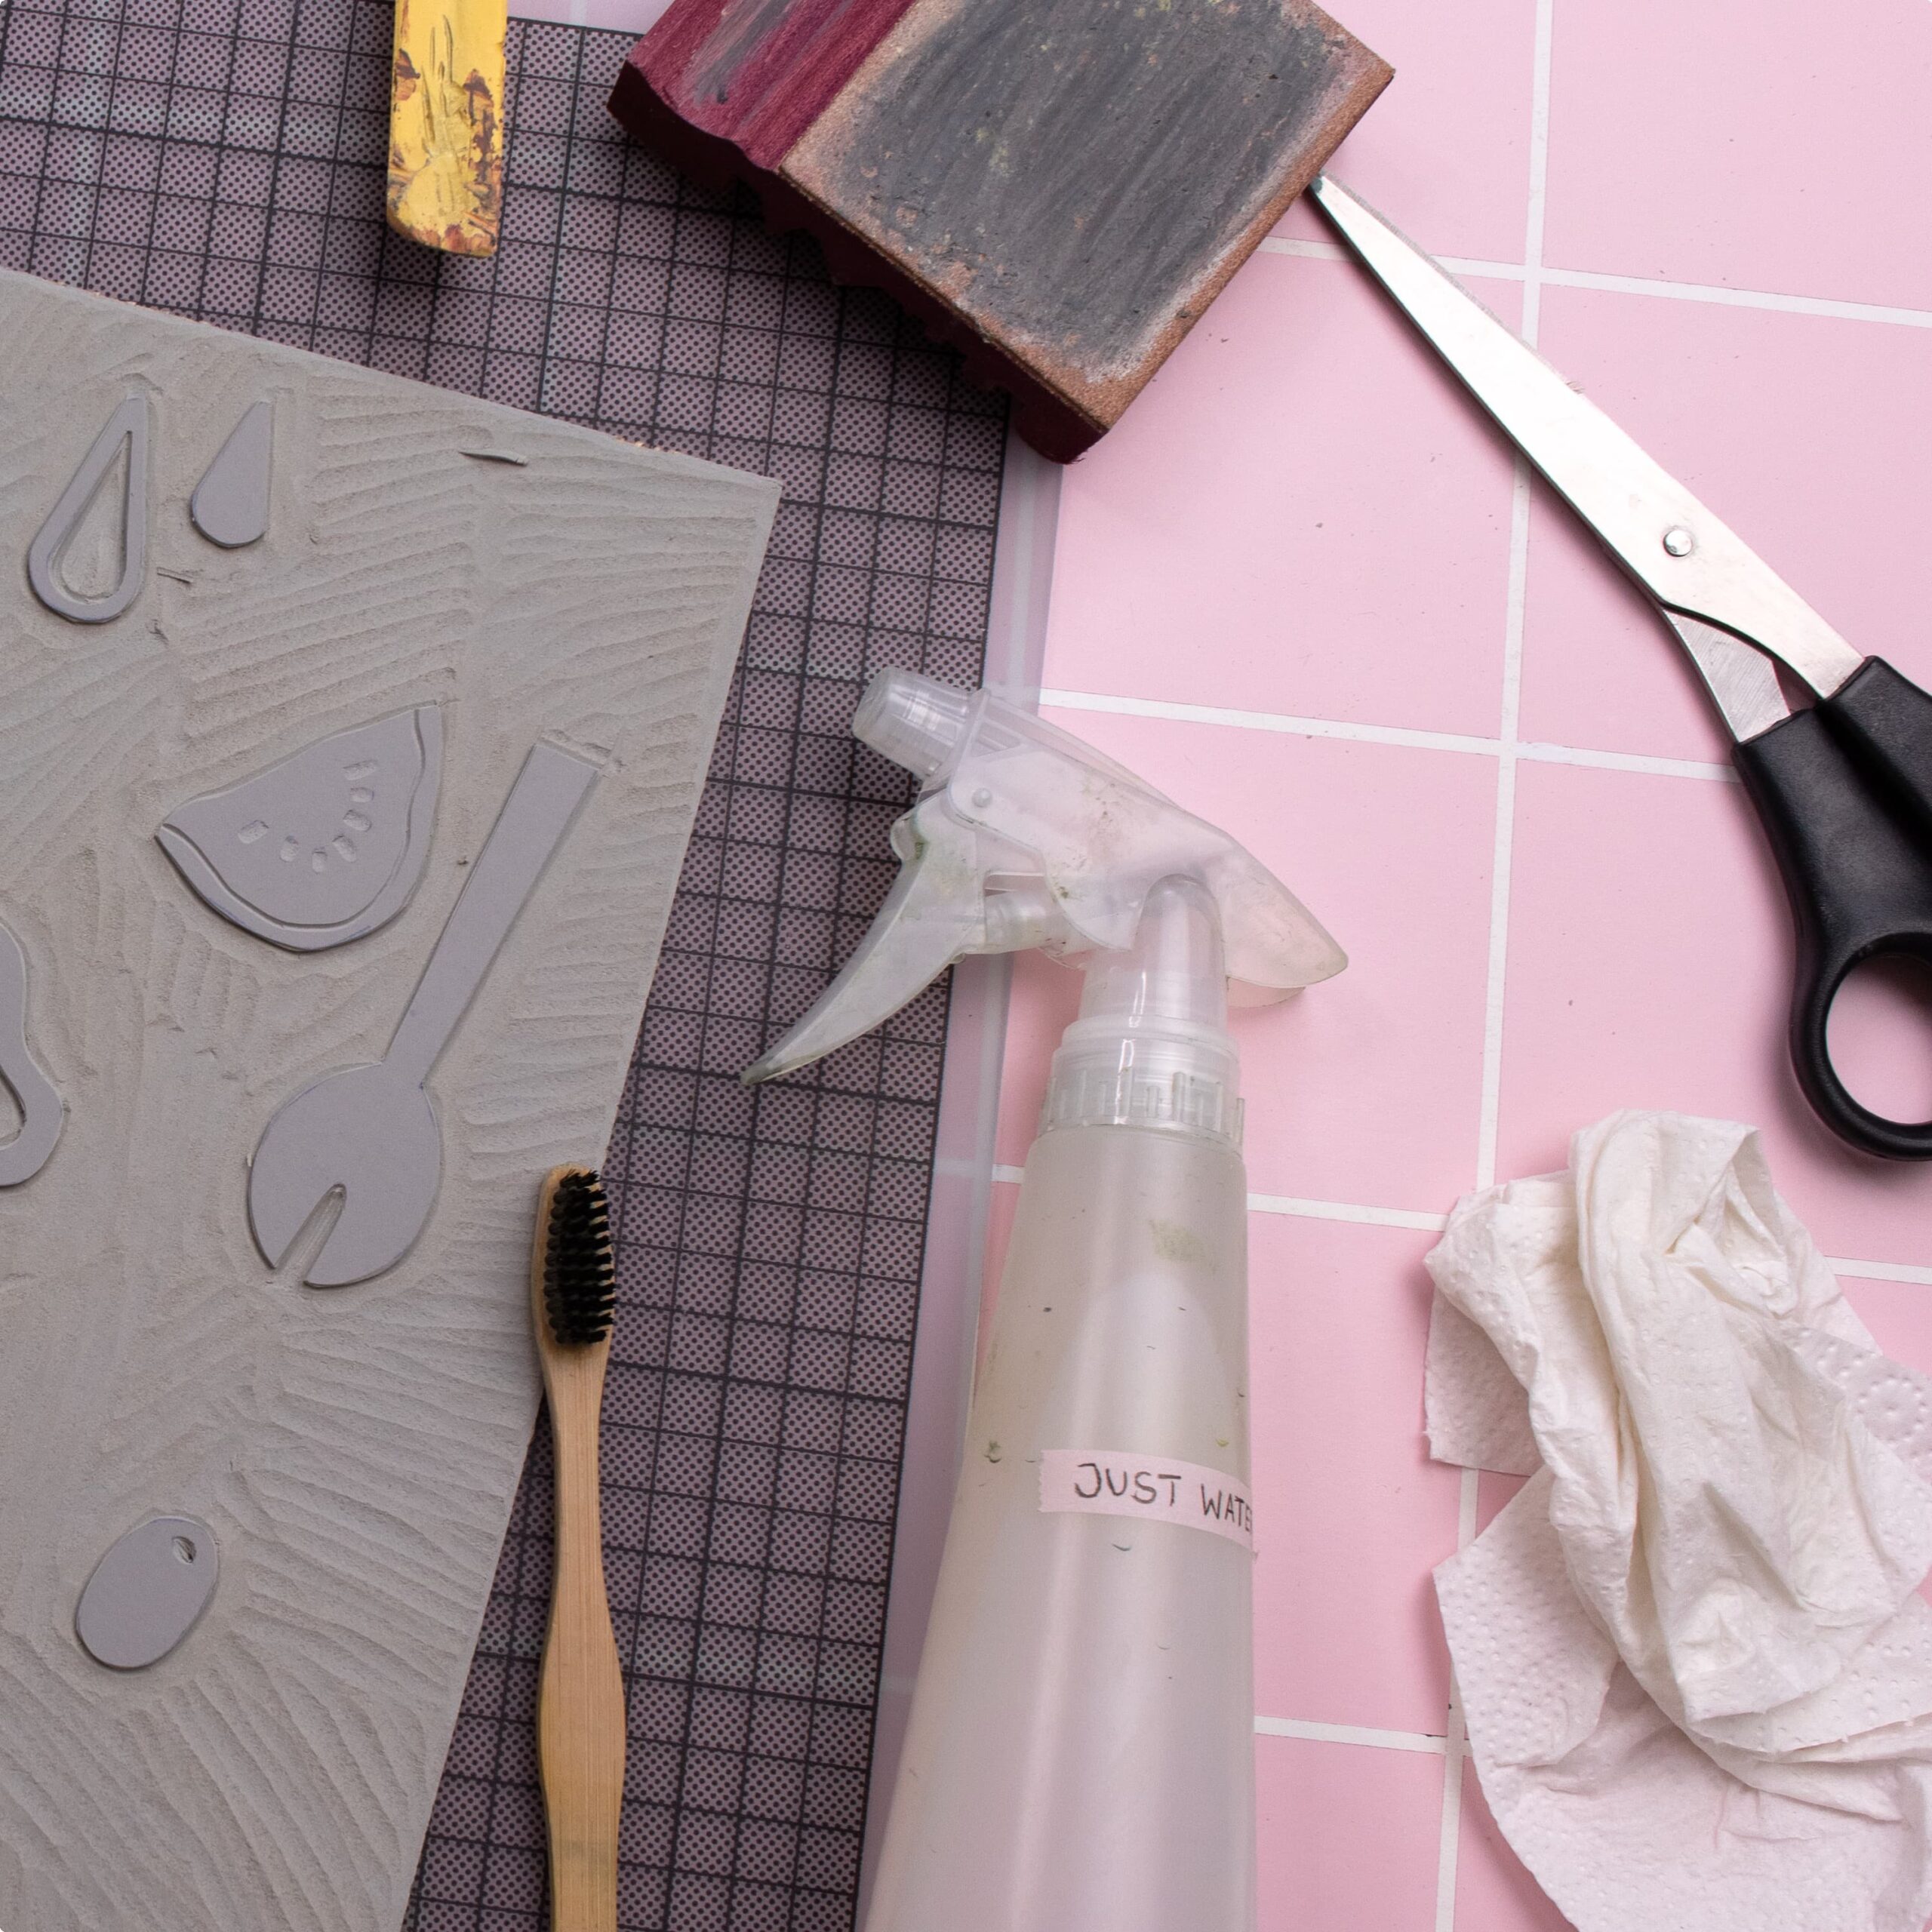
How to Clean Linoleum Plates Properly
You don’t need running water to remove ink after printing.
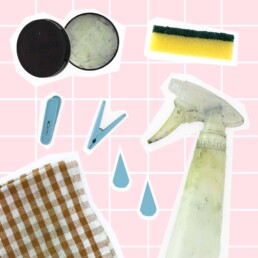
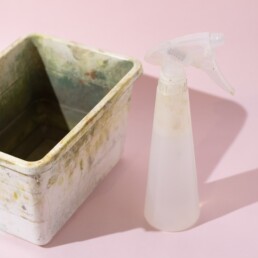
A bowl of water, a sponge, and some dish soap are enough – assuming you’re working with water-based inks, of course! My recommendations for beginner-friendly inks are here.
Extra tip: An old towel or dishcloth is perfect for cleaning — but not as you might expect. Place your lino block on top of it to prevent moisture from soaking into the jute fibers!

A box with water and a spray bottle
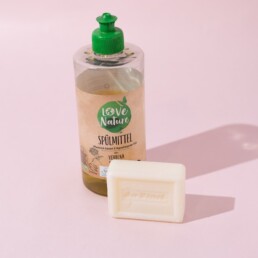
Dish soap or a simple bar of soap
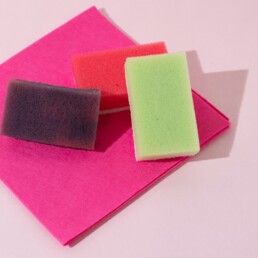
Thin dish sponges and cloths
Proper Storage = Longer-Lasting Plates
Proper storage is just as important. Linoleum blocks should be kept flat and dry.
That way, they won’t bend or collect dust on the surface.
If you print often, it’s worth setting up a dedicated drawer or folder to store your blocks — neat, accessible, and protected. I store them in plastic boxes called “SAMLA” from IKEA.
More Tips in My Online Course
In my online linocut course, there’s an entire module dedicated to cleaning and storing your printing tools.
In three video lessons, you’ll learn:
✔ How to set up a practical, space-saving cleaning station
✔ Simple rules to keep your tools in perfect shape
✔ The best way to store your materials for long-lasting quality
I’d love to welcome you to my course and guide you on your creative journey into the colorful world of linocut!
Stop Pressing Your Linocut Like a Stamp – Do This Instead!
Why You Should Never Press Your Block Like a Stamp
Avoid this common linocut mistake! Learn why pressing your block like a stamp ruins your prints and how to get perfect results every time. This happens often when working with traditional linoleum. Using the right technique will help you achieve clean, even prints and avoid frustration.
I will help you understand linocut printing step by step, try it out for yourself, and create your own prints.
Let’s talk about another common mistake — this time it happens during the printing stage of linocut! This one mainly affects those who print with traditional linoleum — the gray or brown sheets with jute fabric on the back.
The mistake
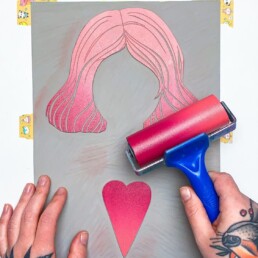
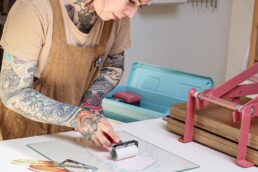
You press your linoleum block down onto the paper like a stamp. The order is wrong — the right way is to place the paper on top of the block. So: block on the bottom, paper on top! The difference is that you have much more control over your printing result. Linoleum plates are quite stiff compared to rubber stamps, so they don’t press down evenly. As a result, your print will likely have missing areas where the ink didn’t transfer properly — simply because you can’t see where more pressure is needed.
My way to handle it
If you place your linoleum block flat on the table and lay the paper over it, you can carefully lift the paper in certain spots during printing to check how it’s going. Missing color? Then you probably need more pressure — or a little more ink! With a bit of practice, you can easily roll on extra ink. I show you exactly how to do this step by step in my online course. Perfect, even, and consistent prints are the goal — and we can achieve that together!
Especially if you print by hand
When you print without a press, every print takes time, effort, and energy. So it’s even more frustrating when one turns out badly. I’ll show you how to save your prints and avoid this mistake next time.
Interested? I’d love to have you join my course and print along with me!
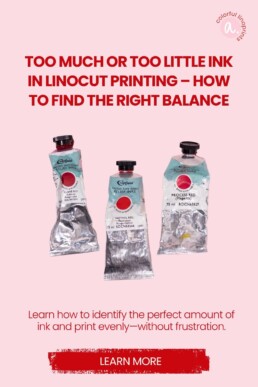
How to Get the Right Ink Amount in Linocut Printing – Avoid Common Mistakes
admin
Too much or too little ink can ruin your linocut prints. Learn how to balance ink, paper, and pressure for perfect results without frustration.
I will help you understand linocut printing step by step, try it out for yourself, and create your own prints.
Getting the right amount of ink is one of the trickiest parts of linocut printing. Too much or too little ink — both can mess up your print. The good news: once you know what to look (and listen!) for, it’s easy to fix.
Too much ink – why it becomes a problem
Using too much ink isn’t the end of the world, but it often leads to messy results. You’ll notice ink spreading beyond the carved areas or fine lines filling in and disappearing.
Another issue: oil-based inks take much longer to dry when applied too thickly. A normal, thin layer may dry in a few days, but if it’s too heavy, your print can stay tacky for weeks.
How to tell you’re using too much ink
You can see it and hear it! If there’s too much ink on your roller, it will sound like you’re walking through mud — a wet, sticky noise while rolling.
The right amount of ink sounds smooth, quiet, and almost dry. In my online course, I even show you a short video lesson where you can hear and see the difference — and learn exactly how to find that sweet spot.
Too little ink? No big deal!
Having too little ink is far less of a problem. You can simply add a bit more or increase the pressure while printing.
The secret to beautiful linocut prints lies in the balance between ink, paper, and pressure. Once you get a feel for it, your prints will come out clean and vibrant.
If a print doesn’t turn out perfectly, don’t get discouraged. Often, small adjustments are all it takes to improve your results.
In my online course, I’ll guide you step by step through finding the perfect ink amount, achieving strong and even coverage — and rediscovering the joy of printing.

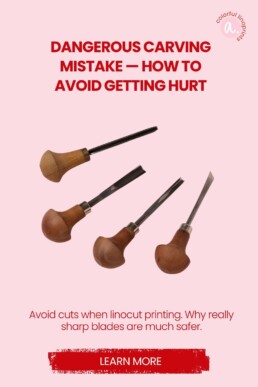
Dangerous Carving Mistake — How to Avoid Getting Hurt
Dangerous Carving Mistake — How to Avoid Getting Hurt
Avoid cuts when linocut printing. Why really sharp blades are much safer.
I will help you understand linocut printing step by step, try it out for yourself, and create your own prints.
Dangerous Carving Mistake — How to Avoid Getting Hurt
This mistake is particularly serious because it can quickly lead to real injuries. Carving demands full attention. Even if you’re careful, it has probably happened to almost everyone: the carving knife slips and suddenly a finger is cut. It’s awful — and very often preventable.
Why this happens so often
Cheap carving knife sets dull quickly. When a blade no longer cuts cleanly, the knife is more likely to slip. Many beginners also put their hands in the wrong place — that raises the risk even more. Combine dull blades with poor hand placement and you’ve got a recipe for accidents.
Why dull blades are more dangerous than you think
Dull blades force you to apply extra pressure. That reduces control and can cause sudden, jerky movements when the blade finally gives way — sometimes toward your hand. A sharp blade cuts with less effort and glides through the material. Sharpening isn’t optional — it’s safety work.
Practical safety rules for carving
- Keep blades sharp: Sharpen regularly or replace disposable blades.
- Correct hand placement: Keep the non-cutting hand out of the blade’s path.
- Cut away from the body: Prefer cuts that move away from you, not toward you.
- Stable work surface: Use a steady table and a non-slip mat.
- Invest in quality tools: Better blades hold an edge longer and are safer.
- Take breaks: If you’re tired, put the knife down. Concentration protects.
- First aid ready: Have a small first-aid kit on hand and know where to get help.
More safety tips in my course
This doesn’t have to happen. In my course I show you how to sharpen blades safely, how to position your hands, which knives are worth having and ergonomic techniques to reduce strain. Carving can be incredibly calming and meditative — when done safely. If you want, I’ll guide you step by step.
Common Linocut Beginner Mistake: Forgetting to Mirror Your Drawing
admin
A common linocut mistake: not mirroring your drawing! Learn why it matters and how to plan designs and lettering the right way.
I will help you understand linocut printing step by step, try it out for yourself, and create your own prints.
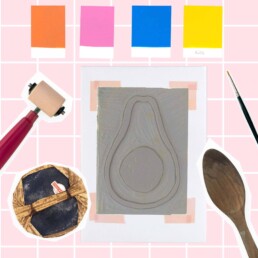
One of the most common linocut beginner mistakes happens before you even start carving: you forget to mirror your drawing. That happens quickly — especially if you draw directly onto the linoleum block (and yes, I’ve done it too 😄).
This mistake becomes critical if your design includes text or lettering. Once printed, all letters appear backwards — and your print might be ruined before you notice.
How to avoid this mistake
Mistakes are great for learning — but some are better avoided right away.
In my online linocut course for beginners, I guide you step by step through how to plan and mirror your designs correctly.
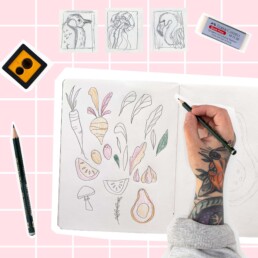
You can work traditionally on paper or digitally on the iPad Pro — whichever helps you visualize your layout more clearly.
Drawing directly on the linoleum can work, but if you want to print multiple color layers, planning your design first is essential.
Planning is everything
What works best for me is starting with a small sketch in my sketchbook. It helps define the composition and gives a clear idea of how the final print will look. I often find inspiration on Pinterest — but I’ve learned that spontaneous doodling rarely results in a harmonious, well-balanced print.
If you’d like some guidance to jump-start your linocut journey, my course walks you through the entire process — from the first sketch to your finished print.
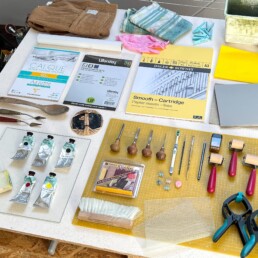
Linocut beginner's set: These are the materials to get started
admin
Perhaps the biggest hurdle for linocut print beginners is the choice of products and materials. You can easily put together your own set and I’ll tell you how! Learn which tools and paints you really need – and which products you should avoid.
I will help you understand linocut printing step by step, try it out for yourself, and create your own prints.
Once your interest in linocut is sparked, you probably want to stock up on all the necessary linocut materials, right? But where do you start? A quick Google search will show you countless beginner linocut kits – and at first, that looks super convenient.
However, many of these starter kits are filled with cheap, beginner-unfriendly products. Dull blades, old hard linoleum blocks, or ink that dries too quickly can quickly lead to frustration.
In the worst case, you grab one of these kits and lose interest before you even properly start printing.
No time to read? Click here!
Why Cheap Linocut Kits Often Lead to Frustration
I don’t want to generalize about every product—but most affordable beginner linocut kits on the market are unfortunately low-quality.
If you’re serious about this hobby, it’s worth putting together your own linocut starter kit with high-quality linocut materials that will support you as you start.
And if you’re not sure whether you’ll really enjoy linocut: good materials can always be resold later. But if you buy a bad kit and don’t enjoy it, that money is truly lost.
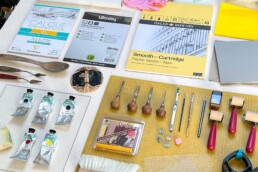
Linocut for Beginners: What Do You Actually Need?
Start simple: draw your design on paper or directly on the linoleum block.
Tracing paper is perfect for transferring multi-layered designs or saving leftover ink.
Keep your design simple at first, and work in A5 format. Tip: buy your linoleum blocks online—you’re more likely to get fresh, soft linoleum. I’ve been using Essdee UK blocks for years.
To transfer your design onto the block, use carbon paper or charcoal paper. Just place it between your drawing and the linoleum, trace the lines, and voilà—your design is on the block.

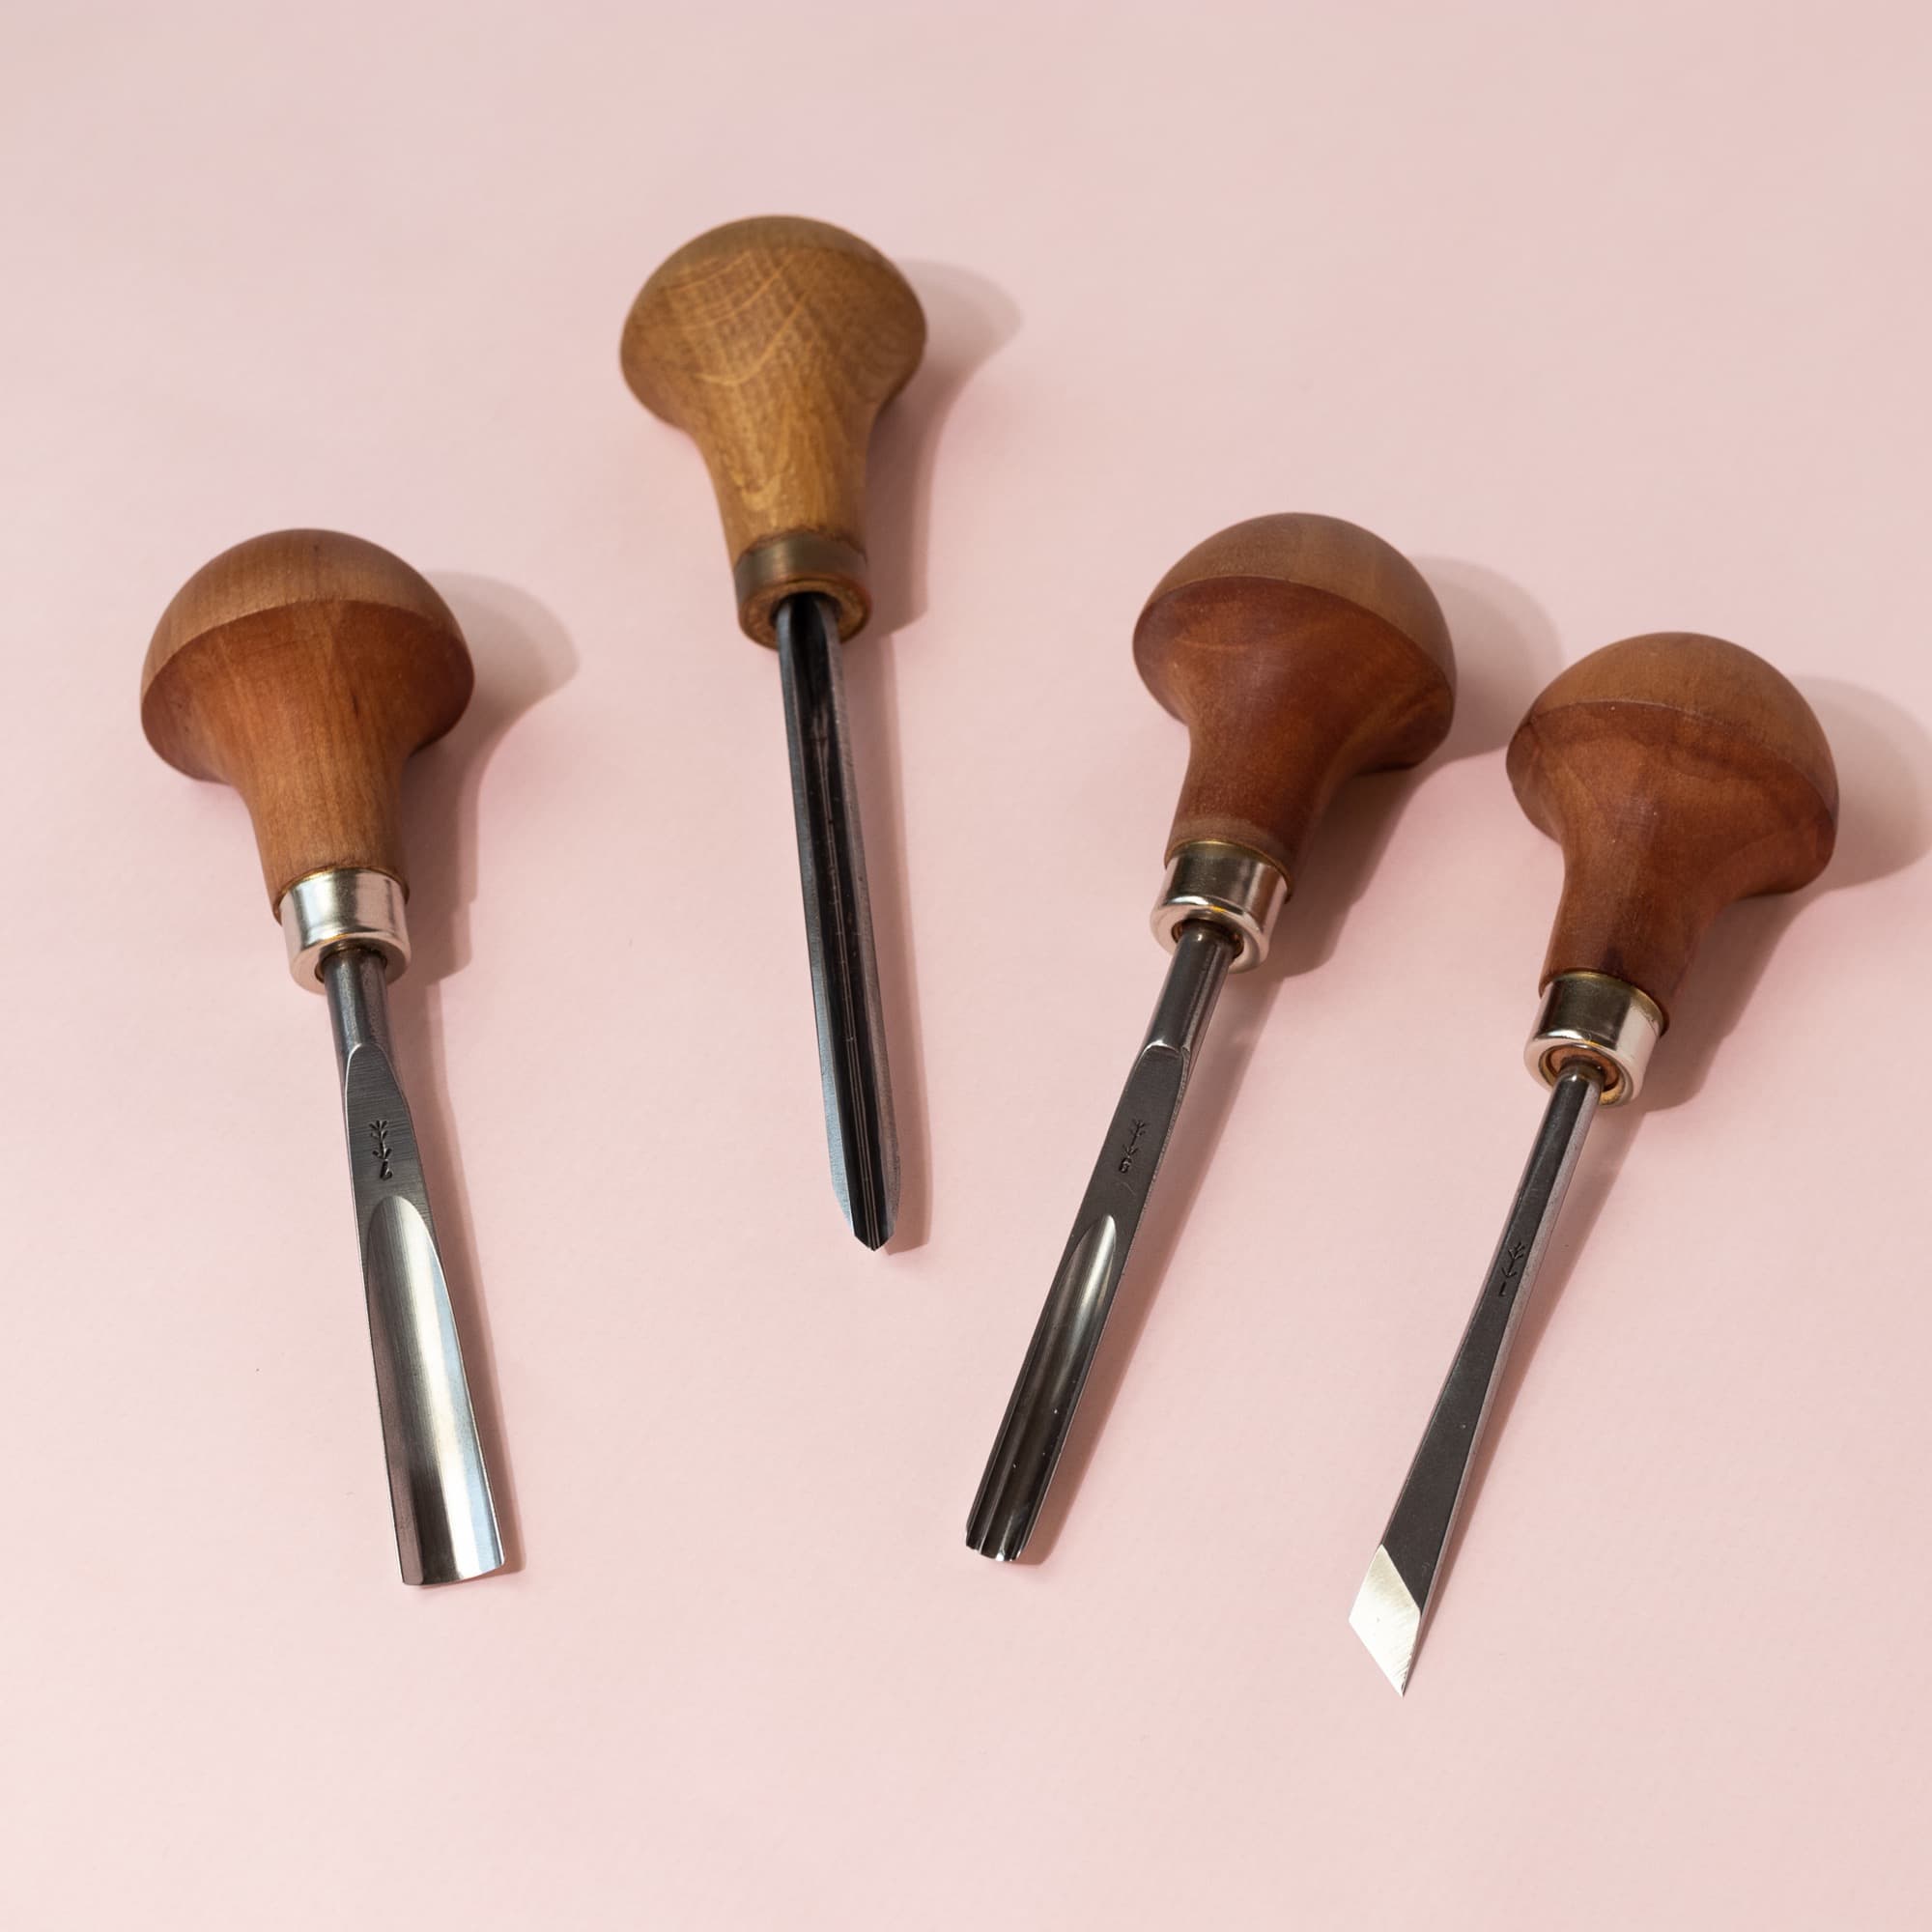
Carving: The Heart of Your Linocut Starter Kit
To protect your workspace, a cutting mat or cardboard is enough.
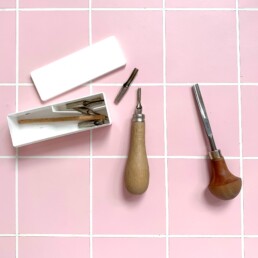
The carving tools are essential for both fun and success: I recommend Pfeil tools—they cost around €16 each, but you really only need 3–4 sizes.
Using dull tools makes carving tedious and unsafe because it’s easy to slip.
My favorites:
-
Pfeil L 12/4 or L 11/0.5 for fine lines
-
L 9/5 for broader areas
-
L 7/10 or B7/14 for backgrounds
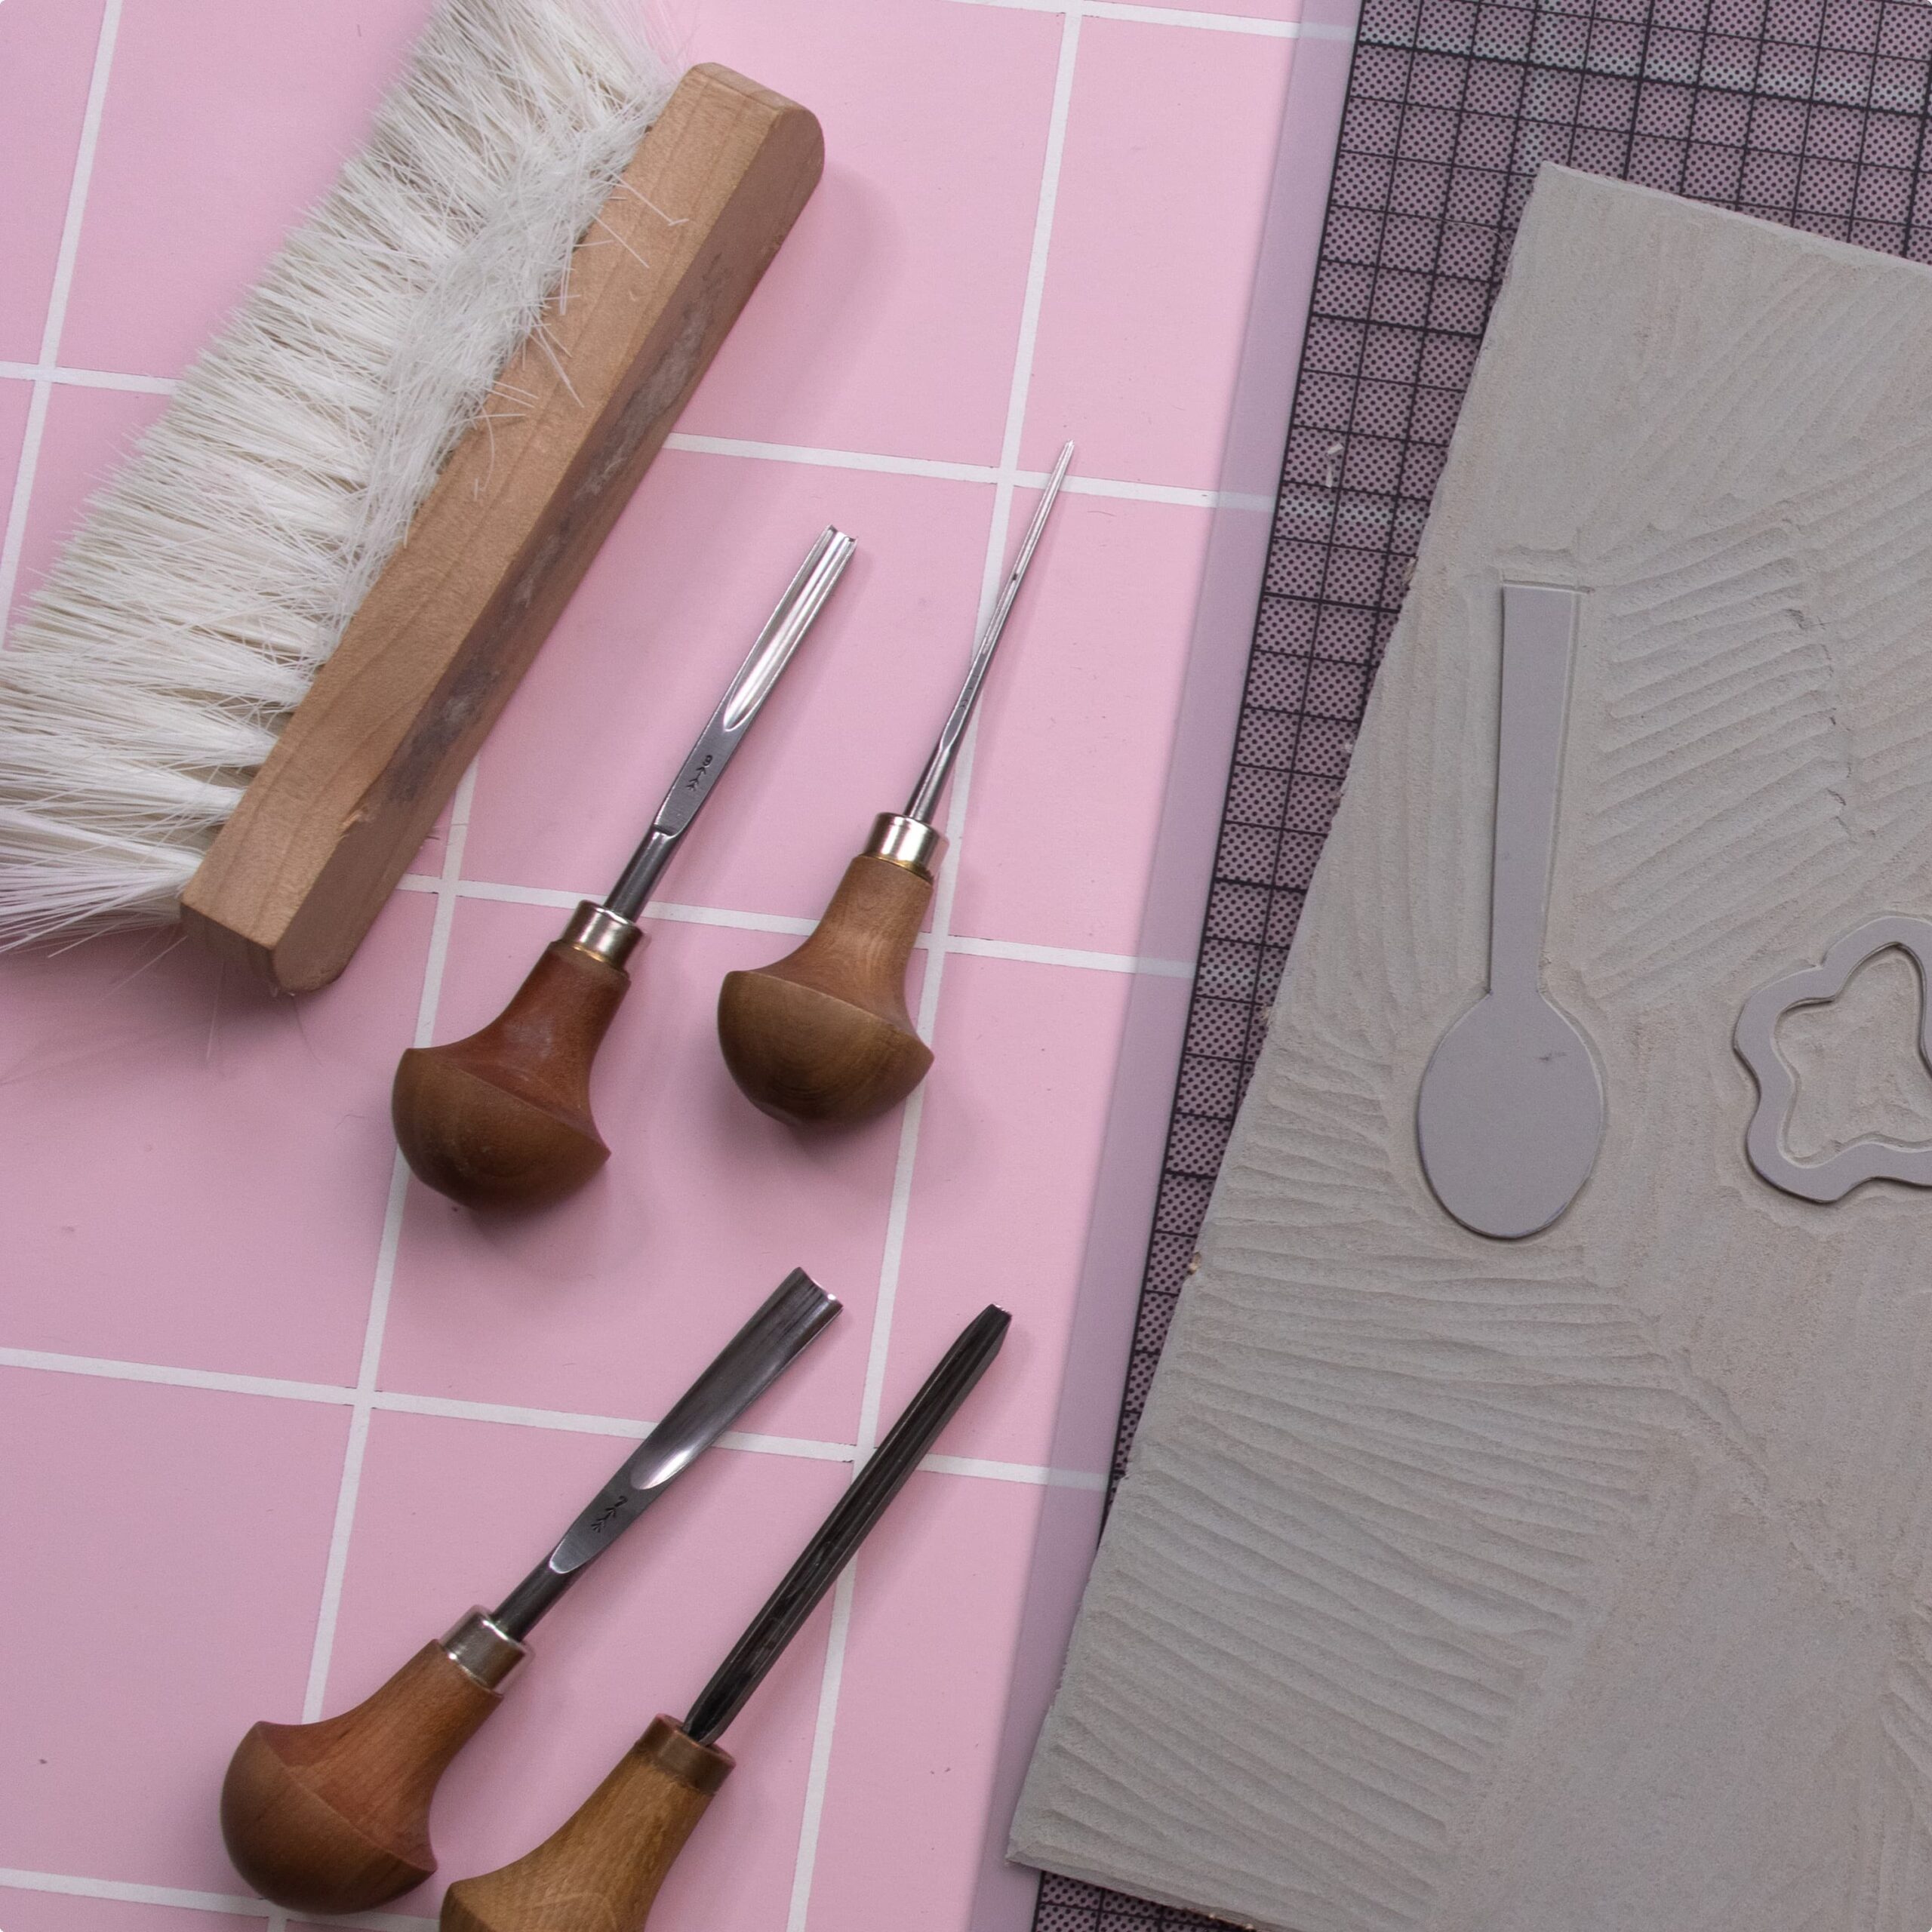
Additionally, get a sharpening set (e.g., from Flexcut) and a hand brush or wide brush to remove shavings. Bench clamps help secure your block to the table, making carving safer.
Printing Without a Press: It’s Easier Than You Think
You’ll need:
-
Paper (120–180 g, smooth, e.g., Design Offset White)
-
Two rollers (narrow + medium, Speedball Soft Rubber works best)
-
A palette or mixing surface (glass or plastic)
-
A palette knife for mixing
-
And of course, ink
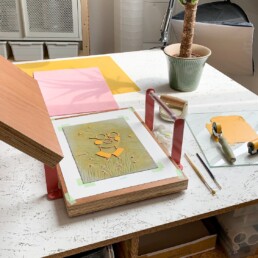
💡 Tip: You don’t need a printing press! A Japanese baren and a wooden spoon are more than enough to achieve excellent prints.
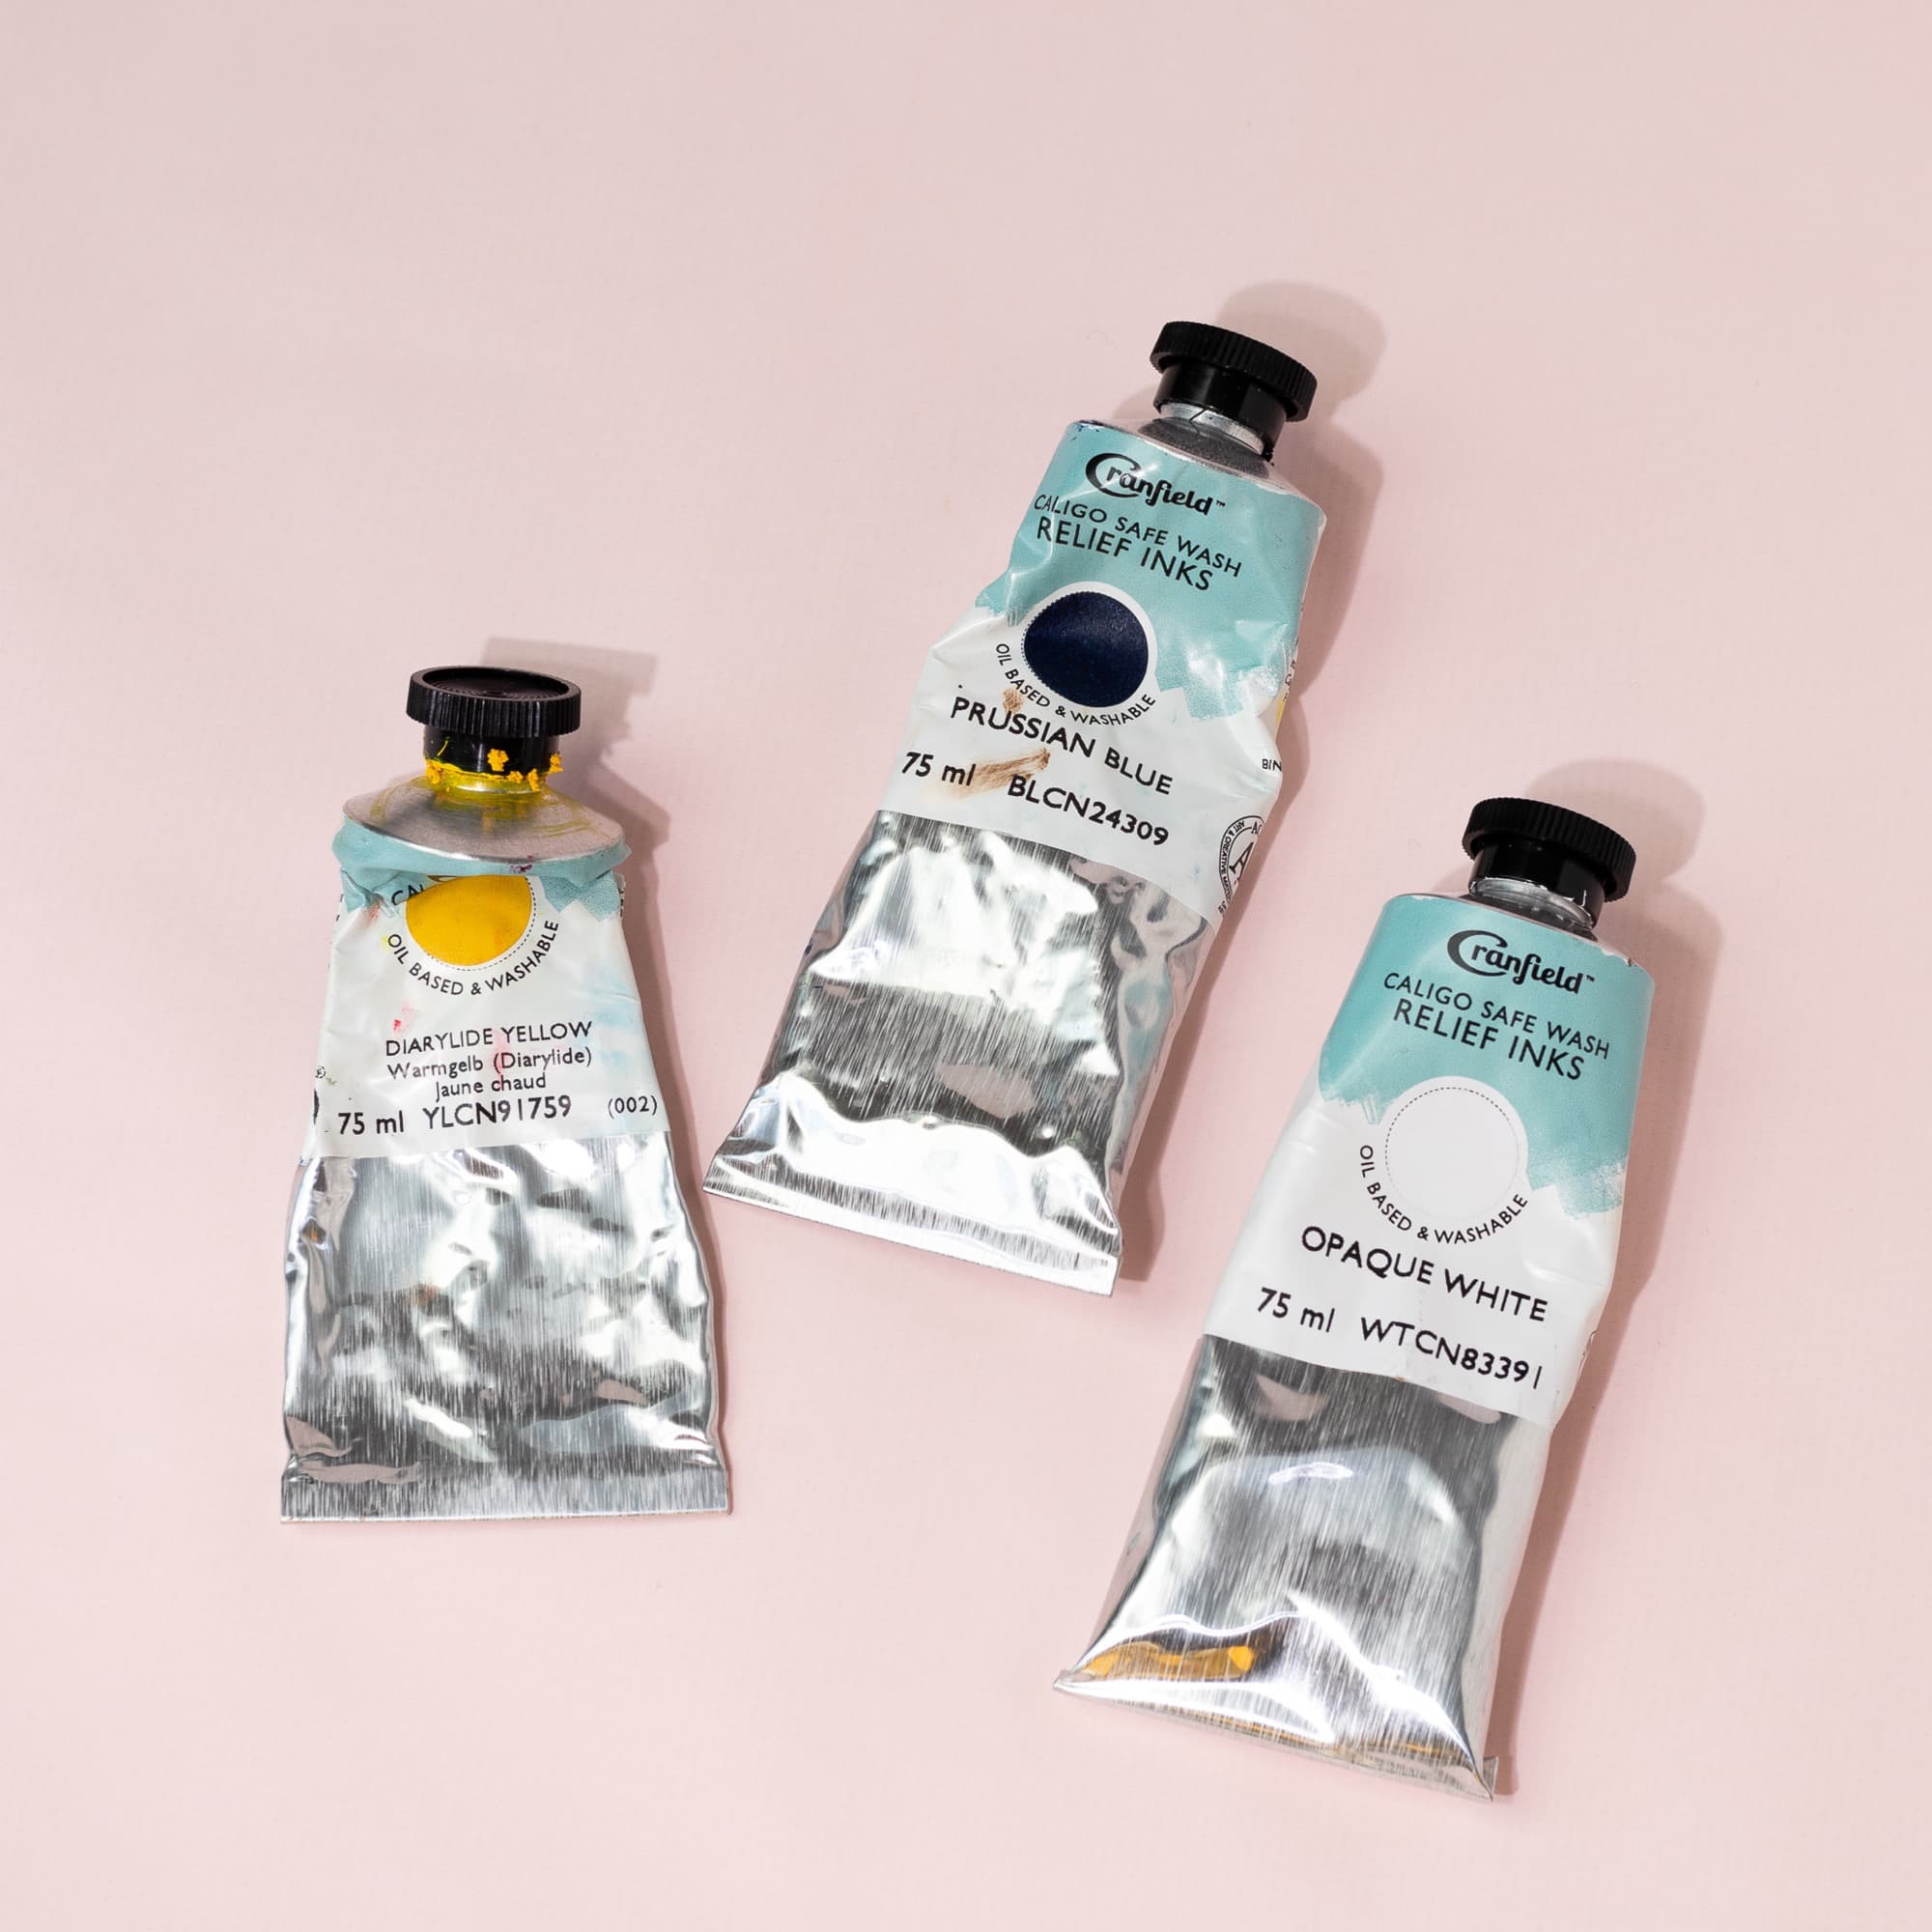
The best results come from oil-based or water-soluble inks—I recommend Cranfield Caligo Safe Wash Relief Ink (green label). It dries slowly but cleans easily with water and soap.
For beginners, five colors are enough: white, black, magenta, yellow, and Prussian blue or Cyan.
For drying, hang your prints with clips on a drying rack. Oil-based inks take at least a day to dry.
Cleaning Linocut Materials and Storing Ink
For cleaning, you need:
-
A small box of water
-
Sponge, soap, gloves, and old cloths
Never rinse your linoleum block under running water! This can distort the jute fibers and ruin your block.
You can store leftover ink on small pieces of tracing paper: cut a 10×10 cm square, scrape the ink onto it, fold, and seal with tape—your mini ink packet is ready!
Your Linocut Starter Kit at a Glance
That’s really all you need to get started!
With just a few high-quality linocut materials, you can assemble a beginner kit that motivates you rather than frustrates you.
👉 Download my free PDF with all the recommended products as a convenient shopping list.
👉 Or read here about why linocut can feel challenging at the beginning.
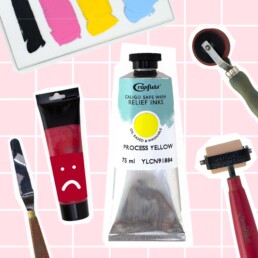
These 5 Products Frustrated Me as a Linocut Beginner
These 5 Products Frustrated Me as a Linocut Beginner
Discover which inks, tools, and paper truly help beginners succeed in linocut. Avoid frustration and enjoy creating your first prints!
I will help you understand linocut printing step by step, try it out for yourself, and create your own prints.
Attention linocut beginners: Some products can cause more frustration than necessary. Learn which materials really help you – and which ones to avoid to stay motivated!
Maybe you know this feeling: when a new hobby excites me, I want to know everything immediately, and I’m so hyped that I just want to start. I watch countless videos and slowly understand the process (or at least I think I do 😄). But when it’s finally time to start myself, questions arise: What should I buy? I don’t want to waste money – who knows if I’ll stick with this hobby?
Often, beginners are tempted to start with cheap products – totally understandable! HOWEVER, I have to admit: some budget supplies backfire. They lead to frustration because they simply don’t work properly. And as a beginner, you can’t always tell whether it’s your technique or the product that’s the problem.
From my experience, some products are fine to save on, but some professional-quality tools are actually much more beginner-friendly than their cheap alternatives.
Here are my top 5 frustrating products for linocut beginners – and better alternatives.
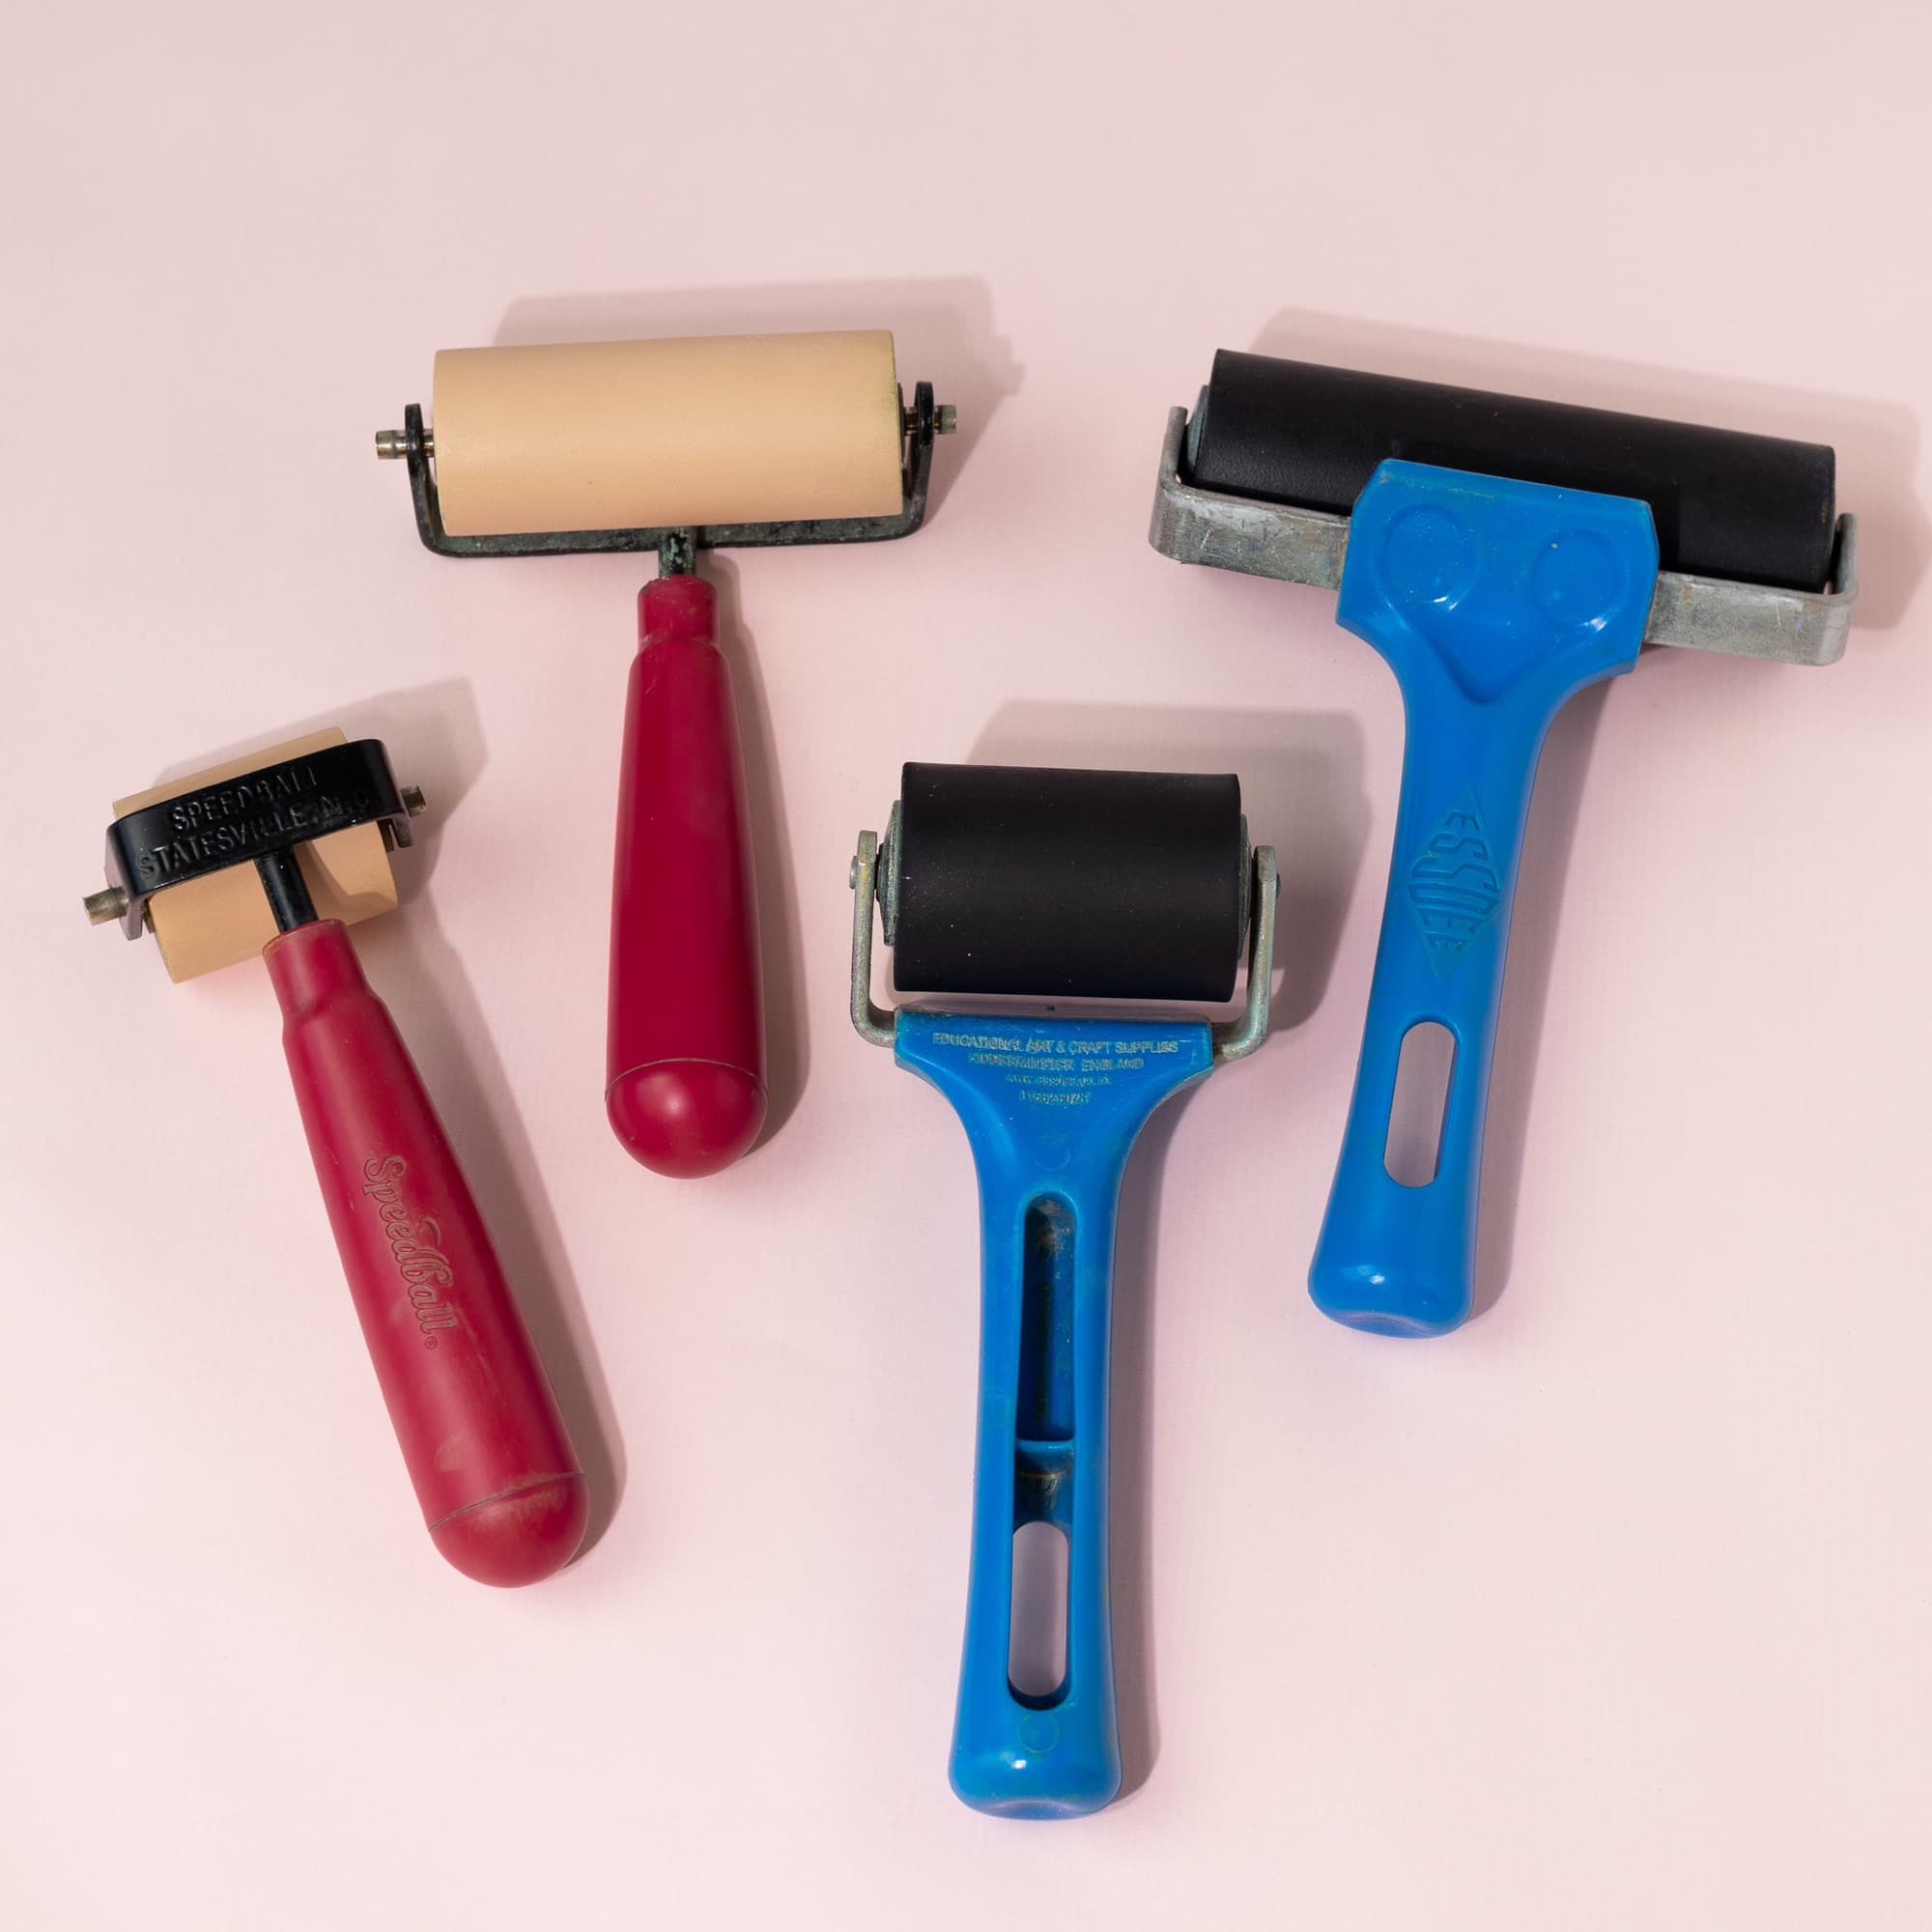
Brayers (Rollers)
Steel-frame rollers are probably the cheapest you can find, while my favorites, Speedball soft rubber brayers, are mid-range. (There are also rollers over €60, which I personally find way too expensive!)
The downside of the steel-frame roller is that it doesn’t handle much pressure. Applying ink with these rollers is uneven, which tempts you to press harder. Uneven ink transfer shows in your print. With practice, beginners can still get decent results with them – but at first, you might get disappointed by prints that are too dark in some areas and too light in others.
Soft rubber brayers are a dream: they distribute ink evenly and smoothly. Cleaning hard rubber rollers is easier, but for me, print quality comes first.

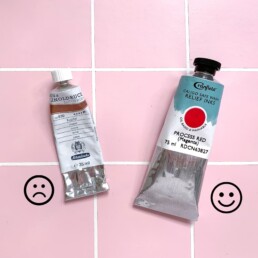
Ink – Water-based or Oil-based?
I started with large tubes of water-based ink, including Schmincke linocut colors. I thought, “A reputable brand, it must be good!” – but I was wrong. The ink sometimes dried while I was printing, and printing in summer heat was a nightmare. I had to apply excessive pressure to get an even result, and eventually, I had to tear the paper off the plate because it had stuck. Frustrating! I didn’t know if it was my fault or the ink.
My answer for linocut beginners: oil-based AND washable ink. You might think oil-based ink means messy cleaning with smelly solvents – fortunately, that’s not the case 😀. Caligo Safe Wash Relief Ink from Cranfield is amazing: excellent print quality, yet easily washable with water and soap.
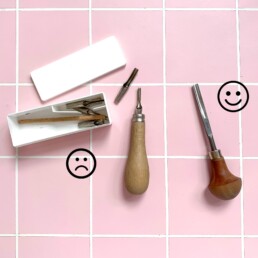
Carving tools
Again, my credo: don’t skimp on the wrong tools! A set with three different blade sizes covers many functions and is perfect for beginners. I used a cheap interchangeable blade set during university – a nightmare! Combined with a hard, old linoleum block, it ruined my enjoyment. Carving should be meditative and relaxing.
Sharp blades are safer for beginners too: they reduce the risk of slipping. Cheap blades require more control and experience to get good results. Investing in quality carving tools is worth it.
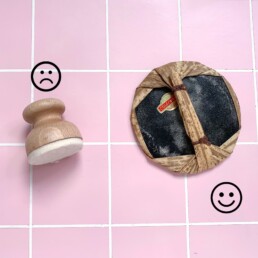
Hand Burnishers
My first hand burnisher wasn’t suitable for my projects. Felt burnishers might work for small stamp designs, but not for linocut. You can’t build enough pressure.
Instead, this Japanese hand burnisher works perfectly! It’s mainly for the first press, then you can switch to a wooden spoon. Still, it’s part of the routine and essential for good results.
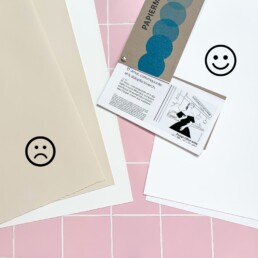
Paper – Here You Can Save
Fancy watercolor or heavy 300 gsm paper looks luxurious, but for beginners printing by hand, it’s not ideal. Heavy, textured paper requires more pressure and patience to achieve even results – often frustrating for new linocut beginners.
Smooth, lighter paper around 130–180 gsm is easier to print on and delivers clean results quickly. My personal favorite is 160 gsm design offset paper – similar to what’s sold as cartridge paper.
Paper choice is personal, though. Heavy, textured papers can beautifully enhance single-color or floral designs. For beginners, however, choose easy-to-print paper first, then experiment as you gain experience.
Why Good Materials Are Worth the Investment
Bad prints are frustrating. While trial and error is part of learning, beginners need small successes to stay motivated. The wrong products can quickly ruin your enjoyment. Poor ink coverage or uncomfortable tools can make you give up on printing.
It’s understandable to want to save money at first. But investing in a few high-quality inks and tools makes your start so much easier – and you can always resell them later if you want to try something else.
👉 Want to know which products are truly worth it for linocut beginners? Download my free PDF tool list. If you want to start right away: in my online course, I show you step by step how to create your first multi-color linocut print – frustration-free, fun, and successful! 🥳

Buy Linocut Supplies – Where to Find Everything You Need

admin
Good products for lino printing are rarely found in local art supply stores – there you often find only old lino blocks and the simplest carving tools. There is much more choice in the following online stores …
I will help you understand linocut printing step by step, try it out for yourself, and create your own prints.
If you downloaded my free tool list, or watched my videos on Instagram, you probably have a good idea of what you really need as a beginner (or even advanced) linocut artist.
But here’s the question: Where can you buy all these supplies? I’ll share where I personally buy my favorite products and which shops I recommend.
Manufacturer Websites
Some brands I love list on their websites where their products are sold worldwide. That’s always the first place to check. If your country isn’t listed, have a look at neighboring countries and their shipping options.
My personal favorites:
My ink rollers are from Speedball Art
My carving tools are from Pfeil
My linoleum blocks are from Essdee UK
My relief inks are from Cranfield


Germany
There are some art material stores that I like very much, because I can buy everything bundled in one place there. For Germany this is gerstäcker or www.kreativ.de (the stores are identical). Boesner.com also sells the Pfeil tools and has some stores in Germany, but they don’t sell the inks I’d recommend, so Boesner is only second choice for me. The Dutch store polymetaal.nl is also recommendable (although the website is a bit strange).
Worldwide
In the UK, I like to buy from www.jacksonsart.com or www.handprinted.co.uk. You can also check out amazon – in Germany the selection there is rather poor but in other countries this could be a good source.
Some more shops that sell printmaking products (found on Cranfields website):
France: www.geant-beaux-arts.fr
Netherlands: www.gerstaecker.nl
Denmark: www.aartdevos.dk
Sweden: www.ibwahlstrom.se
USA: www.dickblick.com
Conclusion
Sometimes you just have to do a Google search yourself – I can’t research every country. But maybe you know other linocut artists nearby who can give you advice. That can make finding the right supplies much easier.
You don’t have to buy exactly the products I recommend. These are personal favorites based on my experience. If you can’t find them locally, look for alternatives that are available to you. Like with any hobby, it’s rarely a one-time purchase – so it helps if getting your supplies is easy and convenient. And if you are curious about the products you’ll need for lino printing, check out this article!
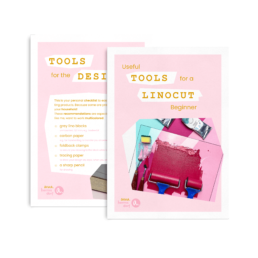
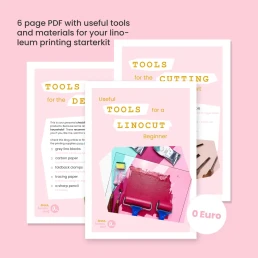
Linocut Tool Guide
Still unsure which tools and products you need for your lino printing starter kit? Just download my guide with product recommendations for linocut beginners – on 6 pages I list all the materials and tools I need to make my colorful prints – and you can do it too!
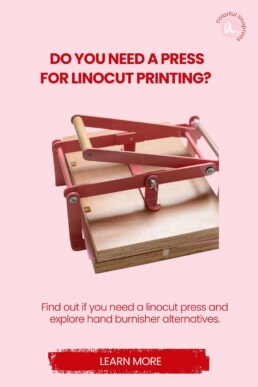
Do You Need a Printing Press for Linocut? Tips & Alternatives
admin
A hand printing press for linocut is a really great tool and I don’t want to miss it. But do you need it, to make even prints? Practical tips for beginners and advanced linocut artists.
I will help you understand linocut printing step by step, try it out for yourself, and create your own prints.
To keep it short: it depends. As always. I spent the first 1.5 years without a linocut press, and it worked perfectly fine. But once you’ve experienced using a press, you probably won’t want to go back.
One thing is certain: you don’t need a press to get good prints from your linocut block! It just requires more effort – mainly physical strength.
Alternatives to a Press
Before we talk about presses, let me show you the best alternatives.
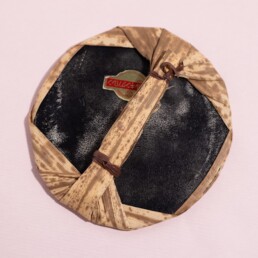
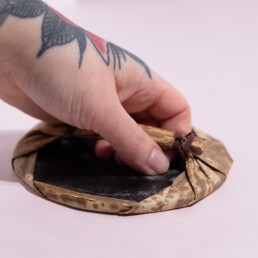
Hand burnishers are very useful. In English, they’re called “baren.” There are many variations:
-
Classic bamboo baren: Traditional tool in Japanese woodblock printing, works very well for linocuts too. You hold it by the handle and rub the paper in circular motions. I mainly use it to lightly fix the paper for the first press.
-
Speedball baren: Has a firm padded surface that glides smoothly over the paper without damaging it.

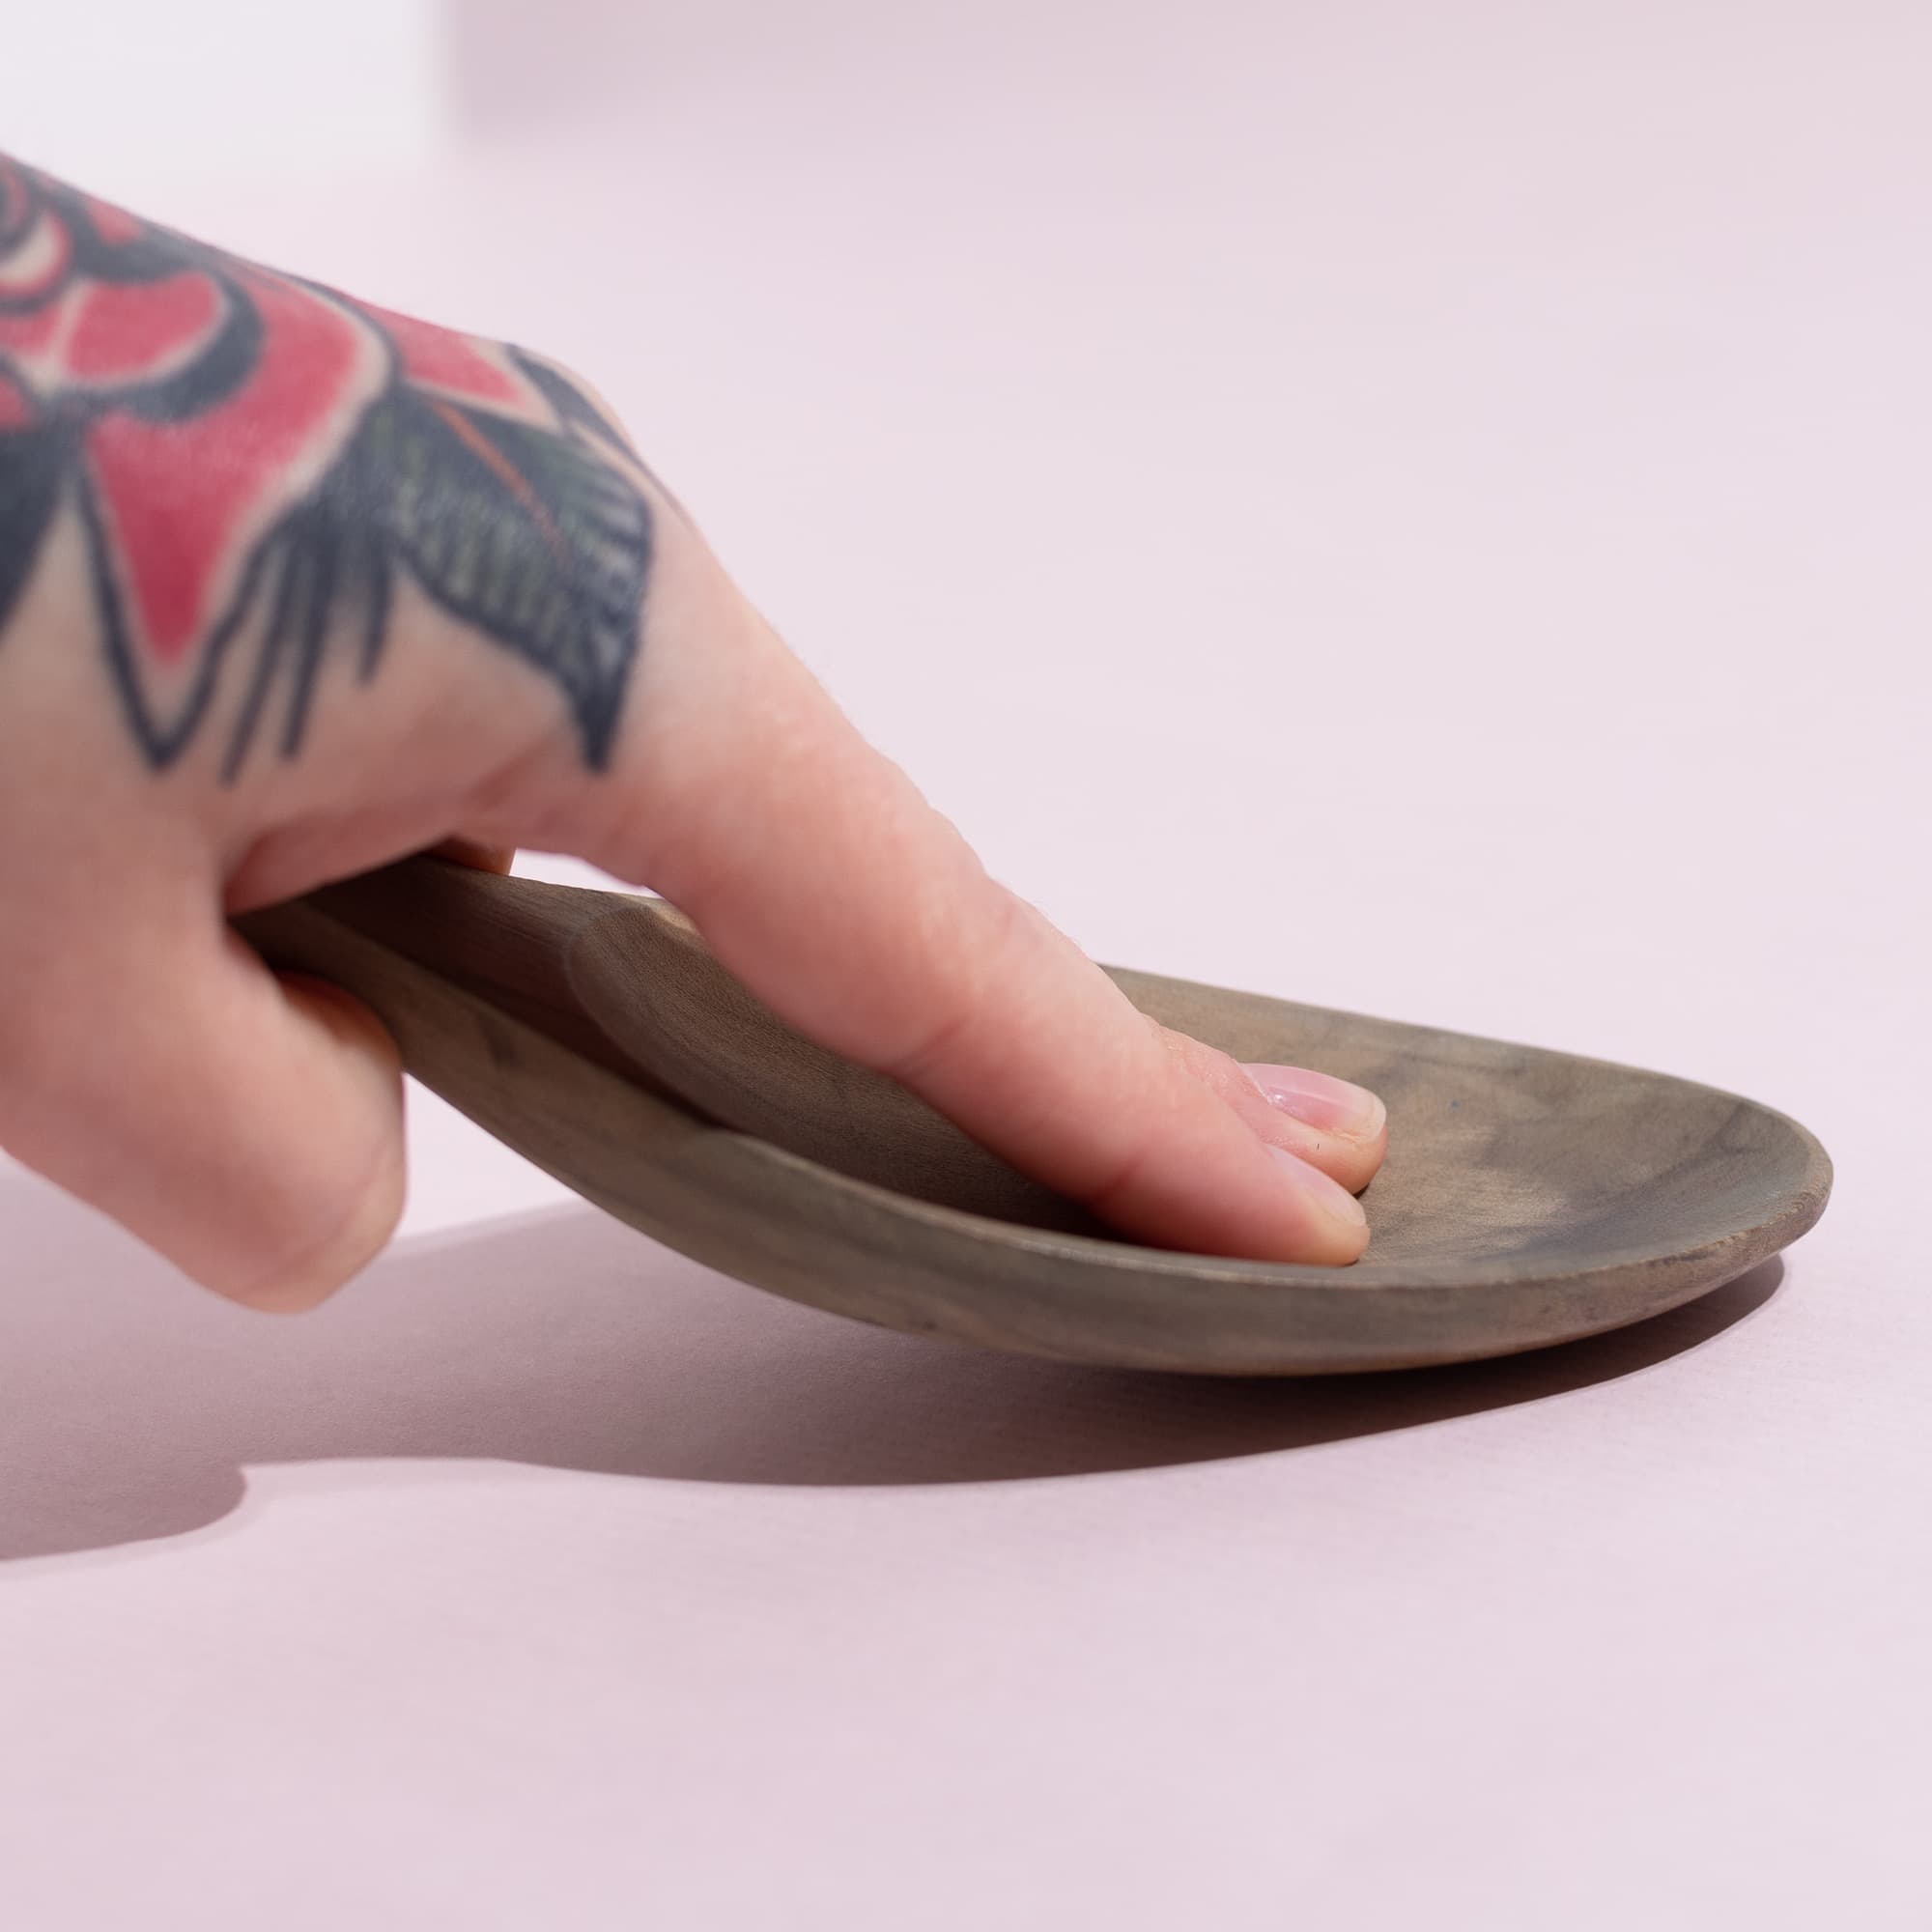
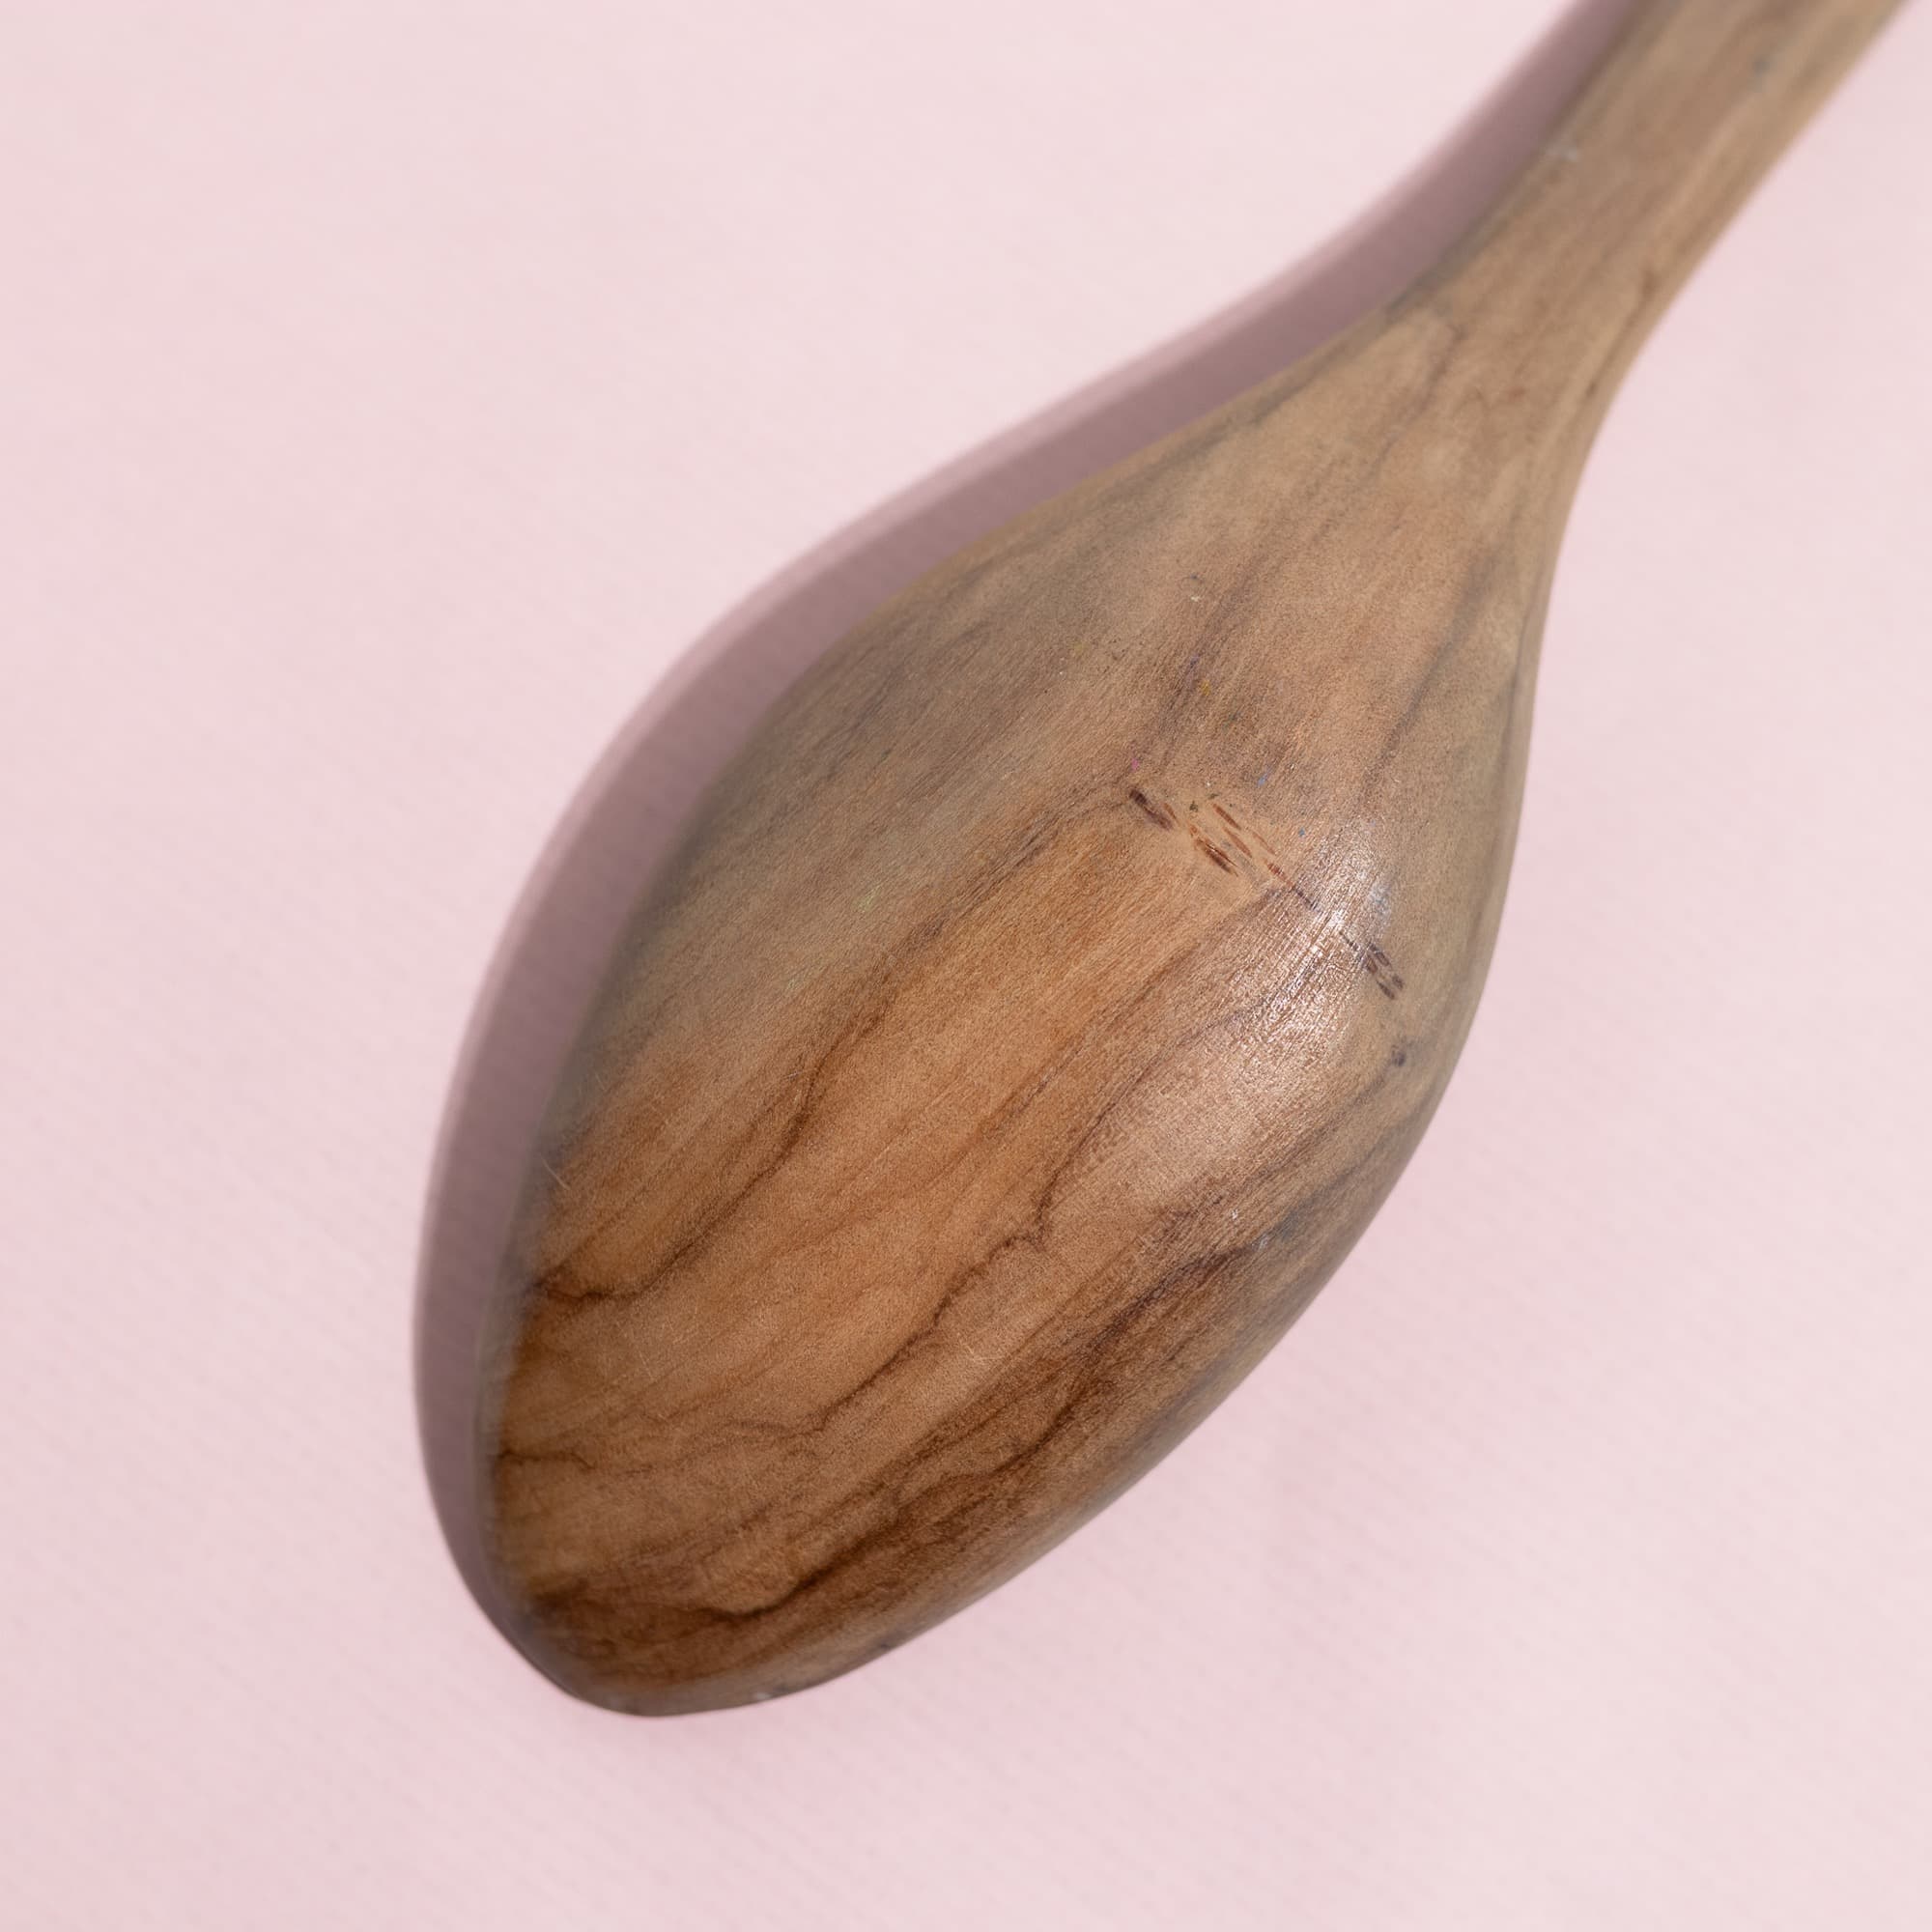
The Wooden Spoon
A wooden spoon is essential. You could use metal, but it can get quite hot after prolonged rubbing. My wooden spoon was once part of a salad set – a regular cooking spoon works too. Make sure it has a smooth surface to protect the paper.
Use the spoon to rub your design in small circular movements. Important: place the paper on the block, not the other way around.
Another alternative are brayers. Look similar to ink rollers and can apply ink. My recommendation: they don’t replace the wooden spoon and are less convenient.
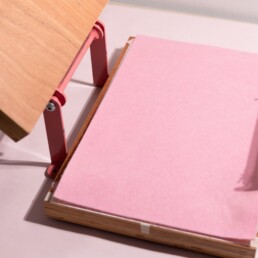
The Hand Printing Press
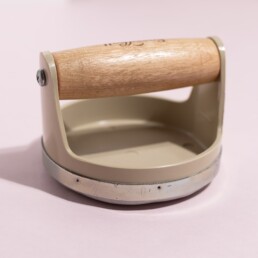
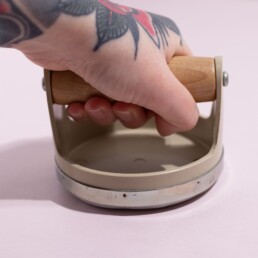
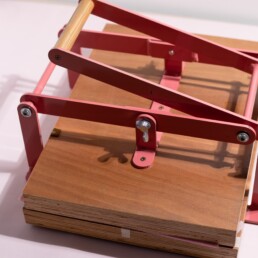
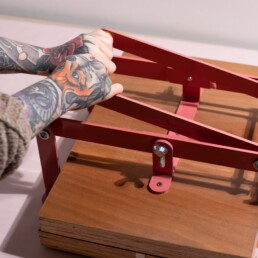
If you print a lot, you might want to consider a hand press. I bought a hand press from Jan (Woodzilla) in 2020:
-
Price: around €300 plus shipping
-
Size: A3 – you can print A3 paper and smaller formats
-
Delivery: includes a felt mat for even pressure
My first print with it was a revelation! The results were so even and easy to achieve that I could hardly believe it.
Still, printing by hand works too, but it requires patience and strength. You’ll spend several minutes in a slightly bent position to get as close as possible to the block. A high worktable can help, but not everyone has one at home.
Do you need a linocut press?
Learn to love linocut first before investing in a press. Once you’re ready and can afford it, you won’t regret the purchase.
For beginners, hand burnishers and a wooden spoon are enough to get beautiful prints.
Want to know more about essential tools for beginners? Check out my article: Linocut Tools for Beginners.