Linocut for Beginners: A Simple Guide to Your First Print
Linocut printing can feel intimidating at first – but with the right steps, it’s surprisingly simple. In this guide, I’ll walk you through how to create your first linocut print, step by step – no complex motifs or previous experience needed.
Before working with multiple colours or layers, it’s worth starting with a single-colour print. This lets you understand the basic process without feeling overwhelmed – and you’ll still end up with a finished print you can be proud of.
In this guide, you’ll create your first linocut print step by step.
Want to get started right away? You can download the template here:
What You Need for Linocut Printing
Keep it simple:
– a piece of lino
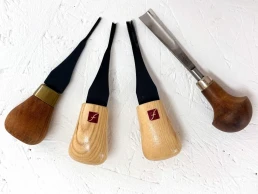
– basic carving tools (I used 4 different blades for this tutorial, but that’s optional)
– a pencil
– paper for printing (130–180 gsm, ideally smooth)
– printing ink (ideally oil-based and water-washable)
– an ink roller (brayer)
– a spoon and a hand burnisher
For extra safety, I also recommend a cutting mat to protect your table and two clamps or a non-slip mat to keep things steady. You can download my linocut tools list here.
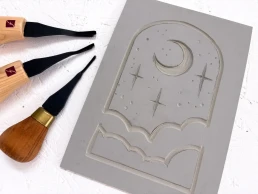
1. Choose a Simple Motif
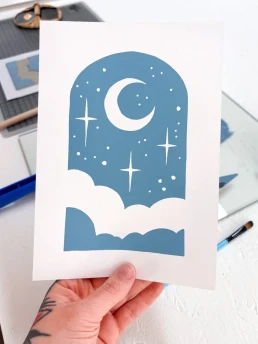
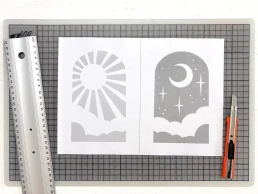
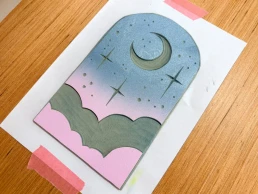
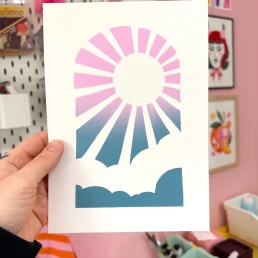
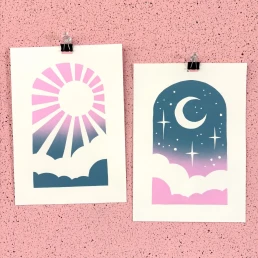
Start small. Choose elements that are forgiving. Floral shapes often work well. For this tutorial, I chose an arched window shape with a few stars, clouds, and a moon – the areas you carve away will print white. The sun version is even simpler to carve. Just choose the one you prefer.
Avoid too many details – linocut thrives on contrast, not complexity.
2. Transfer the Design onto the Lino
Draw your design on paper in the size you want your final print to be. If you don’t want to draw your own, feel free to use my template. Your image will print in reverse, so either flip it beforehand or accept the mirror image. If you aren’t using text in your design, it usually doesn’t matter. If you want, you can use my template – it’s already mirrored and fits an A5 lino plate.
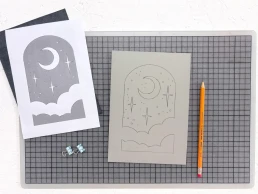
Transfer the design onto the lino using carbon paper.
Everything you carve away will not be printed.
3. Carve the Lino Block
Start with a fine blade and carefully follow the lines. Repeat the process with a wider blade to protect your design from accidental slips. Use light pressure – the blade should glide through the material, not scratch or drag. The angle of the blade helps control this.
Remove the areas you want to stay white using wider blades. The Pfeil B7/14 or L7/10 are ideal for clearing larger areas.
Always carve away from your hand! Ideally use both hands while carving so you don’t cut yourself – a non-slip mat helps.
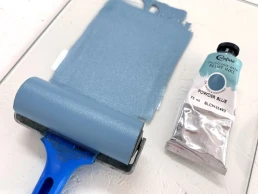
4. Apply the Ink
Roll out a small amount of ink on your inking surface until it forms an even layer. You can use ink straight from the tube or mix your own shade – with five primary colours, you can mix a huge range of tones.
The ink layer should be thin and even. If it looks patchy or too thick, it’s probably too much ink. If your print looks patchy, it’s usually due to too little pressure, too little ink, or unsuitable paper.
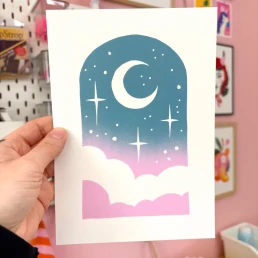
For the moon motif, I chose a ready-mixed colour: “Powder Blue” by Cranfield – an oil-based, water-washable ink.
5. Printing Your Linocut – How It Works
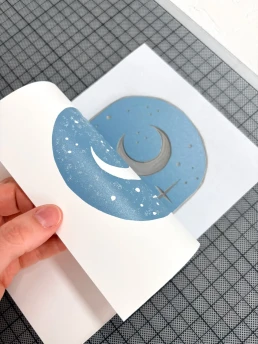
If you want a clean border around your image, place your lino plate in the centre of a template sheet to act as registration. I trimmed away the surrounding areas of my block so only the print surface remains.
Use double-sided tape to fix the trimmed plate in place so it doesn’t slip. Then place your printing paper precisely over it.
Lay your paper gently onto the inked lino plate.
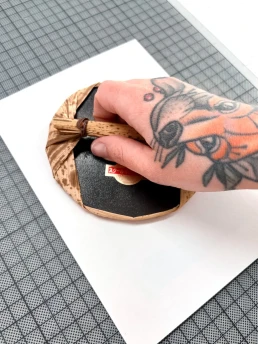
Start with a Japanese baren and move it in small circular motions across the paper. Take care not to shift the sheet.
Check your progress by gently lifting one corner while holding the rest in place to prevent slipping.
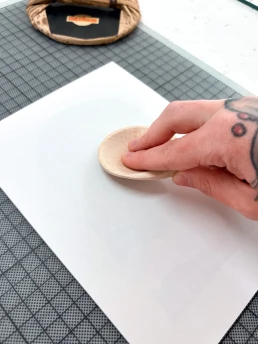
After using the baren, switch to a wooden spoon. Metal spoons heat up through friction, so wood is recommended.
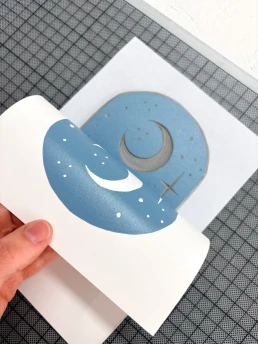
Once the print looks even, it’s time to lift the paper completely.
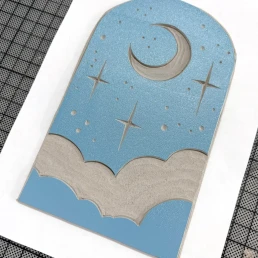
Your First Linocut Print
Done.
You’ve made your first linocut print.
It may not be perfect on the first try – and that’s completely normal. Linocut is a craft process, and each print brings you one step forward. Your print will still look great, because the interaction between ink and paper has its own kind of magic.

What’s Next
This is the foundation – and the same principles apply to multi-colour printing. Once you feel confident with this process, you can start exploring:
– multiple colours and gradients
– printing in layers
– more complex motifs
This is the starting point for all linocut printing.
If you’d like to build on this and learn how to plan and print clean, multi-layer designs, I guide you through it step by step in my course.
If you’d like to see which tools and materials I personally use for linocut printing, you can download my linocut tool list here.
Colour Variations & Gradients
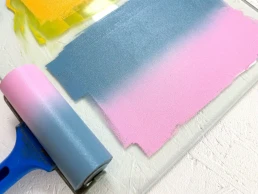
Instead of a single-colour print, you could try a gradient. As the sky at dusk often turns pink and blue, I experimented with this colour combination here.
Try out your own colour combinations. Instead of a gradient, you could also use different colours for the upper and lower sections. Let your creativity guide you.
One Final Tip
Don’t overthink your first print.
Keep it simple, finish it – and then make another.
That’s how you learn fastest and develop a feel for the process. Want to start right away? You can download the template here:
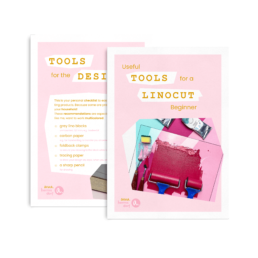
Linocut Tool Guide
Still unsure which tools and products you need for your lino printing starter kit? Just download my guide with product recommendations for linocut beginners – on 6 pages I list all the materials and tools I need to make my colorful prints – and you can do it too!
Anna Hermsdorf is a linocut designer based in Germany. She creates colourful linocut prints and teaches modern linocut techniques online and in workshops.